
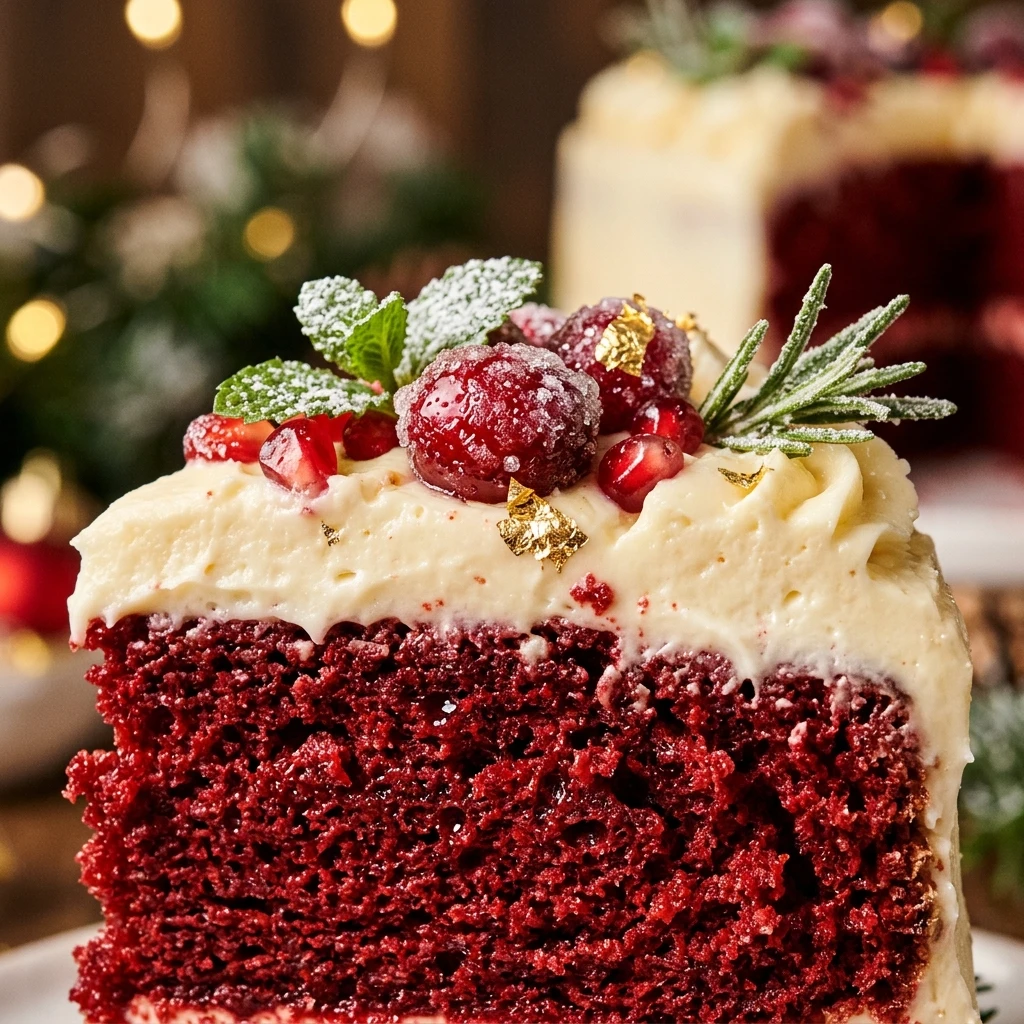
I always feel like the holiday season truly begins when the smell of cocoa and sugar fills my warm kitchen. This Red Velvet Christmas Cake is my absolute favorite showstopper to bring to the family table because its vibrant color matches the festive decor perfectly. I love how the tangy cream cheese frosting contrasts with the soft, velvety layers, making every bite feel like a special celebration of the most wonderful time of the year.
Recipe Details
Recipe Information
- Prep Time: 30 minutes
- Cook Time: 35 minutes
- Total Time: 65 minutes
- Servings: 12
- Difficulty: Medium
Nutrition Information (Per Serving)
- Calories: 485 kcal
- Protein: 5g
- Carbs: 58g
- Fat: 26g
Why You’ll Love This Red Velvet Christmas Cake
There is something inherently magical about a cake that combines a deep, festive red hue with a texture as smooth as silk. This recipe is specifically designed to stay moist for days, which is a lifesaver during the busy holiday rush when you need to prep ahead. The balance of a subtle cocoa flavor paired with a rich, velvety cream cheese frosting creates a sophisticated flavor profile that appeals to both kids and adults. Plus, when you slice into it at the dinner table, that bright red interior never fails to elicit gasps of delight from guests.
Red Velvet Christmas Cake Ingredients & Substitutions
- 2 1/2 cups all-purpose flour
- 1 1/2 cups granulated sugar
- 1 teaspoon baking soda
- 1 teaspoon fine salt
- 1 teaspoon unsweetened cocoa powder
- 1 1/2 cups vegetable oil
- 1 cup buttermilk, at room temperature
- 2 large eggs, at room temperature
- 2 tablespoons red food coloring
- 1 teaspoon distilled white vinegar
- 1 teaspoon alcohol-free vanilla extract
- 16 ounces cream cheese, softened (for frosting)
- 1/2 cup unsalted butter, softened (for frosting)
- 4 cups powdered sugar (for frosting)
- 1 teaspoon alcohol-free vanilla extract (for frosting)
If you do not have buttermilk on hand, you can easily make a quick version by adding one tablespoon of lemon juice to a cup of whole milk and letting it sit for five minutes. For a more natural coloring, you can use beet powder, though the color may be slightly more earthy and less bright. You can also substitute the vegetable oil with melted coconut oil if you prefer a slightly different fat profile, but ensure all other ingredients are at room temperature to prevent the oil from solidifying.
Step-by-Step Instructions to Make Red Velvet Christmas Cake
Step 1: Preparation
Preheat your oven to 350 degrees Fahrenheit. Grease and lightly flour two 9-inch round cake pans, or line the bottoms with parchment paper to ensure the delicate cake layers release easily after baking.
Step 2: Whisk the Dry Ingredients
In a medium mixing bowl, sift together the all-purpose flour, granulated sugar, baking soda, salt, and cocoa powder. Using a whisk ensures that the cocoa powder is evenly distributed and that there are no large lumps in your dry base.
Step 3: Combine the Wet Ingredients
In a large bowl, whisk together the vegetable oil, buttermilk, eggs, red food coloring, vinegar, and alcohol-free vanilla extract. Mix until the color is uniform and the eggs are fully incorporated into the liquid.
Step 4: Form the Batter
Slowly add the dry ingredients into the wet mixture. Use a hand mixer or a stand mixer on low speed to combine them until the batter is smooth. Be careful not to overmix at this stage, as overworking the flour can lead to a tough cake rather than a velvety one.
Step 5: Bake the Layers
Divide the batter evenly between your prepared cake pans. Bake for 30 to 35 minutes, or until a toothpick inserted into the center of the cake comes out clean. Let the cakes cool in the pans for about 10 minutes before transferring them to a wire rack to cool completely.
Step 6: Prepare the Frosting and Assemble
Beat the softened cream cheese and butter together until smooth and creamy. Gradually add the powdered sugar and alcohol-free vanilla, beating until the frosting is fluffy. Once the cake layers are completely cold, frost the top of one layer, place the second layer on top, and cover the entire cake with the remaining frosting.
Tips for Success
To achieve the best results, always ensure your dairy and eggs are at room temperature. This helps the emulsion process, resulting in a much smoother batter. When frosting the cake, I recommend doing a thin crumb coat first, then chilling the cake for 20 minutes before applying the final thick layer of cream cheese frosting. This keeps those bright red crumbs from trailing through your pristine white icing. If you want a deeper red color, look for gel food coloring rather than liquid, as it provides a more intense pigment without thinning out the batter.
Variations of Red Velvet Christmas Cake
For a festive twist, you can add a half teaspoon of peppermint extract to the frosting to give it a cool, wintery finish. If you enjoy a bit of texture, consider folding a half cup of mini chocolate chips into the batter before baking. You can also transform this into a tiered holiday treat by using three 6-inch pans instead of two 9-inch pans, which creates a taller, more dramatic silhouette. For a rustic look, leave the sides “naked” so the beautiful red layers peek through the white frosting.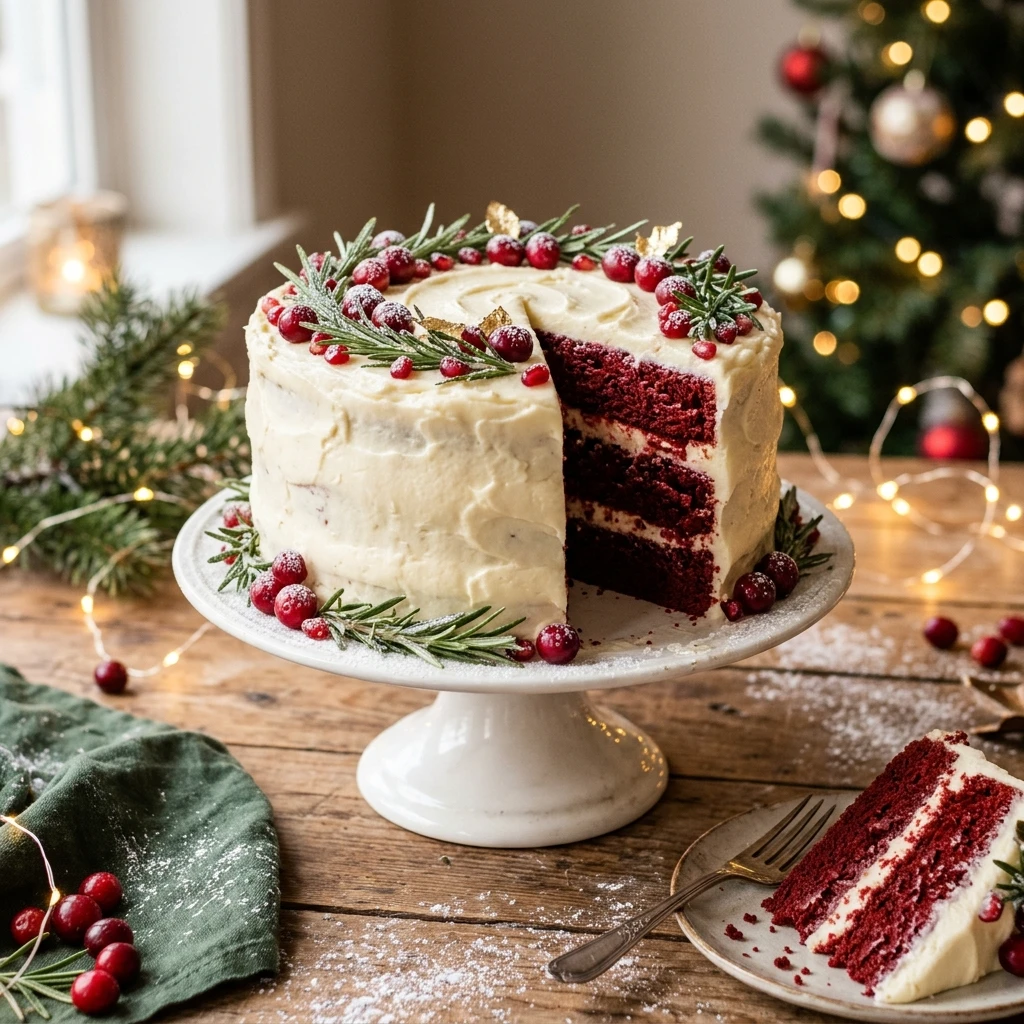
Serving Suggestions: What to Pair with Red Velvet Christmas Cake
This rich dessert pairs beautifully with a warm cup of peppermint tea or a steaming mug of alcohol-free hot apple cider. For a more formal holiday dinner, serve a slice alongside a scoop of tart raspberry sorbet to cut through the richness of the cream cheese. If you are hosting a brunch, it looks lovely on a platter surrounded by fresh rosemary sprigs and sugared cranberries to lean into the Christmas aesthetic.
Storage & Reheating Instructions
Because of the cream cheese frosting, this cake must be stored in the refrigerator. Place it in a cake carrier or cover it loosely with plastic wrap to keep it moist for up to five days. If you want to serve it at its best, take the cake out of the fridge about 30 minutes before serving so the frosting can soften slightly. You can also freeze individual slices wrapped tightly in plastic wrap and foil for up to three months. Simply thaw in the refrigerator overnight before enjoying.
Memories Made Around the Table
I remember one specific Christmas Eve when my kitchen was a disaster zone of flour and red food coloring, but the laughter echoing through the house made every messy counter worth it. My children were small then, and they took great pride in helping me sprinkle silver pearls over the white frosting to make it look like a winter wonderland. That cake sat in the center of our table as we shared stories and opened one early gift each. To me, this cake is not just a recipe, it is a reminder of the warmth and togetherness that defines the holiday season.
FAQs
How do I make the cake layers perfectly flat?
You can use cake strips soaked in water around the outside of your pans to ensure even baking. If the cakes still develop a slight dome, simply use a serrated knife to gently level them off once they are completely cool.
Why is there vinegar in a red velvet cake?
The vinegar reacts with the baking soda and the acid in the buttermilk to create carbon dioxide bubbles. This reaction is what gives the cake its signature light and fluffy texture, while also helping to preserve the red color.
Can I make this cake ahead of time?
Yes, you can bake the cake layers a day in advance. Once they are cool, wrap them tightly in plastic wrap and store them at room temperature. You can frost the cake the following day to keep the frosting as fresh as possible.
Is Red Velvet just chocolate cake with red dye?
Not exactly. While it does contain a small amount of cocoa powder, the flavor profile is more focused on the tang of the buttermilk and vinegar. It is a unique hybrid that is much lighter than a traditional chocolate cake.
What can I use instead of red food coloring?
If you prefer to avoid artificial dyes, you can use concentrated beet juice or beet powder. Keep in mind that the color will be a darker, more maroon shade, and the flavor may have a very subtle earthy undertone.
Final Thoughts
This Red Velvet Christmas Cake is a timeless classic that brings a touch of elegance to any holiday gathering. Whether you are an experienced baker or a beginner, the simple steps and reliable results make this a joyful project to undertake in December. I hope this cake becomes as much of a tradition in your home as it is in mine, filling your holidays with sweetness and beautiful memories. Happy baking and Merry Christmas!
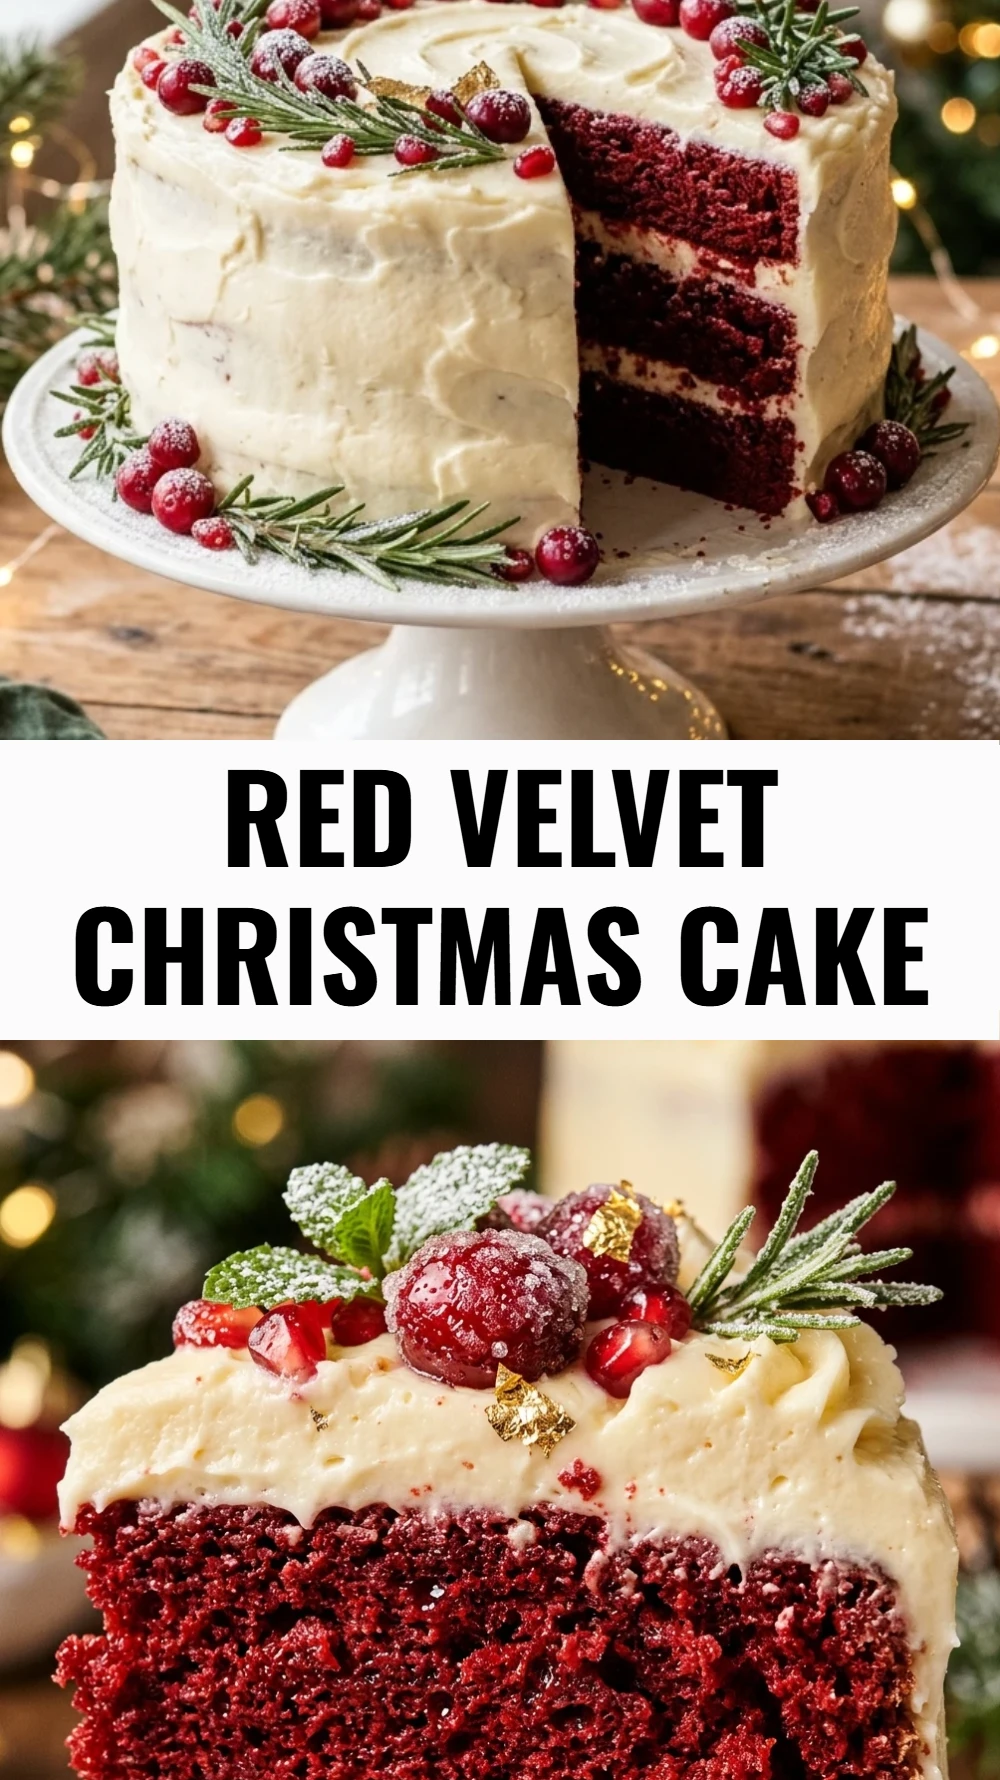
Red Velvet Christmas Cake
- Total Time: 1 hour 5 minutes
Ingredients
- 2 1/2 cups all-purpose flour
- 1 1/2 cups granulated sugar
- 1 teaspoon baking soda
- 1 teaspoon fine salt
- 1 teaspoon unsweetened cocoa powder
- 1 1/2 cups vegetable oil
- 1 cup buttermilk, at room temperature
- 2 large eggs, at room temperature
- 2 tablespoons red food coloring
- 1 teaspoon distilled white vinegar
- 1 teaspoon alcohol-free vanilla extract
- 16 ounces cream cheese, softened (for frosting)
- 1/2 cup unsalted butter, softened (for frosting)
- 4 cups powdered sugar (for frosting)
- 1 teaspoon alcohol-free vanilla extract (for frosting)
Instructions
- Preheat your oven to 350 degrees Fahrenheit. Grease and lightly flour two 9-inch round cake pans, or line the bottoms with parchment paper to ensure the delicate cake layers release easily after baking.
- In a medium mixing bowl, sift together the all-purpose flour, granulated sugar, baking soda, salt, and cocoa powder. Using a whisk ensures that the cocoa powder is evenly distributed and that there are no large lumps in your dry base.
- In a large bowl, whisk together the vegetable oil, buttermilk, eggs, red food coloring, vinegar, and alcohol-free vanilla extract. Mix until the color is uniform and the eggs are fully incorporated into the liquid.
- Slowly add the dry ingredients into the wet mixture. Use a hand mixer or a stand mixer on low speed to combine them until the batter is smooth. Be careful not to overmix at this stage, as overworking the flour can lead to a tough cake rather than a velvety one.
- Divide the batter evenly between your prepared cake pans. Bake for 30 to 35 minutes, or until a toothpick inserted into the center of the cake comes out clean. Let the cakes cool in the pans for about 10 minutes before transferring them to a wire rack to cool completely.
- Beat the softened cream cheese and butter together until smooth and creamy. Gradually add the powdered sugar and alcohol-free vanilla, beating until the frosting is fluffy. Once the cake layers are completely cold, frost the top of one layer, place the second layer on top, and cover the entire cake with the remaining frosting.
- Cook Time: 65 minutes
- Diet: Vegetarian