
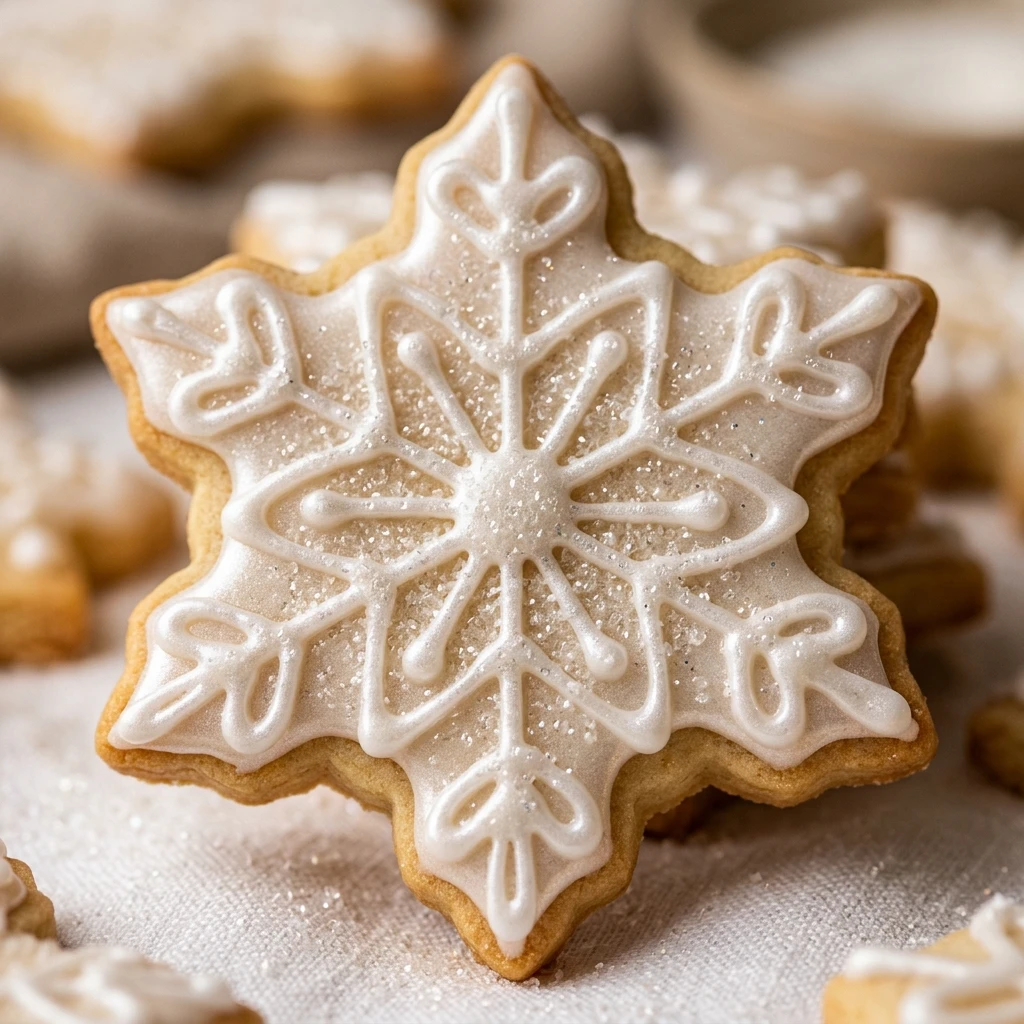
Every year when the first dusting of snow covers the ground, I find myself reaching for my favorite mixing bowl to start our holiday baking. These beautiful snowflake cookies have become a cherished tradition in my home, filling the kitchen with the scent of butter and sweet sugar. I love how the simple royal icing allows everyone to get creative with their own unique designs, making each batch a little bit different and perfectly festive for the Christmas season.
Recipe Details
Recipe Information
- Prep Time: 30 minutes
- Cook Time: 10 minutes
- Total Time: 1 hour 40 minutes
- Servings: 24 cookies
- Difficulty: Medium
Nutrition Information (Per Serving)
- Calories: 180
- Protein: 2g
- Carbs: 30g
- Fat: 6g
Why You’ll Love This Treat
This Treat is the ultimate holiday activity that combines delicious baking with a creative craft. The cookies have a wonderful buttery snap that holds its shape perfectly, which is exactly what you want when using intricate snowflake cutters. During the busy Christmas rush, you will appreciate how the royal icing comes together in minutes without any complicated techniques. It is a fantastic way to spend a snowy afternoon with family, and the finished results look like they came straight from a professional bakery.
This Treat Ingredients & Substitutions
- 3 cups all purpose flour
- 1 cup unsalted butter, softened
- 1 cup granulated sugar
- 1 large egg
- 2 teaspoons alcohol free vanilla extract
- 1/2 teaspoon almond extract
- 1 teaspoon baking powder
- 1/2 teaspoon salt
- 4 cups powdered sugar
- 3 tablespoons meringue powder
- 8 tablespoons warm water
If you prefer a different flavor profile, you can substitute the almond extract with lemon or orange zest for a bright citrus note. For those needing a gluten free option, a high quality one to one baking flour blend works well in this dough. If meringue powder is difficult to find, you can look for dried egg white powder as a suitable alternative for the icing, though the texture may vary slightly. Ensure your butter is at room temperature but not melted to maintain the proper cookie structure.
Step by Step Instructions to Make This Treat
Step 1: Cream the Butter and Sugar
In a large mixing bowl or the bowl of a stand mixer, beat the softened unsalted butter and granulated sugar together. Continue mixing on medium speed for about three minutes until the mixture is light, fluffy, and pale in color.
Step 2: Add the Liquid Components
Add the egg, alcohol free vanilla extract, and almond extract to the butter mixture. Beat well until everything is fully incorporated, scraping down the sides of the bowl with a spatula to ensure no streaks remain.
Step 3: Whisk the Dry Ingredients
In a separate medium bowl, whisk together the all purpose flour, baking powder, and salt. This ensures the leavening agent is evenly distributed so your cookies rise consistently in the oven.
Step 4: Form the Cookie Dough
Gradually add the flour mixture to the wet ingredients while mixing on low speed. Continue to mix just until the dough comes together and no dry flour is visible. Be careful not to overwork the dough, as this can lead to tough cookies.
Step 5: Chill the Dough Thoroughly
Divide the dough into two flat discs and wrap them tightly in plastic wrap. Place them in the refrigerator for at least one hour. Chilling is essential to prevent the cookies from spreading and to make the dough easier to roll out.
Step 6: Roll and Cut the Shapes
Preheat your oven to 350 degrees Fahrenheit. On a lightly floured surface, roll out one disc of dough to about a quarter inch thickness. Use your snowflake cutters to stamp out shapes and place them on a baking sheet lined with parchment paper.
Step 7: Bake Until Set
Bake the cookies for 8 to 10 minutes. The edges should be set and the tops should look matte, but they should not be browned. Let them cool on the baking sheet for five minutes before transferring them to a wire rack to cool completely.
Step 8: Whisk the Royal Icing
In a clean bowl, whisk together the powdered sugar, meringue powder, and 6 tablespoons of warm water. Beat on high speed for about five minutes until the icing forms stiff peaks. If it is too thick, add more water one teaspoon at a time until it reaches a thick but pipeable consistency.
Step 9: Decorate Your Cookies
Transfer the icing to a piping bag fitted with a small round tip. Pipe intricate lines, dots, and patterns onto the cooled snowflake cookies. You can add edible glitter or silver pearls while the icing is still wet for an extra festive touch.
Tips for Success
To keep your snowflake points sharp, make sure the dough stays cold. If it becomes too soft while you are cutting shapes, pop it back into the freezer for five minutes. When making the icing, always keep the bowl covered with a damp cloth when not in use, as royal icing dries out very quickly when exposed to air. For the best results, use gel food coloring if you want to tint your icing, as liquid coloring can change the consistency too much.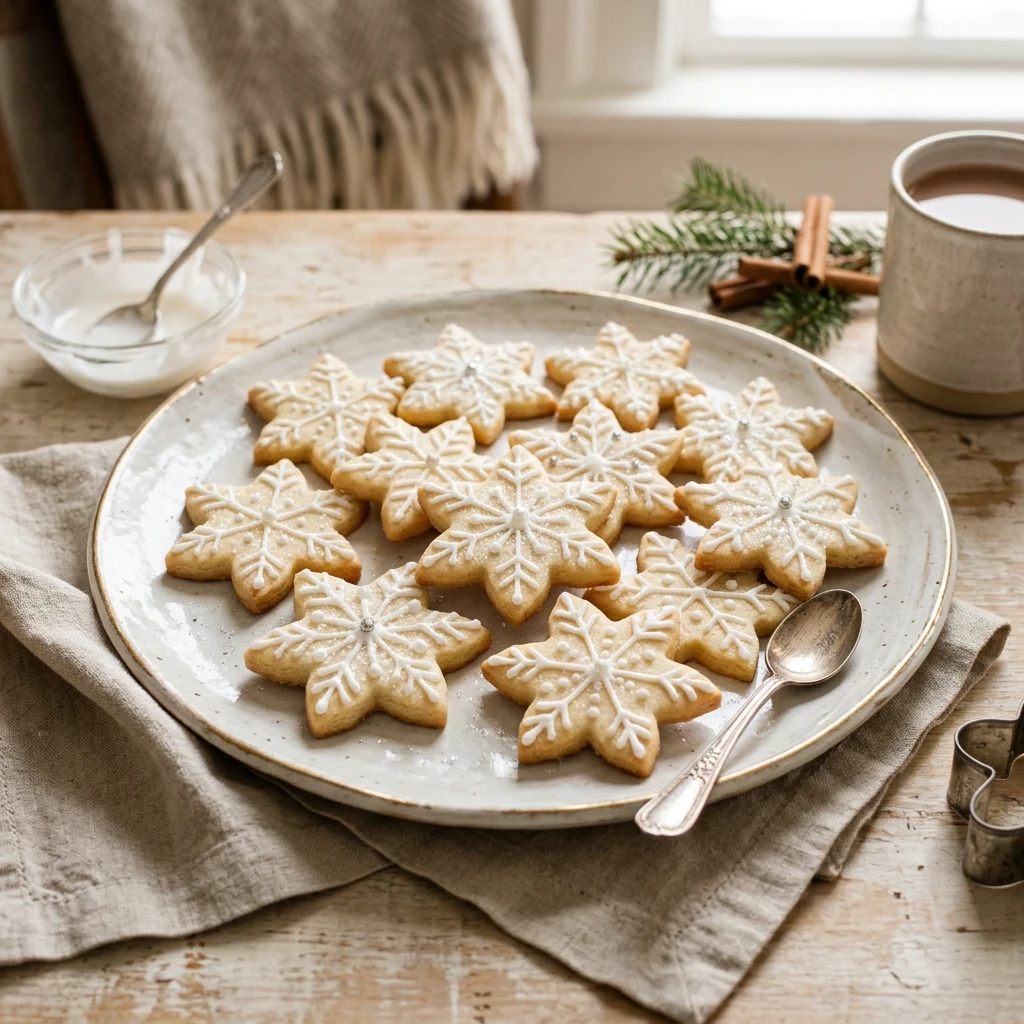
Variations of This Treat
You can easily customize these cookies by adding different spices like cinnamon or nutmeg to the flour for a warm winter flavor. For a modern look, try using a deep navy blue icing with white details instead of the traditional all white design. Another fun variation is to dip half of the cookie in melted white chocolate and sprinkle it with crushed peppermint for a refreshing holiday twist. You can also turn these into ornaments by poking a small hole in the top of the dough before baking.
Serving Suggestions: What to Pair with This Treat
These cookies are the perfect accompaniment to a steaming mug of hot cocoa or a spicy chai latte. For a Christmas party, arrange them on a large platter with some fresh rosemary sprigs and cranberries to create a beautiful winter forest scene. They also make wonderful homemade gifts when stacked in clear cellophane bags tied with a silver ribbon. If you are hosting a holiday dinner, serve them alongside a creamy vanilla bean panna cotta or a simple fruit salad for a light finish.
Storage & Reheating Instructions
Store your decorated cookies in an airtight container at room temperature for up to two weeks. To protect the designs, place a sheet of parchment paper between each layer of cookies. If you need to store them longer, these cookies freeze beautifully. Place the undecorated baked cookies in a freezer safe bag for up to three months. When you are ready to enjoy them, let them thaw at room temperature before applying the icing.
Memories Made Around the Table
I remember sitting at my kitchen table as a child, surrounded by bowls of sprinkles and sticky icing. My mother would let us spend hours decorating our own snowflakes, and no two ever looked the same. Now that I have my own kitchen, I cherish these moments even more because they slow down the fast pace of the holiday season. Watching the joy on my friends faces when they receive a box of these hand decorated treats is the best Christmas gift I could ask for.
FAQs
How do I prevent the cookies from spreading in the oven?
The secret is keeping the dough cold and ensuring your leavening measurements are accurate. Always chill the dough for at least an hour before rolling, and if the cut shapes feel warm, put the entire baking sheet in the fridge for ten minutes before sliding it into the oven.
Can I make the cookie dough in advance?
Yes, you can prepare the dough and keep it wrapped in the refrigerator for up to three days. This is a great way to save time when you are planning a big holiday baking session. Just let it sit on the counter for a few minutes if it feels too hard to roll.
How long does the royal icing take to dry?
Depending on the humidity in your kitchen, royal icing usually takes about 6 to 8 hours to dry completely. It is often best to let the decorated cookies sit out overnight before you try to stack or package them to ensure the patterns do not smudge.
Do I have to use meringue powder for the icing?
Meringue powder is the safest and easiest way to get that classic hard finish that royal icing is known for. It provides stability and a beautiful shine. While there are recipes using fresh egg whites, meringue powder is much more convenient and shelf stable for holiday baking.
Can I use this recipe for other cookie shapes?
Absolutely, this dough is very versatile and works for any cutout shape like Christmas trees, stars, or gingerbread men. The dough holds its edges very well, so it is perfect for any cutter that has fine details or sharp corners.
Final Thoughts
Baking these snowflake cookies is more than just making a dessert, it is about creating a little bit of winter wonder in your own home. Whether you are an expert decorator or just looking for a fun family activity, this recipe provides a reliable base for beautiful results. As you share these treats with your loved ones this Christmas, I hope they bring as much sweetness and light to your holiday celebrations as they do to mine.

Snowflake Sugar Cookies with Easy Royal Icing
- Total Time: 1 hour 40 minutes
Ingredients
- 3 cups all purpose flour
- 1 cup unsalted butter, softened
- 1 cup granulated sugar
- 1 large egg
- 2 teaspoons alcohol free vanilla extract
- 1/2 teaspoon almond extract
- 1 teaspoon baking powder
- 1/2 teaspoon salt
- 4 cups powdered sugar
- 3 tablespoons meringue powder
- 8 tablespoons warm water
Instructions
- In a large mixing bowl or the bowl of a stand mixer, beat the softened unsalted butter and granulated sugar together. Continue mixing on medium speed for about three minutes until the mixture is light, fluffy, and pale in color.
- Add the egg, alcohol free vanilla extract, and almond extract to the butter mixture. Beat well until everything is fully incorporated, scraping down the sides of the bowl with a spatula to ensure no streaks remain.
- In a separate medium bowl, whisk together the all purpose flour, baking powder, and salt. This ensures the leavening agent is evenly distributed so your cookies rise consistently in the oven.
- Gradually add the flour mixture to the wet ingredients while mixing on low speed. Continue to mix just until the dough comes together and no dry flour is visible. Be careful not to overwork the dough, as this can lead to tough cookies.
- Divide the dough into two flat discs and wrap them tightly in plastic wrap. Place them in the refrigerator for at least one hour. Chilling is essential to prevent the cookies from spreading and to make the dough easier to roll out.
- Preheat your oven to 350 degrees Fahrenheit. On a lightly floured surface, roll out one disc of dough to about a quarter inch thickness. Use your snowflake cutters to stamp out shapes and place them on a baking sheet lined with parchment paper.
- Bake the cookies for 8 to 10 minutes. The edges should be set and the tops should look matte, but they should not be browned. Let them cool on the baking sheet for five minutes before transferring them to a wire rack to cool completely.
- In a clean bowl, whisk together the powdered sugar, meringue powder, and 6 tablespoons of warm water. Beat on high speed for about five minutes until the icing forms stiff peaks. If it is too thick, add more water one teaspoon at a time until it reaches a thick but pipeable consistency.
- Transfer the icing to a piping bag fitted with a small round tip. Pipe intricate lines, dots, and patterns onto the cooled snowflake cookies. You can add edible glitter or silver pearls while the icing is still wet for an extra festive touch.
- Cook Time: 1 hour 40 minutes
- Diet: Vegetarian