
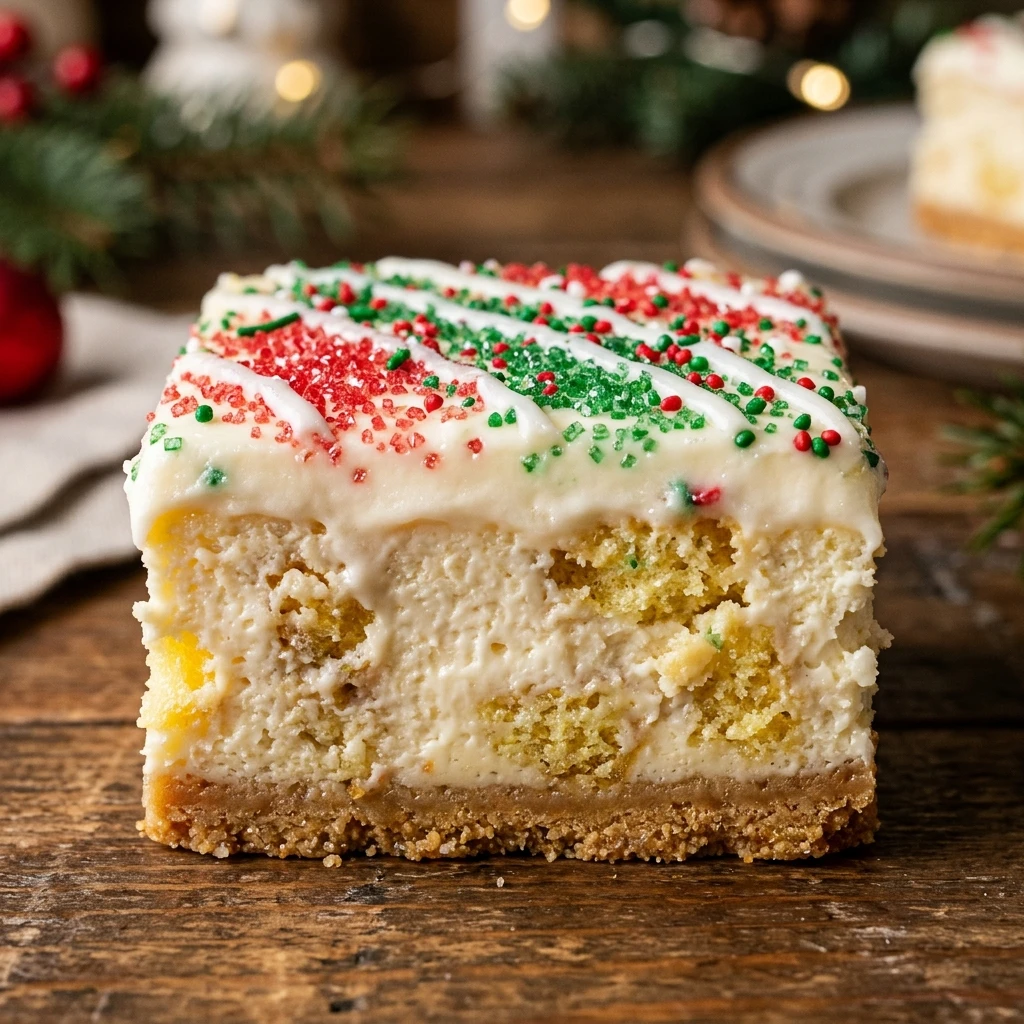
Every year when the holiday season rolls around, I find myself reaching for those iconic snack cakes that bring back so many childhood memories. I wanted to elevate that nostalgic flavor into something even more special for our family gatherings, so I created these creamy cheesecake bars. They are the perfect festive centerpiece for your dessert spread, combining the whimsical look of the holiday trees with a rich, velvety cheesecake layer that everyone will love.
Recipe Details
Recipe Information
- Prep Time: 20 minutes
- Cook Time: 40 minutes
- Total Time: 1 hour
- Servings: 12 bars
- Difficulty: Easy
Nutrition Information (Per Serving)
- Calories: 385
- Protein: 5g
- Carbs: 44g
- Fat: 22g
Why You’ll Love This Treat
This dessert is a total crowd-pleaser because it balances the sweetness of the white chocolate coating from the snack cakes with the tangy richness of a classic cheesecake. It is incredibly easy to put together, making it a stress-free option for busy holiday hosting. Plus, the bright red and green colors look stunning on a platter, capturing the essence of Christmas without needing any complex decorating skills. I love how the soft texture of the cake pieces embedded in the filling provides a delightful surprise in every single bite.
This Treat Ingredients & Substitutions
- 10 Little Debbie Christmas Tree Cakes (5 for the base, 5 for the topping)
- 16 ounces cream cheese, softened to room temperature
- 1/2 cup granulated sugar
- 1/2 cup sour cream
- 2 large eggs, room temperature
- 1 teaspoon alcohol-free vanilla extract
- 1/4 cup all-purpose flour
- 1/2 cup white chocolate chips, melted for drizzle
- 2 tablespoons festive red and green sprinkles
If you prefer a more traditional base, you can substitute the bottom layer of cakes with a graham cracker crust made of crumbs and melted butter. For a lighter version, plain Greek yogurt can be used in place of sour cream, though the texture may be slightly less dense. If you cannot find the specific tree-shaped cakes, any seasonal snack cake with a white coating and festive sprinkles will work beautifully to achieve a similar taste and aesthetic.
Step-by-Step Instructions to Make This Treat
Step 1: Preparation
Start by preheating your oven to 325 degrees Fahrenheit. Line an 8×8-inch square baking pan with parchment paper, ensuring there is a little overhang on the sides to help you lift the bars out later. Lightly grease the parchment paper with butter or non-stick spray to ensure nothing sticks during the baking process.
Step 2: Create the Base Layer
Take five of the snack cakes and carefully slice them horizontally or crumble them slightly to create an even layer across the bottom of your prepared pan. Press them down gently with your fingers or a spatula to form a solid base. This will act as the “crust” for your cheesecake bars and provide that signature flavor throughout the bottom layer.
Step 3: Mix the Cheesecake Filling
In a large mixing bowl, beat the softened cream cheese and granulated sugar together until the mixture is completely smooth and fluffy. Add the sour cream and alcohol-free vanilla extract, mixing until combined. Incorporate the eggs one at a time, beating on low speed just until the yellow disappears to avoid adding too much air. Finally, gently fold in the flour until no streaks remain.
Step 4: Assemble and Bake
Pour the cheesecake batter over the snack cake base, spreading it evenly to the corners with a spatula. Place the pan in the center of the oven and bake for 35 to 40 minutes. You will know it is done when the edges are set and slightly golden, but the center still has a slight jiggle. Avoid overbaking, as the cheesecake will continue to firm up as it cools.
Step 5: Cool and Decorate
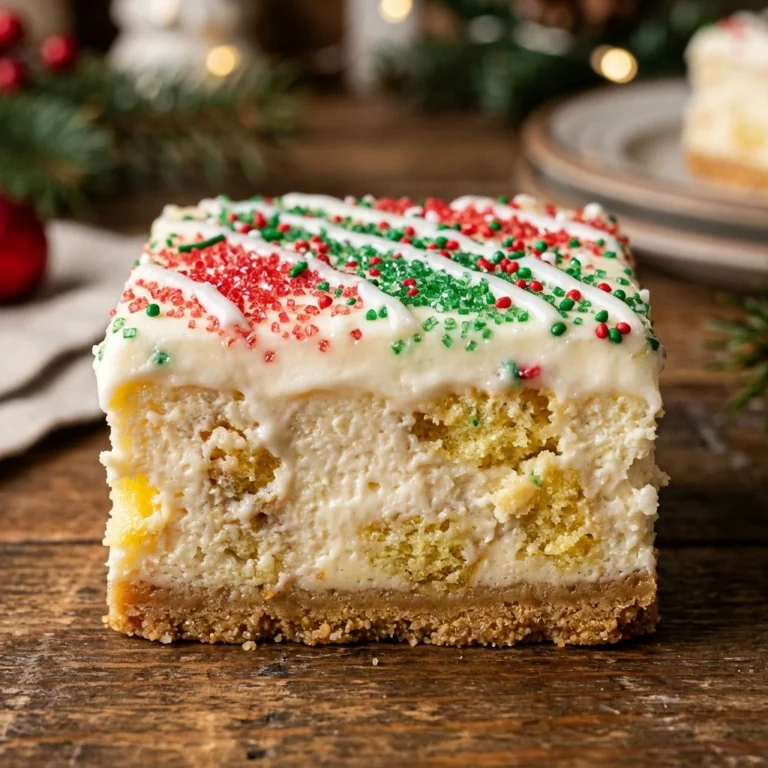
Allow the pan to cool completely at room temperature for about one hour. Once cooled, chop the remaining five snack cakes into bite-sized pieces and scatter them over the top of the cheesecake. Drizzle with melted white chocolate and add an extra pinch of festive sprinkles. Refrigerate for at least four hours, or preferably overnight, before lifting the parchment paper to slice the bars into squares.
Tips for Success
To get the best results, always use room temperature cream cheese and eggs. This ensures that your batter is smooth and free of lumps without having to over-mix the ingredients. When slicing the bars, wipe your knife with a warm, damp cloth between each cut. This simple trick will give you those perfectly clean, professional-looking edges that show off the beautiful layers of snack cake and creamy filling.
Variations of This Treat
For a chocolatey twist, you can use the chocolate version of the Christmas tree cakes and swap the white chocolate drizzle for a semi-sweet cocoa drizzle. If you want a more peppermint-themed dessert, add a tiny drop of peppermint extract to the cheesecake batter and top with crushed candy canes. You can also turn these into mini individual portions by using a muffin tin with liners, which is perfect for a large holiday party buffet.
Serving Suggestions: What to Pair with This Treat
These rich bars pair wonderfully with a hot beverage like a steaming mug of cocoa or a freshly brewed cup of coffee. The bitterness of the coffee helps balance the sweetness of the snack cakes. For a fun family treat, serve them alongside a cold glass of milk. If you are serving these as a plated dessert at a holiday dinner, a small dollop of whipped cream and a few fresh raspberries on the side can add a nice touch of tartness and elegance.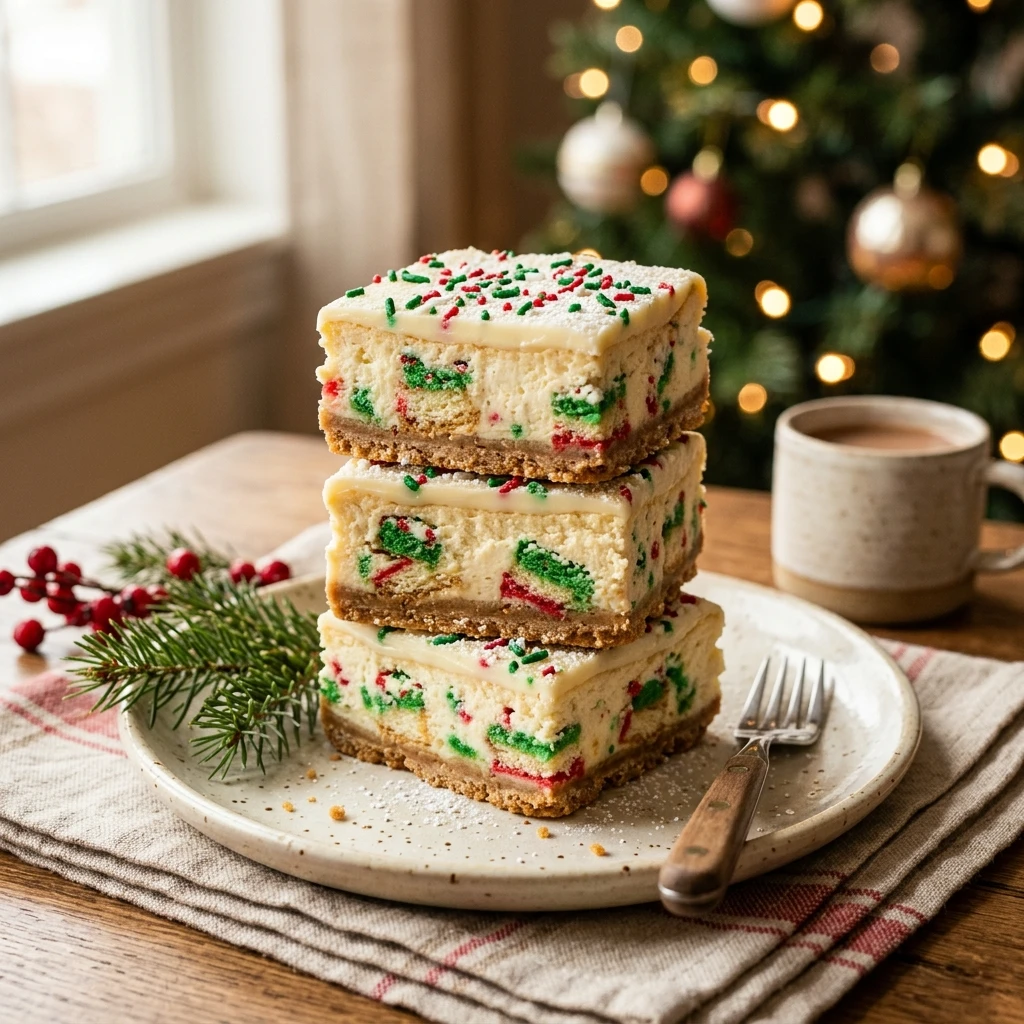
Storage & Reheating Instructions
Store any leftovers in an airtight container in the refrigerator for up to five days. Because of the cream cheese content, these bars should not be left at room temperature for more than two hours. While cheesecake bars are best enjoyed cold and do not require reheating, you can let them sit on the counter for 10 to 15 minutes before serving if you prefer a softer texture. I do not recommend freezing these bars, as the texture of the snack cakes may become soggy upon thawing.
Memories Made Around the Table
I remember the excitement of finding a tree cake in my lunchbox during the final week of school before winter break. It was a small signal that the magic of the holiday was truly beginning. Now that I am older, I love sharing that same sense of joy with my own friends and family through this recipe. Seeing my nieces and nephews pick the cake pieces off the top of these bars reminds me so much of how I used to eat them, making every holiday gathering feel just a little bit more nostalgic.
FAQs
Can I make this recipe in a larger pan?
Yes, you can double the ingredients and use a 9×13-inch baking pan. You will likely need about 16 to 20 snack cakes total to cover the base and the top. The baking time may increase by 10 to 15 minutes, so keep a close eye on the center of the cheesecake to ensure it is properly set.
How do I prevent the cheesecake from cracking?
The most common cause of cracking is over-mixing the eggs, which incorporates too much air into the batter. Mix on low speed and stop as soon as the eggs are combined. Additionally, avoiding a sudden temperature change by letting the bars cool at room temperature before putting them in the fridge will help maintain a smooth surface.
Can I use a different type of snack cake?
Absolutely. While the Christmas trees are perfect for the season, you can use the heart-shaped cakes for Valentine’s Day or the pumpkin-shaped ones for Autumn. The base cheesecake recipe is versatile enough to pair with almost any cream-filled snack cake available at the store.
Do I need to use a water bath for these bars?
A water bath is not strictly necessary for these bars because they are thinner than a traditional tall cheesecake. The snack cake base also provides a bit of a buffer. As long as you do not overbake them, the texture will remain creamy and delicious without the extra effort of a bain-marie.
Is the flour in the filling necessary?
The small amount of flour helps to stabilize the cheesecake and gives it a slightly more “bar-like” structure that is easier to hold. If you prefer a very soft, mousse-like consistency, you can omit the flour, but the bars may be a bit more fragile when you try to slice and serve them.
Final Thoughts
These Little Debbie Christmas Tree Cakes Cheesecake Bars are more than just a dessert, they are a festive celebration of holiday tradition. Whether you are bringing them to a potluck or enjoying a quiet night by the fire, they offer a perfect blend of creamy texture and nostalgic flavor. I hope this recipe adds a little extra sparkle to your holiday season and becomes a new favorite for your family for years to come.
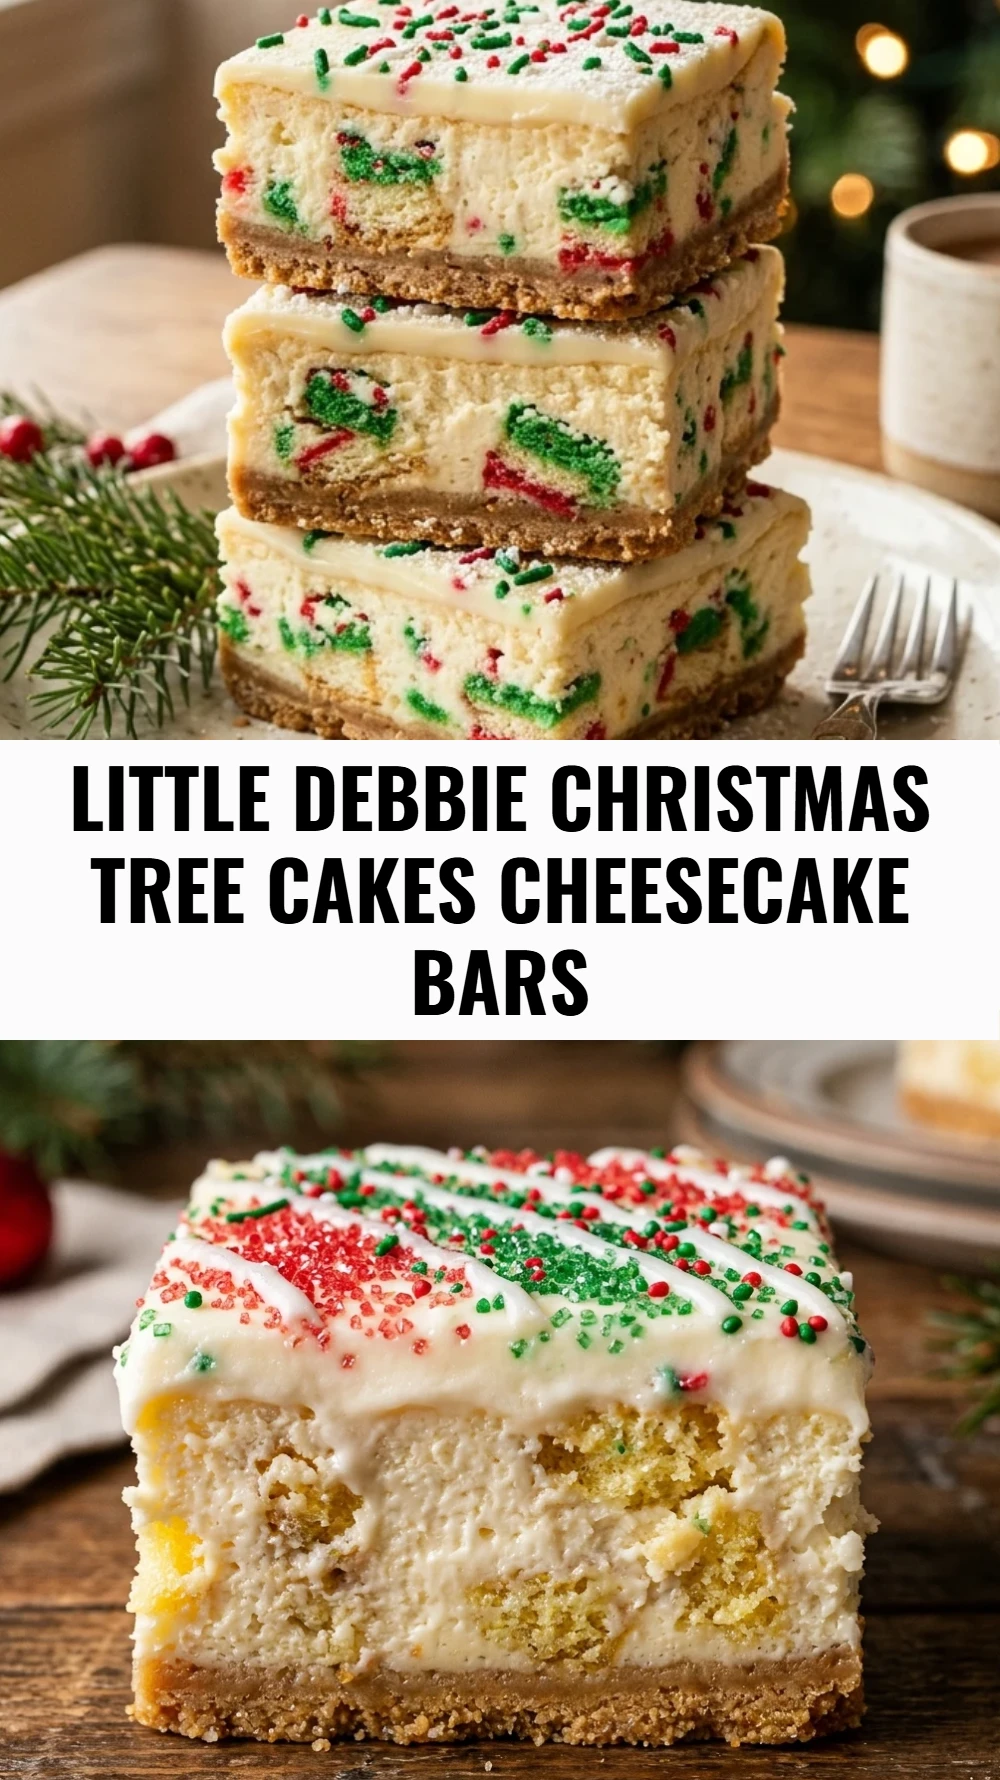
Little Debbie Christmas Tree Cakes Cheesecake Bars
- Total Time: 1 hour
Ingredients
- 10 Little Debbie Christmas Tree Cakes (5 for the base, 5 for the topping)
- 16 ounces cream cheese, softened to room temperature
- 1/2 cup granulated sugar
- 1/2 cup sour cream
- 2 large eggs, room temperature
- 1 teaspoon alcohol-free vanilla extract
- 1/4 cup all-purpose flour
- 1/2 cup white chocolate chips, melted for drizzle
- 2 tablespoons festive red and green sprinkles
Instructions
- Start by preheating your oven to 325 degrees Fahrenheit. Line an 8×8-inch square baking pan with parchment paper, ensuring there is a little overhang on the sides to help you lift the bars out later. Lightly grease the parchment paper with butter or non-stick spray to ensure nothing sticks during the baking process.
- Take five of the snack cakes and carefully slice them horizontally or crumble them slightly to create an even layer across the bottom of your prepared pan. Press them down gently with your fingers or a spatula to form a solid base. This will act as the “crust” for your cheesecake bars and provide that signature flavor throughout the bottom layer.
- In a large mixing bowl, beat the softened cream cheese and granulated sugar together until the mixture is completely smooth and fluffy. Add the sour cream and alcohol-free vanilla extract, mixing until combined. Incorporate the eggs one at a time, beating on low speed just until the yellow disappears to avoid adding too much air. Finally, gently fold in the flour until no streaks remain.
- Pour the cheesecake batter over the snack cake base, spreading it evenly to the corners with a spatula. Place the pan in the center of the oven and bake for 35 to 40 minutes. You will know it is done when the edges are set and slightly golden, but the center still has a slight jiggle. Avoid overbaking, as the cheesecake will continue to firm up as it cools.
- Allow the pan to cool completely at room temperature for about one hour. Once cooled, chop the remaining five snack cakes into bite-sized pieces and scatter them over the top of the cheesecake. Drizzle with melted white chocolate and add an extra pinch of festive sprinkles. Refrigerate for at least four hours, or preferably overnight, before lifting the parchment paper to slice the bars into squares.
- Cook Time: 1 hour
- Diet: Vegetarian