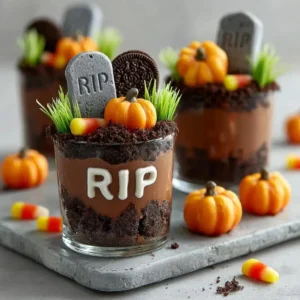
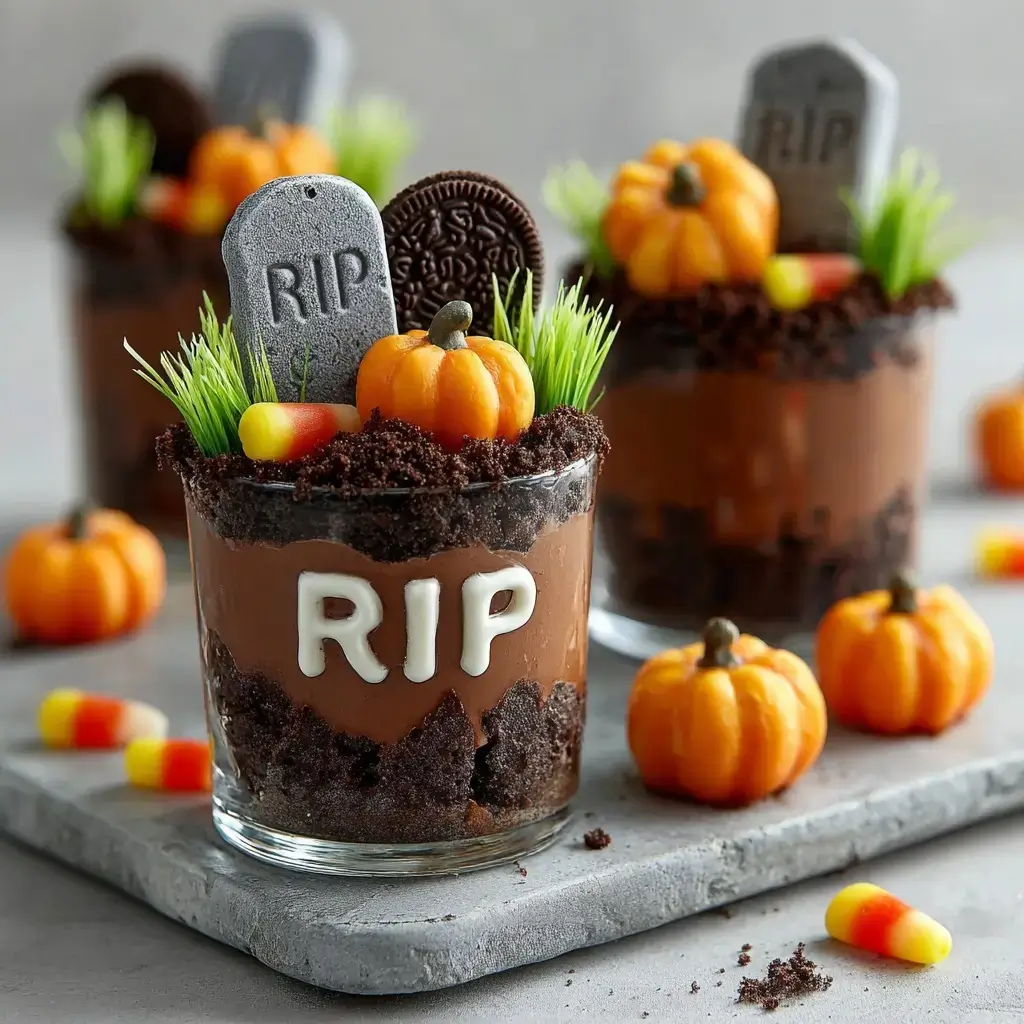
These Spooky Graveyard Pudding Cups are the easiest Halloween dessert to pull together and an instant crowd-pleaser. Creamy chocolate pudding, cookie dirt, and playful gummy worms come together in cute individual cups kids and adults love.
Why You’ll Love This Spooky Graveyard Pudding Cups
- No-bake and ready fast, perfect for busy weeknights or party prep.
- Kid-friendly assembly line that doubles as a festive activity.
- Budget-friendly ingredients you can find at any grocery store.
- Make-ahead friendly with simple tips to keep cookies crisp.
Spooky Graveyard Pudding Cups Ingredients & Substitutions
- Instant chocolate pudding mix (2 boxes, 3.4 oz each): Classic chocolate sets quickly. Sub: cook-and-serve pudding or premade pudding cups.
- Cold milk (4 cups): For instant pudding. For dairy-free, choose a plant-based pudding mix designed to set with non-dairy milk or use premade vegan pudding.
- Chocolate sandwich cookies (24 to 28): Crushed into ‘dirt’. Sub: gluten-free chocolate cookies, chocolate graham crackers, or chocolate wafers.
- Milano or rectangular cookies (8): For tombstones. Sub: Biscoff, shortbread, or any flat cookie.
- Black decorating gel or melted chocolate: To write RIP and simple designs.
- Whipped cream or whipped topping (about 1 cup): For a fluffy layer. Sub: coconut whipped topping.
- Gummy worms and candy pumpkins: Spooky garnish. Sub: chocolate rocks, candy bones, or crushed pretzel ‘twigs’.
- Shredded coconut (1/2 cup) + green food coloring (optional): Makes edible ‘grass’.
- 8 clear cups (8 to 9 oz): Individual serving cups or small mason jars.
Step-by-Step Instructions to Make Spooky Graveyard Pudding Cups
Step 1: Mix the pudding
In a large bowl, whisk pudding mixes with cold milk for 2 minutes until thick. Let sit 5 minutes to fully set. For extra richness, fold in a scoop of whipped cream.
Step 2: Make the cookie dirt
Pulse cookies in a food processor to fine crumbs, or place in a zip-top bag and crush with a rolling pin. Aim for a sandlike texture so it mounds neatly.
Step 3: Create coconut grass (optional)
Toss shredded coconut with a drop or two of green food coloring in a bag until evenly tinted. Add more color as needed.
Step 4: Decorate the tombstones
Write RIP, names, or tiny crosses on Milano cookies using black gel or a piping bag with melted chocolate. Let set a few minutes.
Step 5: Assemble the cups
Spoon pudding into cups, filling about two thirds full. Add a thin layer of cookie dirt, a tuft of coconut grass if using, then gently press in a tombstone cookie. Nestle gummy worms so they ‘crawl’ out of the dirt and add candy pumpkins.
Step 6: Chill and serve
Refrigerate at least 20 minutes to firm up. Keep chilled until serving.
Tips for Success
- Cold milk is key for instant pudding to set quickly and smoothly.
- Crush cookies finely so the top looks like neat soil and holds decorations upright.
- Add tombstones close to serving time to keep them crisp.
- Transport in a shallow casserole dish to keep cups upright. Add worms and pumpkins at the venue.
- For super-clean writing, chill Milano cookies 5 minutes before piping.
Variations of Spooky Graveyard Pudding Cups
- Witches’ Garden: Use vanilla pudding tinted green and top with chocolate cookie dirt.
- Peanut Butter Tombs: Fold 1/3 cup creamy peanut butter into the pudding for a chocolate peanut butter twist.
- Dairy-Free: Use a plant-based pudding or coconut pudding and coconut whipped topping.
- Gluten-Free: Choose certified gluten-free sandwich cookies and GF tombstone cookies.
- Cheesecake Dirt Cups: Blend softened cream cheese and whipped topping into vanilla pudding for a cheesecake vibe.
Serving Suggestions: What to Pair with Spooky Graveyard Pudding Cups
- Pour spiced hot apple cider or warm cocoa for cozy fall vibes.
- Balance the sweetness with a salty snack board of popcorn, pretzels, and cheese.
- Set up a topping bar with candy bones, chocolate rocks, and sprinkles for guests to customize.
- For classroom parties, make mini 5 oz cups to keep portions kid-sized.
Storage & Reheating Instructions
Store assembled cups covered in the refrigerator up to 3 days. For best texture, add tombstones and gummy worms the day you serve. Do not freeze, as pudding can separate. No reheating needed. Keep below 40 F, especially for school or party transport; pack in a cooler with ice packs.
Memories Made Around the Table
Every Halloween, we line up a decoration station and let little hands take over. The crooked RIPs, wiggly worms, and candy pumpkins always spark giggles, and somehow the mess makes the memories even sweeter.
FAQs
Can I make these a day ahead? Yes. Assemble pudding and dirt, then cover and chill. Add tombstones, worms, and pumpkins within 2 hours of serving.
Will instant pudding set with non-dairy milk? Some brands do not. Use a plant-based pudding mix designed for non-dairy milk, premade vegan pudding, or cook-and-serve versions that specify non-dairy options.
How do I crush cookies without a mess? Seal cookies in a zip-top bag, press out air, and roll with a rolling pin. Double-bag if kids are helping.
How can I prevent soggy tombstones? Insert cookies just before serving or brush the bottoms lightly with melted chocolate to create a moisture barrier.
How do I scale for a crowd? Each 3.4 oz pudding box plus 2 cups milk yields about 4 to 5 cups depending on cup size. Multiply as needed and buy extra cookies for topping.
Final Thoughts
Spooky Graveyard Pudding Cups are playful, quick, and guaranteed to disappear at any Halloween gathering. Keep it simple, let your creativity run wild, and have fun making sweet little scenes your guests will remember.

Spooky Graveyard Pudding Cups
Equipment
- 1 Large mixing bowl
- 1 Whisk
- 1 Food Processor or zip-top bag
- 1 Zip-top bag (optional)
- 1 Rolling Pin (optional)
- 1 piping bag or black decorating gel tube
- 8 Clear Cups (8 to 9 oz)
Ingredients
- 2 boxes instant chocolate pudding mix 3.4 oz each
- 4 cups cold milk
- 24 chocolate sandwich cookies crushed into fine crumbs (24 to 28 cookies)
- 8 Milano or rectangular cookies for tombstones
- Black decorating gel or melted chocolate for writing 'RIP' (optional)
- 1 cup whipped cream or whipped topping about
- Gummy worms and candy pumpkins for garnish
- 0.5 cup shredded coconut for optional 'grass'
- 2 drops green food coloring optional, to tint coconut
- 8 cups clear cups 8 to 9 oz
Instructions
Make the Cups
- In a large bowl, whisk pudding mixes with cold milk for 2 minutes until thick. Let sit 5 minutes to fully set. For extra richness, fold in a scoop of whipped cream.
- Pulse cookies in a food processor to fine crumbs, or place in a zip-top bag and crush with a rolling pin. Aim for a sandlike texture so it mounds neatly.
- Toss shredded coconut with a drop or two of green food coloring in a bag until evenly tinted. Add more color as needed.
- Write RIP, names, or tiny crosses on Milano cookies using black gel or a piping bag with melted chocolate. Let set a few minutes.
- Spoon pudding into cups, filling about two thirds full. Add a thin layer of cookie dirt, a tuft of coconut grass if using, then gently press in a tombstone cookie. Nestle gummy worms so they 'crawl' out of the dirt and add candy pumpkins.
- Refrigerate at least 20 minutes to firm up. Keep chilled until serving.

