
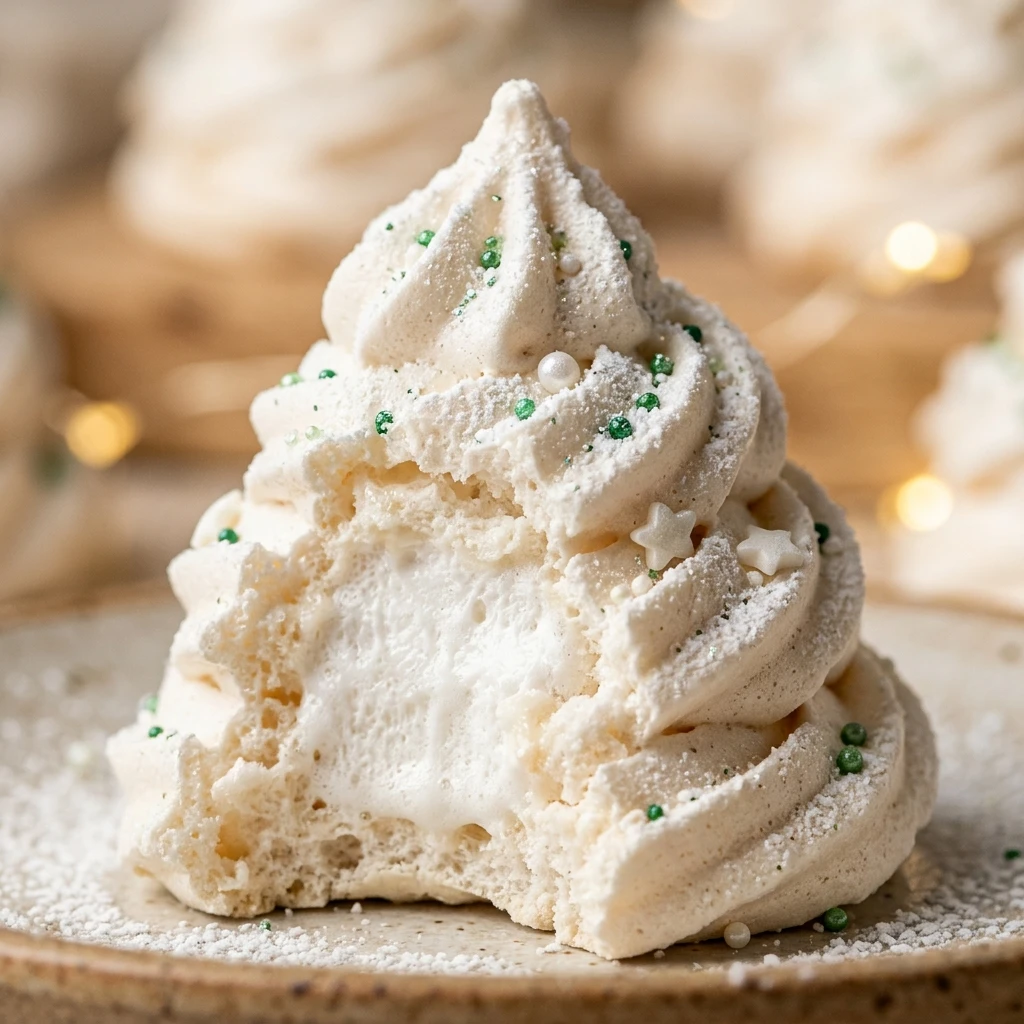
I always look forward to the holiday season because it means I can finally get creative with festive bakes that look as good as they taste. These little trees have become a staple on my Christmas dessert table because they are whimsical, light, and hide a gooey surprise inside. I love how the crisp meringue shell yields to a soft center, making every bite feel like a snowy winter miracle that delights both children and adults alike.
Recipe Details
Recipe Information
- Prep Time: 30 minutes
- Cook Time: 90 minutes
- Total Time: 120 minutes
- Servings: 24 trees
- Difficulty: Medium
Nutrition Information (Per Serving)
- Calories: 45 kcal
- Protein: 1g
- Carbs: 11g
- Fat: 0g
Why You’ll Love This Treat
This festive dessert is a showstopper because it combines the elegance of a classic French meringue with the playful surprise of a marshmallow core. Since they are naturally fat-free and incredibly light, they make for the perfect palate cleanser after a heavy holiday meal. You will love how easy they are to customize with different colors and sprinkles, allowing you to create a miniature edible forest right in your kitchen. Plus, the contrast between the crunchy exterior and the soft, pillowy marshmallow inside creates a texture that is absolutely addictive.
This Treat Ingredients & Substitutions
- 4 large egg whites, at room temperature
- 1 cup extra fine granulated sugar
- 1/4 teaspoon cream of tartar
- 1 teaspoon alcohol-free vanilla extract
- Green gel food coloring
- 24 mini marshmallows, made with agar-agar or plant-based alternatives
- Small gold star sprinkles
- Assorted colorful nonpareils or ball sprinkles
If you do not have cream of tartar, you can use an equal amount of lemon juice or white vinegar to help stabilize the egg whites. For the sugar, if you only have regular granulated sugar, pulse it in a blender for a few seconds to make it finer so it dissolves more easily. If you prefer a different look, you can leave out the green coloring for white snowy trees, and you can replace the alcohol-free vanilla with alcohol-free almond or peppermint extract for a different flavor profile.
Step-by-Step Instructions to Make This Treat
Step 1: Preparation and Oven Setup
Preheat your oven to 200 degrees Fahrenheit, which is approximately 95 degrees Celsius. Line two large baking sheets with parchment paper or silicone baking mats to ensure the meringues do not stick. This low temperature is crucial for drying out the meringues without browning them, keeping those festive colors bright.
Step 2: Whipping the Egg Whites
In a very clean, grease-free glass or metal bowl, beat the egg whites and cream of tartar on medium-low speed until soft peaks form. It is vital that there is no yolk or oil in the bowl, as even a tiny amount will prevent the whites from fluffing up properly.
Step 3: Gradually Adding Sugar
Increase the mixer speed to medium-high and begin adding the sugar one tablespoon at a time. Continue beating the mixture until stiff, glossy peaks form and the sugar is completely dissolved. You can check this by rubbing a small amount of the mixture between your fingers, if it feels gritty, keep beating for another minute.
Step 4: Coloring and Flavoring
Gently fold in the alcohol-free vanilla extract and a few drops of green gel food coloring. Use a spatula to swirl the color through until it is uniform, or leave it slightly streaky for a natural tree effect. Be careful not to over-mix, as you do not want to deflate the air you just worked so hard to incorporate.
Step 5: Piping the Trees
Transfer the meringue into a piping bag fitted with a large star tip. Place a mini marshmallow on the parchment paper to act as the “trunk” and center of your tree. Pipe a wide circle around the base of the marshmallow, then continue piping in a swirling upward motion to cover the marshmallow and end in a pointed tip at the top.
Step 6: Decorating and Baking
Immediately place a gold star sprinkle on the top of each tree and dust with colorful nonpareils to look like ornaments. Place the trays in the oven and bake for 90 minutes. Once the time is up, turn off the oven and leave the door slightly ajar, allowing the trees to cool and crisp up completely inside the oven for at least another hour.
Tips for Success
Always use room temperature eggs because they whip up to a much larger volume than cold eggs. Humidity is the enemy of meringue, so try to make these on a dry day, otherwise they might turn out sticky or soft. When adding the sugar, patience is key, as adding it too fast can cause the meringue to weep or collapse. Finally, make sure your piping bag and tips are completely dry before use, as any moisture can affect the stability of the peaks.
Variations of This Treat
You can create a “Flocked Tree” version by skipping the green dye and dusting the finished white meringues with edible silver glitter or shredded coconut. For a chocolate version, you can very gently fold in some cocoa powder at the end, though this may slightly change the texture. If you want to get extra creative, try using different piping tips like a round tip for a modern, minimalist tree look, or add a drop of peppermint extract for a refreshing winter flavor.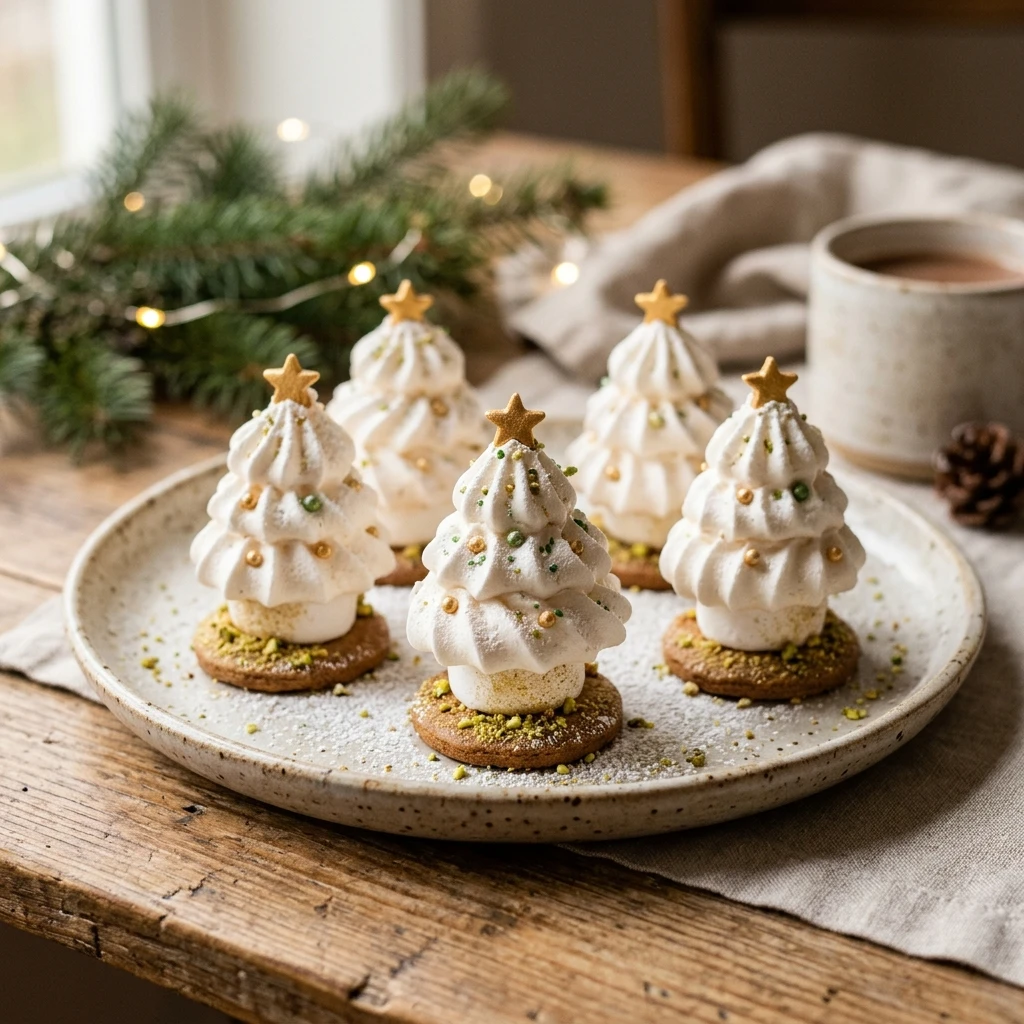
Serving Suggestions: What to Pair with This Treat
These mini trees look stunning when served on a platter dusted with powdered sugar to resemble a snowy forest. They pair beautifully with a warm mug of hot cocoa or a spicy herbal tea. For a more sophisticated dessert course, serve one tree alongside a scoop of dark chocolate sorbet or a bowl of fresh winter berries. They also make wonderful edible decorations for a larger Christmas cake or as festive toppers for holiday cupcakes.
Storage & Reheating Instructions
Store your meringue trees in an airtight container at room temperature. They are very sensitive to moisture, so keep them in a cool, dry place away from the stove or sink. If stored properly, they will remain crisp for up to 5 days. Do not refrigerate or freeze them, as the humidity in the fridge will cause them to melt and become sticky. Reheating is not recommended, but if they do soften, you can try placing them back in a 200 degree oven for 10 minutes to crisp them up again.
Memories Made Around the Table
I remember the first time I made these with my nieces and the pure joy on their faces when they discovered the hidden marshmallow inside. We spent the whole afternoon covered in green sugar and laughter, creating a new tradition that we revisit every December. It is moments like those, gathered around a tray of sweet treats and sharing stories while the snow falls outside, that truly define the spirit of the holidays for me. These trees are not just desserts, they are little conversation starters that bring everyone together.
FAQs
Can I make these meringue trees ahead of time?
Yes, you can definitely make these a few days in advance. As long as they are kept in a strictly airtight container in a dry environment, they will stay perfectly crisp for several days, making them a great make-ahead option for busy holiday hosting.
Why did my meringues crack after baking?
Cracking usually happens when the meringues cool down too quickly. To prevent this, always leave them in the oven with the door cracked open after the baking time is finished. This allows them to adjust to the room temperature gradually.
Can I use liquid food coloring instead of gel?
It is best to avoid liquid food coloring because the extra moisture can change the consistency of the meringue and cause it to lose its shape. Gel coloring is much more concentrated, so you only need a tiny amount to achieve a vibrant green without affecting the texture.
What if I do not have a piping bag or tips?
If you do not have professional tools, you can use a gallon-sized plastic freezer bag. Simply snip off one corner to pipe the rounds. While you won’t get the “branches” look from a star tip, you can create smooth, elegant conical trees that look just as lovely.
How do I know when the meringues are completely done?
The meringues should feel very light and be easy to lift off the parchment paper without sticking. They should be firm to the touch and sound hollow when gently tapped on the bottom. If they still feel soft or sticky, they need more time to dry out in the low oven.
Final Thoughts
These Mini Meringue Christmas Trees are the ultimate holiday project because they are as fun to decorate as they are to eat. The secret marshmallow center is a delightful surprise that adds a soft chewiness to the classic crunch of the meringue. Whether you are gifting them in little cellophane bags or featuring them as the centerpiece of your dessert board, they are sure to bring a touch of magic to your Christmas celebrations. Happy baking and enjoy your festive forest of treats.
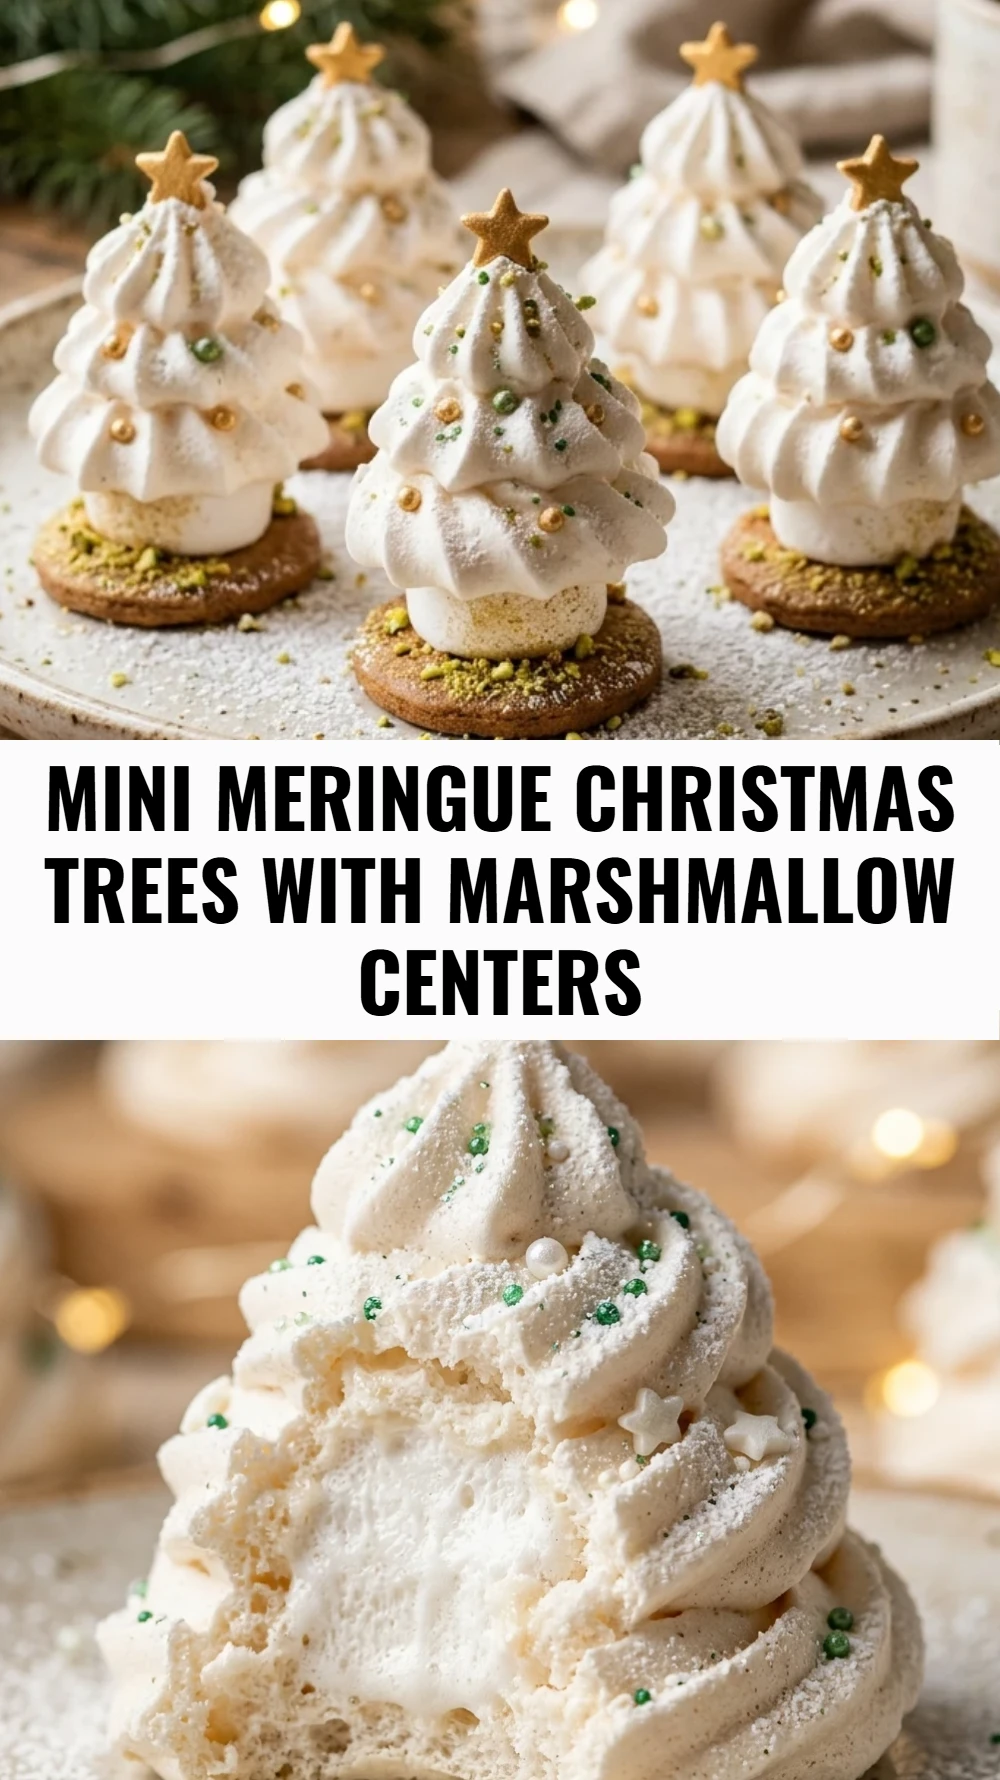
Mini Meringue Christmas Trees with Marshmallow Centers
- Total Time: 2 hours
Ingredients
- 4 large egg whites, at room temperature
- 1 cup extra fine granulated sugar
- 1/4 teaspoon cream of tartar
- 1 teaspoon alcohol-free vanilla extract
- Green gel food coloring
- 24 mini marshmallows, made with agar-agar or plant-based alternatives
- Small gold star sprinkles
- Assorted colorful nonpareils or ball sprinkles
Instructions
- Preheat your oven to 200 degrees Fahrenheit, which is approximately 95 degrees Celsius. Line two large baking sheets with parchment paper or silicone baking mats to ensure the meringues do not stick. This low temperature is crucial for drying out the meringues without browning them, keeping those festive colors bright.
- In a very clean, grease-free glass or metal bowl, beat the egg whites and cream of tartar on medium-low speed until soft peaks form. It is vital that there is no yolk or oil in the bowl, as even a tiny amount will prevent the whites from fluffing up properly.
- Increase the mixer speed to medium-high and begin adding the sugar one tablespoon at a time. Continue beating the mixture until stiff, glossy peaks form and the sugar is completely dissolved. You can check this by rubbing a small amount of the mixture between your fingers, if it feels gritty, keep beating for another minute.
- Gently fold in the alcohol-free vanilla extract and a few drops of green gel food coloring. Use a spatula to swirl the color through until it is uniform, or leave it slightly streaky for a natural tree effect. Be careful not to over-mix, as you do not want to deflate the air you just worked so hard to incorporate.
- Transfer the meringue into a piping bag fitted with a large star tip. Place a mini marshmallow on the parchment paper to act as the “trunk” and center of your tree. Pipe a wide circle around the base of the marshmallow, then continue piping in a swirling upward motion to cover the marshmallow and end in a pointed tip at the top.
- Immediately place a gold star sprinkle on the top of each tree and dust with colorful nonpareils to look like ornaments. Place the trays in the oven and bake for 90 minutes. Once the time is up, turn off the oven and leave the door slightly ajar, allowing the trees to cool and crisp up completely inside the oven for at least another hour.
- Cook Time: 120 minutes
- Diet: Vegetarian, Fat-Free