
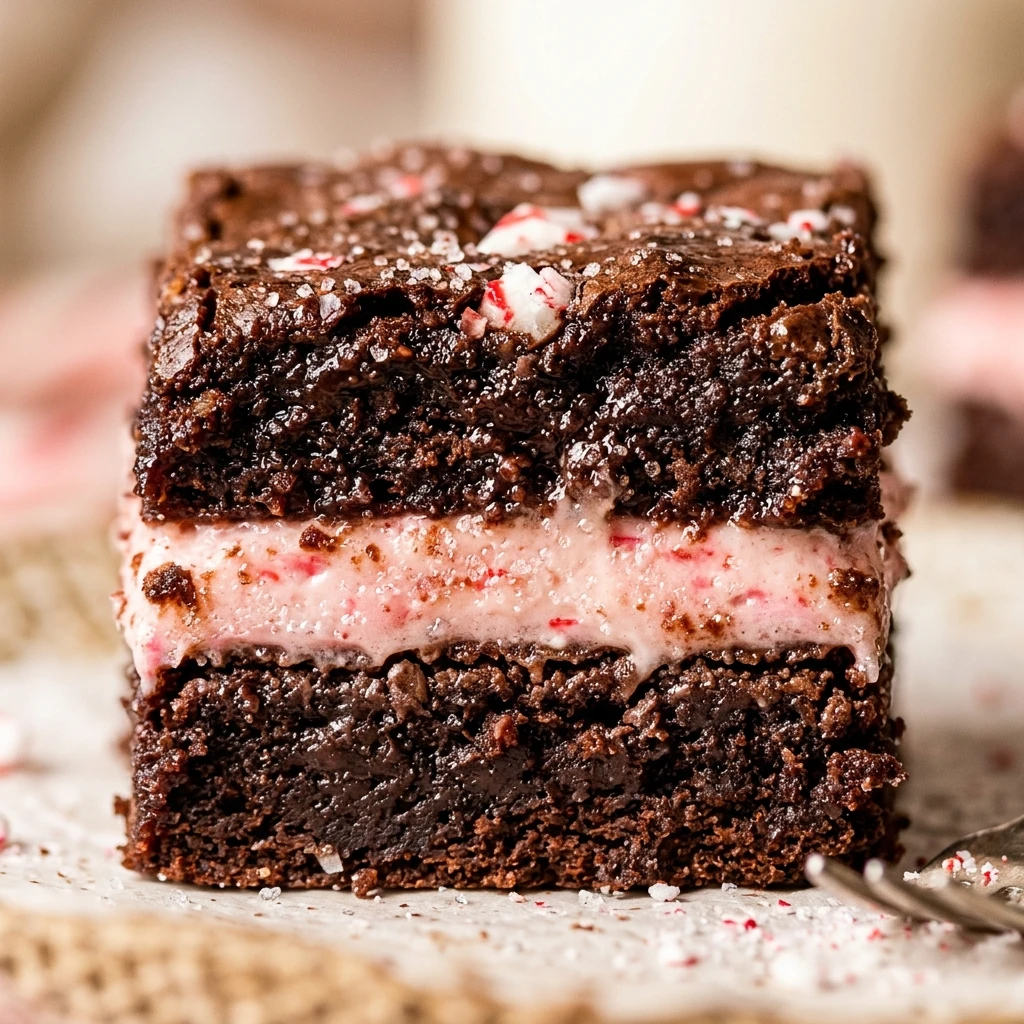
I always look forward to the holiday season when my kitchen fills with the scent of chocolate and peppermint. These Layered Peppermint Brownies are my favorite way to celebrate because they look so festive and taste like Christmas in every bite. I love how the cooling mint cream balances the rich, fudgy base to create the ultimate holiday treat for any gathering.
Recipe Details
Recipe Information
- Prep Time: 25 minutes
- Cook Time: 35 minutes
- Total Time: 60 minutes
- Servings: 16 squares
- Difficulty: Medium
Nutrition Information (Per Serving)
- Calories: 340
- Protein: 3g
- Carbs: 44g
- Fat: 18g
Why You’ll Love This Layered Peppermint Brownies
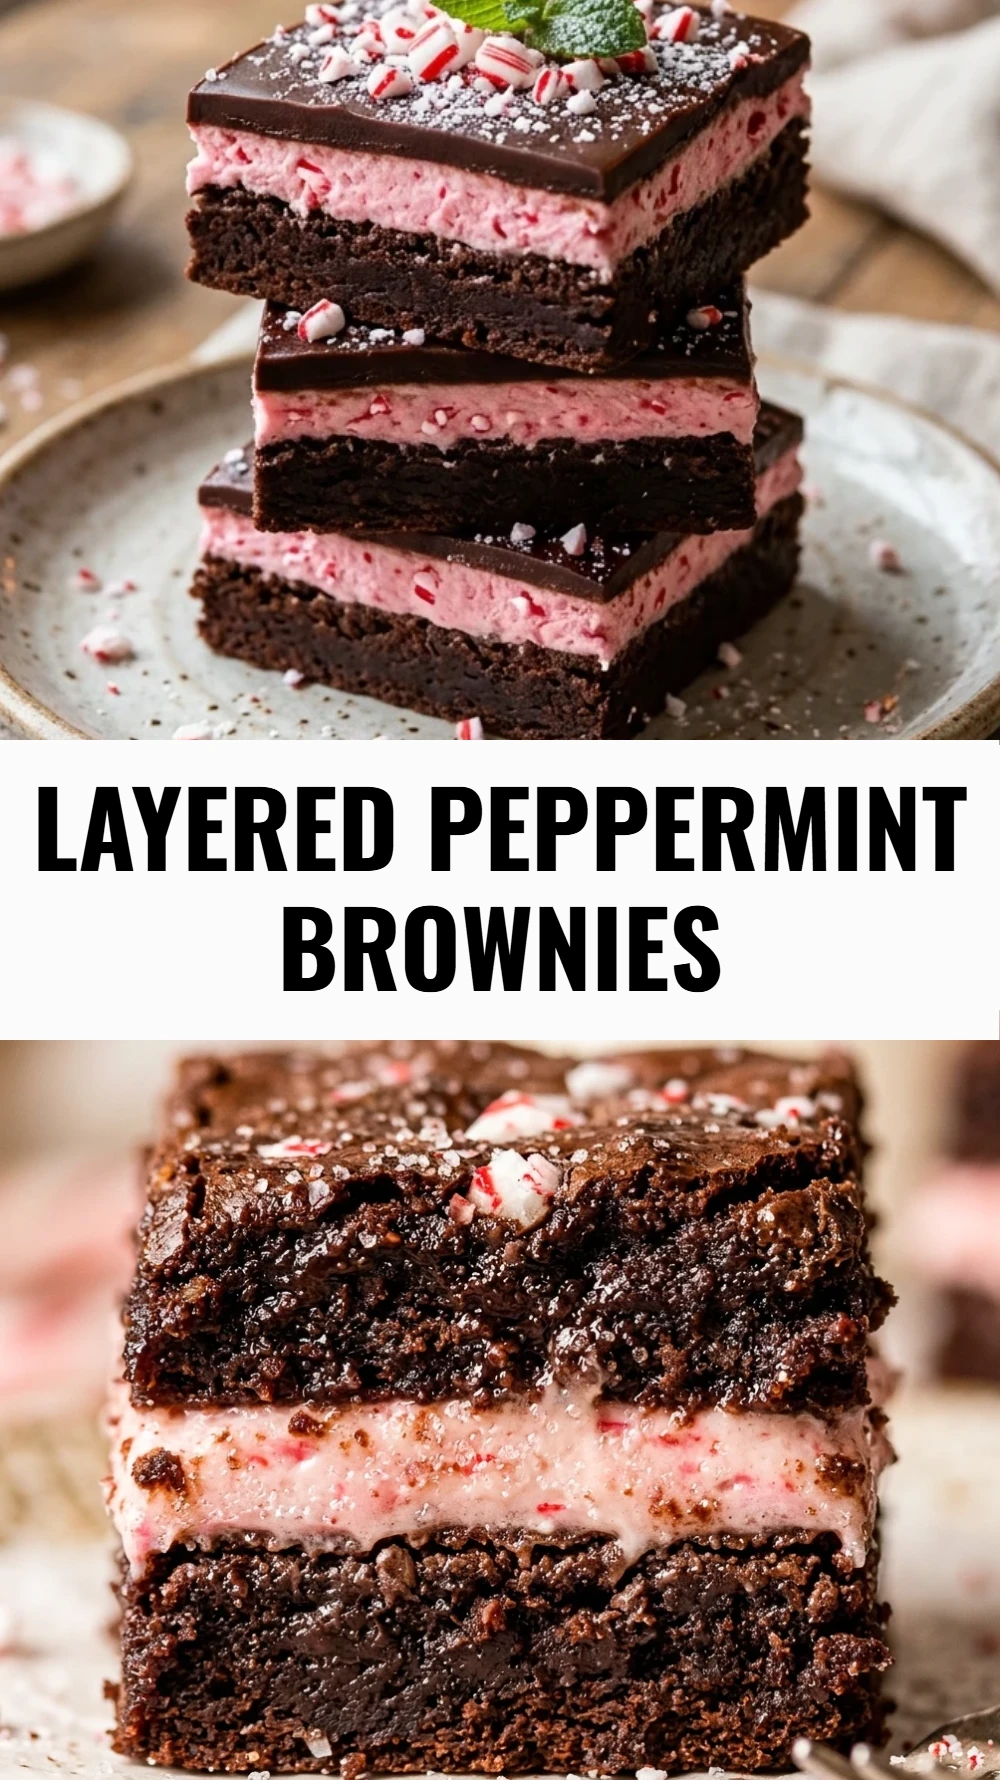
These brownies are a true showstopper for the Christmas season. They feature three distinct layers that offer a beautiful contrast in textures, from the dense and chewy brownie bottom to the fluffy peppermint frosting and the smooth chocolate ganache on top. They look professional and elegant on a dessert platter, yet the process of making them is straightforward and rewarding. The cooling sensation of the peppermint paired with the deep cocoa flavor makes every bite feel like a celebration.
Layered Peppermint Brownies Ingredients & Substitutions
- 1/2 cup unsalted butter, melted
- 1 cup granulated sugar
- 1/2 cup unsweetened cocoa powder
- 1/4 teaspoon salt
- 1 teaspoon alcohol-free vanilla extract
- 2 large eggs
- 1/2 cup all-purpose flour
- 2 cups powdered sugar
- 1/4 cup unsalted butter, softened
- 2 tablespoons heavy cream
- 1/2 teaspoon peppermint extract
- 2 drops red or green food coloring (optional)
- 1 cup semi-sweet chocolate chips
- 4 tablespoons unsalted butter, for the glaze
- 1/4 cup crushed candy canes for garnish
For a different texture, you can use vegetable oil instead of butter in the brownie base to make it extra fudgy. If you prefer a milder mint flavor, reduce the peppermint extract in the middle layer to one quarter teaspoon. You can also substitute the semi-sweet chocolate chips with dark chocolate chips if you enjoy a more intense, less sweet finish to your holiday treats.
Step-by-Step Instructions to Make Layered Peppermint Brownies
Step 1: Preparation and Brownie Base
Preheat your oven to 350 degrees Fahrenheit and grease an 8×8 inch baking pan or line it with parchment paper for easy removal. In a medium bowl, whisk together the melted butter, granulated sugar, cocoa powder, and salt until smooth. Stir in the alcohol-free vanilla and eggs one at a time, then gently fold in the flour until just combined, taking care not to overmix the batter.
Step 2: Baking the Foundation
Spread the brownie batter evenly into the prepared pan and bake for 25 to 30 minutes, or until a toothpick inserted into the center comes out with a few moist crumbs. It is vital to let the brownies cool completely in the pan before adding the next layer, as any residual heat will melt the peppermint frosting.
Step 3: Creating the Peppermint Cream
In a large mixing bowl, beat together the softened butter, powdered sugar, heavy cream, and peppermint extract until the mixture is light and fluffy. If you want a festive look, add a drop of red or green food coloring to the frosting. Spread this minty layer evenly over the cooled brownies using an offset spatula to ensure a smooth surface.
Step 4: Preparing the Chocolate Glaze
Combine the chocolate chips and the remaining 4 tablespoons of butter in a microwave-safe bowl. Heat in 30 second intervals, stirring in between, until the mixture is completely melted and glossy. Let the glaze cool for a few minutes so it is thickened but still pourable.
Step 5: Final Layering and Chilling
Pour the chocolate glaze over the peppermint frosting layer and tilt the pan to spread it to the edges. While the chocolate is still wet, sprinkle the crushed candy canes over the top for a beautiful Christmas crunch. Place the pan in the refrigerator for at least 30 to 60 minutes to allow the layers to set firmly before slicing.
Tips for Success
To get perfectly clean slices, make sure the brownies are thoroughly chilled before cutting. Use a sharp knife and dip it in hot water, then wipe it dry between each cut to prevent the peppermint layer from smearing into the chocolate. If your peppermint frosting feels too stiff, add a tiny splash more of heavy cream, but keep it thick enough to hold its shape under the weight of the chocolate glaze.
Variations of Layered Peppermint Brownies
You can easily customize these brownies by changing the topping. Instead of crushed candy canes, try a drizzle of white chocolate or a sprinkle of festive sprinkles. For a different flavor profile, you can swap the peppermint extract in the middle layer for almond extract and top with toasted sliced almonds. Another fun twist is to add a handful of chocolate chips directly into the brownie batter for extra pockets of melted chocolate.
Serving Suggestions: What to Pair with Layered Peppermint Brownies
These rich brownies pair wonderfully with a warm mug of hot cocoa or a steaming cup of coffee to balance the sweetness. During a Christmas party, serve them alongside a scoop of alcohol-free vanilla bean ice cream for a decadent plated dessert. They also look lovely when stacked on a tiered cake stand with other holiday cookies like gingerbread or shortbread.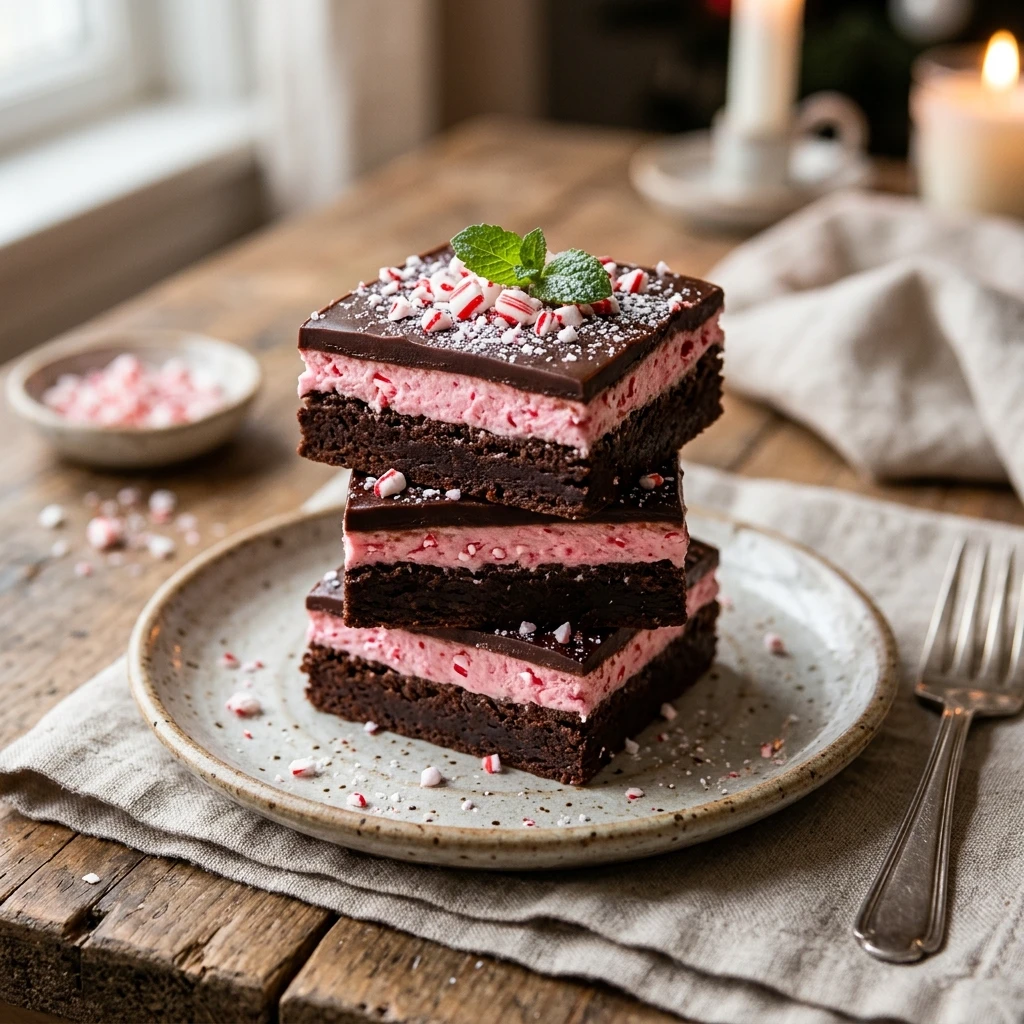
Storage & Reheating Instructions
Store your Layered Peppermint Brownies in an airtight container in the refrigerator for up to one week. Because of the creamy middle layer, they stay freshest and hold their shape best when kept cold. If you prefer a softer brownie, let a square sit at room temperature for about 15 minutes before eating. These can also be frozen for up to two months, just be sure to wrap them tightly in plastic wrap and foil.
Memories Made Around the Table
I remember the first time I made these for our family Christmas Eve party and how quickly the tray cleared. My children loved helping me crush the candy canes in a plastic bag, laughing at the loud tapping sounds on the counter. Now, every time I smell that sharp, sweet scent of peppermint mixing with rich cocoa, it takes me right back to those cozy nights spent by the fireplace with the people I love most.
FAQs
Can I make these brownies gluten free?
Yes, you can substitute the all-purpose flour with a high-quality gluten-free flour blend. Ensure the blend includes xanthan gum to help the brownie base maintain its structure and chewiness.
Why did my chocolate glaze crack when I cut the brownies?
Chocolate can crack if it is too cold and brittle when sliced. To avoid this, let the brownies sit at room temperature for 10 minutes before cutting, or use a warmed knife to glide through the chocolate layer smoothly.
Do I have to use food coloring?
Not at all. The food coloring is purely for aesthetic reasons to give that classic Christmas pink or green look. The peppermint frosting will be a beautiful snowy white if you choose to leave it natural.
Can I use a boxed brownie mix for the base?
Absolutely. If you are short on time, a store-bought brownie mix works perfectly as the bottom layer. Just follow the package instructions for an 8×8 inch pan and let it cool completely before proceeding with the homemade layers.
How do I crush candy canes without making a mess?
The best way to crush them is to place the unwrapped candy canes in a heavy-duty zip-top bag and gently tap them with a rolling pin or a meat mallet. This keeps all the sticky dust contained and allows you to control the size of the pieces.
Final Thoughts
These Layered Peppermint Brownies are more than just a dessert, they are a festive tradition waiting to happen. With their striking appearance and the perfect balance of chocolate and mint, they are sure to be the highlight of your holiday baking. Whether you are gifting them to neighbors or serving them at your own Christmas dinner, these treats bring a little bit of magic to the table.
Layered Peppermint Brownies
- Total Time: 1 hour
Ingredients
- 1/2 cup unsalted butter, melted
- 1 cup granulated sugar
- 1/2 cup unsweetened cocoa powder
- 1/4 teaspoon salt
- 1 teaspoon alcohol-free vanilla extract
- 2 large eggs
- 1/2 cup all-purpose flour
- 2 cups powdered sugar
- 1/4 cup unsalted butter, softened
- 2 tablespoons heavy cream
- 1/2 teaspoon peppermint extract
- 2 drops red or green food coloring (optional)
- 1 cup semi-sweet chocolate chips
- 4 tablespoons unsalted butter, for the glaze
- 1/4 cup crushed candy canes for garnish
Instructions
- Preheat your oven to 350 degrees Fahrenheit and grease an 8×8 inch baking pan or line it with parchment paper for easy removal. In a medium bowl, whisk together the melted butter, granulated sugar, cocoa powder, and salt until smooth. Stir in the alcohol-free vanilla and eggs one at a time, then gently fold in the flour until just combined, taking care not to overmix the batter.
- Spread the brownie batter evenly into the prepared pan and bake for 25 to 30 minutes, or until a toothpick inserted into the center comes out with a few moist crumbs. It is vital to let the brownies cool completely in the pan before adding the next layer, as any residual heat will melt the peppermint frosting.
- In a large mixing bowl, beat together the softened butter, powdered sugar, heavy cream, and peppermint extract until the mixture is light and fluffy. If you want a festive look, add a drop of red or green food coloring to the frosting. Spread this minty layer evenly over the cooled brownies using an offset spatula to ensure a smooth surface.
- Combine the chocolate chips and the remaining 4 tablespoons of butter in a microwave-safe bowl. Heat in 30 second intervals, stirring in between, until the mixture is completely melted and glossy. Let the glaze cool for a few minutes so it is thickened but still pourable.
- Pour the chocolate glaze over the peppermint frosting layer and tilt the pan to spread it to the edges. While the chocolate is still wet, sprinkle the crushed candy canes over the top for a beautiful Christmas crunch. Place the pan in the refrigerator for at least 30 to 60 minutes to allow the layers to set firmly before slicing.
- Cook Time: 60 minutes
- Diet: Vegetarian