
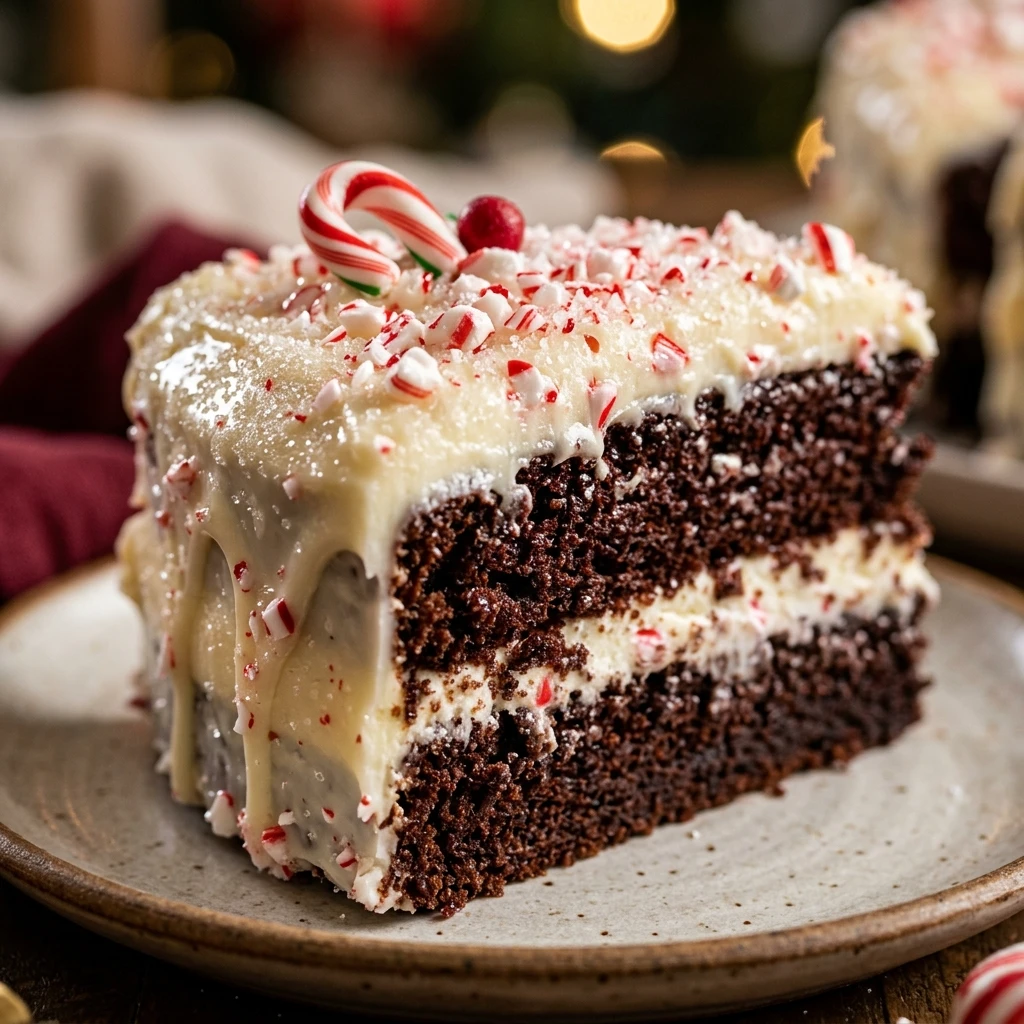
Christmas is my absolute favorite time of year, especially when the kitchen fills with the scent of fresh peppermint and sweet vanilla. I always look forward to baking something special that captures the magic of the holiday season, and this cake is my favorite centerpiece for our family gathering. It is a stunning, moist white cake layered with festive red accents and a cool, creamy frosting that perfectly balances the sweetness of the holidays.
Recipe Details
Recipe Information
- Prep Time: 30 minutes
- Cook Time: 35 minutes
- Total Time: 1 hour 5 minutes
- Servings: 12 servings
- Difficulty: Medium
Nutrition Information (Per Serving)
- Calories: 420 kcal
- Protein: 5g
- Carbs: 58g
- Fat: 20g
Why You’ll Love This Holiday Peppermint Cake
This dessert is the definition of Christmas in every bite. The texture is incredibly light and airy, thanks to the use of egg whites, while the peppermint extract provides a refreshing finish that cuts through the rich buttercream. It is visually striking with its snowy white frosting and crushed candy cane topping, making it the perfect addition to any holiday dessert table. Best of all, it brings a nostalgic flavor that reminds everyone of winter wonderlands and cozy nights by the fire.
Holiday Peppermint Cake Ingredients & Substitutions
- 2 1/2 cups all-purpose flour
- 1 1/2 cups granulated sugar
- 1 tablespoon baking powder
- 1/2 teaspoon salt
- 3/4 cup unsalted butter, softened
- 1 cup whole milk, room temperature
- 1/2 cup sour cream
- 4 large egg whites
- 2 teaspoons alcohol-free vanilla extract
- 1 teaspoon peppermint extract
- 1/2 cup crushed candy canes
- For the frosting: 1 cup unsalted butter, 4 cups powdered sugar, 2 tablespoons heavy cream, and 1/2 teaspoon peppermint extract
If you do not have sour cream, you can easily substitute it with plain Greek yogurt to keep the cake moist. For a dairy-free version, use a plant-based butter alternative and almond milk with a teaspoon of lemon juice. If you prefer a stronger mint flavor, you can increase the peppermint extract by a half teaspoon, but be careful as it can become overpowering very quickly.
Step-by-Step Instructions to Make Holiday Peppermint Cake
Step 1: Preparation
Preheat your oven to 350 degrees Fahrenheit. Grease and flour two 8-inch round cake pans or line the bottoms with parchment paper to ensure the cakes release easily after baking.
Step 2: Mix the Dry Ingredients
In a large mixing bowl, whisk together the all-purpose flour, granulated sugar, baking powder, and salt. Ensure there are no large clumps so the cake has a uniform, fine crumb.
Step 3: Cream the Butter and Liquids
In a separate large bowl, beat the softened butter until creamy. Slowly add the milk, sour cream, alcohol-free vanilla extract, and peppermint extract. Mix until well combined, even if the mixture looks slightly curdled at this stage.
Step 4: Combine and Add Egg Whites
Gradually add the dry ingredients to the wet mixture, beating on low speed until just combined. In a clean bowl, whip the egg whites until stiff peaks form, then gently fold them into the batter using a spatula to keep the cake light and fluffy.
Step 5: Bake the Cakes
Divide the batter evenly between the two prepared pans. Bake for 30 to 35 minutes, or until a toothpick inserted into the center comes out clean. Let the cakes cool in the pans for 10 minutes before transferring them to a wire rack to cool completely.
Step 6: Frost and Decorate
Beat the frosting ingredients together until smooth and fluffy. Place one cake layer on a plate, spread a layer of frosting, and top with the second cake. Cover the entire cake with the remaining frosting and press the crushed candy canes onto the sides or sprinkle them generously on top.
Tips for Success
To get the whitest cake possible, ensure you are using a high-quality alcohol-free vanilla that is clear. Room temperature ingredients are vital for this recipe because they emulsify better, creating a smooth batter that rises evenly. When folding in the egg whites, use a very light hand, as over-mixing will deflate the air and result in a dense cake rather than a fluffy one. Lastly, wait until the cake is entirely cool before frosting, otherwise, the peppermint buttercream will melt right off the sides.
Variations of Holiday Peppermint Cake
You can transform this into a chocolate peppermint cake by substituting half a cup of flour with high-quality cocoa powder. For a festive surprise inside, add a few drops of red food coloring to half of the batter and swirl it with the white batter to create a marble effect. If you prefer a different texture, try adding white chocolate chips to the batter for little pockets of sweetness that pair beautifully with the mint.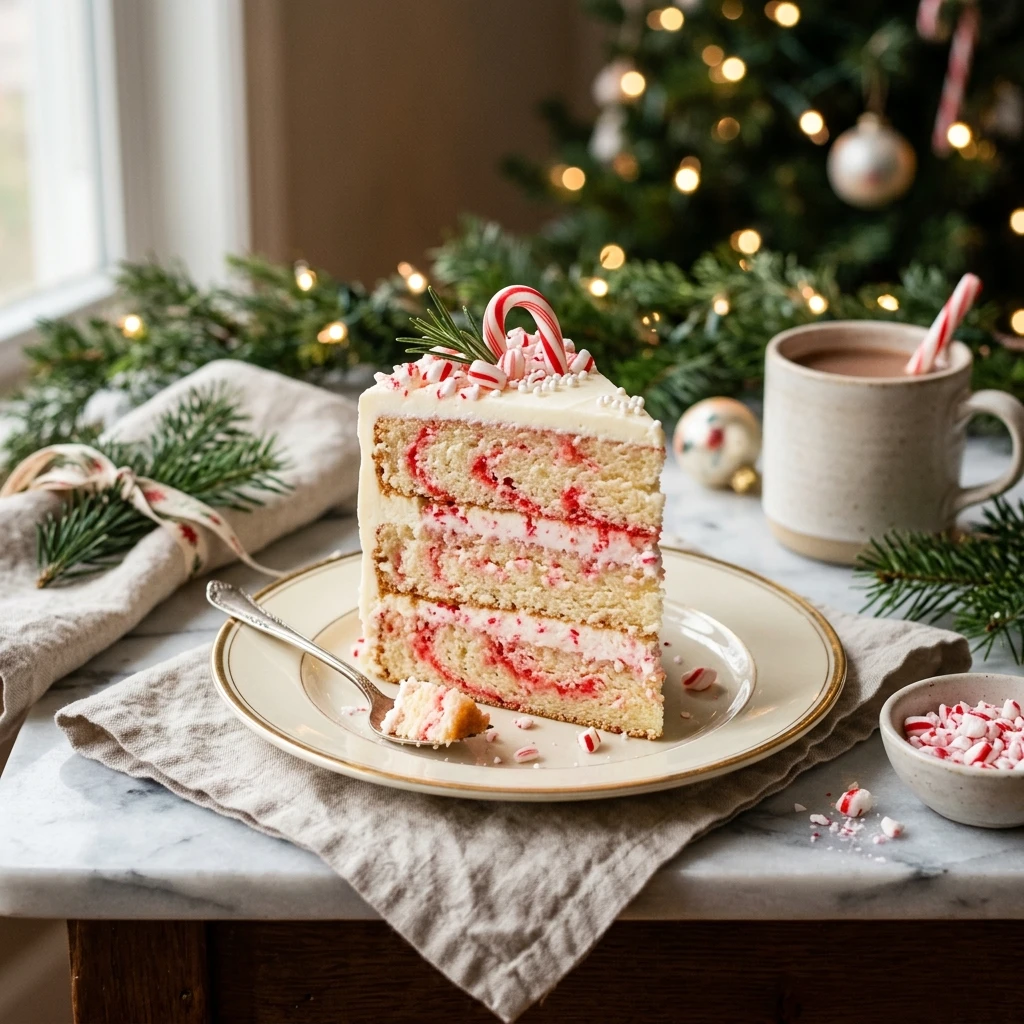
Serving Suggestions: What to Pair with Holiday Peppermint Cake
This cake is a star on its own, but it pairs wonderfully with a warm mug of cocoa or a hot cup of coffee. For a truly indulgent holiday experience, serve each slice with a scoop of alcohol-free vanilla bean ice cream or a dollop of fresh whipped cream. If you are hosting a large Christmas dinner, a side of fresh raspberries or strawberries can provide a nice tart contrast to the sweet peppermint frosting.
Storage & Reheating Instructions
Store any leftover cake in an airtight container at room temperature for up to two days. For longer storage, keep it in the refrigerator for up to five days, but make sure to let it sit at room temperature for 20 minutes before serving so the frosting softens. This cake does not require reheating, as it is best enjoyed at room temperature. You can also freeze individual slices wrapped tightly in plastic wrap for up to three months.
Memories Made Around the Table
I remember the first time I made this cake for our Christmas Eve dinner. The house was glowing with holiday lights and the kids were buzzing with excitement. When I finally brought this cake to the table, the bright red candy canes caught the light and everyone gasped. We sat together, sharing stories of past holidays while enjoying the cool, refreshing taste of the peppermint. It has since become a tradition that my family asks for every single year as soon as the first snow falls.
FAQs
Can I make this cake in a 9×13 pan?
Yes, you can bake this cake in a 9×13 inch rectangular pan. You will need to adjust the baking time to approximately 35 to 40 minutes. Check for doneness with a toothpick to ensure the center is fully set before removing it from the oven.
Why did my candy canes melt on the frosting?
Candy canes are made of sugar and can moisture from the frosting or the air can cause them to dissolve or bleed color. To prevent this, add the crushed candy canes just before serving the cake. This keeps them crunchy and ensures the colors stay bright and crisp.
Can I use peppermint oil instead of extract?
Peppermint oil is much more concentrated than peppermint extract. If you choose to use oil, start with just a few drops and taste the batter. Usually, a quarter teaspoon of oil is equivalent to a full teaspoon of extract, so proceed with caution.
How do I get my egg whites to stiff peaks?
Make sure your bowl and whisk are completely clean and free of any grease or yolk. Start beating the egg whites on low speed until they become foamy, then increase the speed to medium-high. Continue beating until the peaks stand straight up when you lift the whisk.
Can I make the cake layers in advance?
Absolutely. You can bake the cake layers a day in advance. Once they are completely cool, wrap them tightly in plastic wrap and store them at room temperature. This actually makes the cake easier to frost because the crumb sets slightly.
Final Thoughts
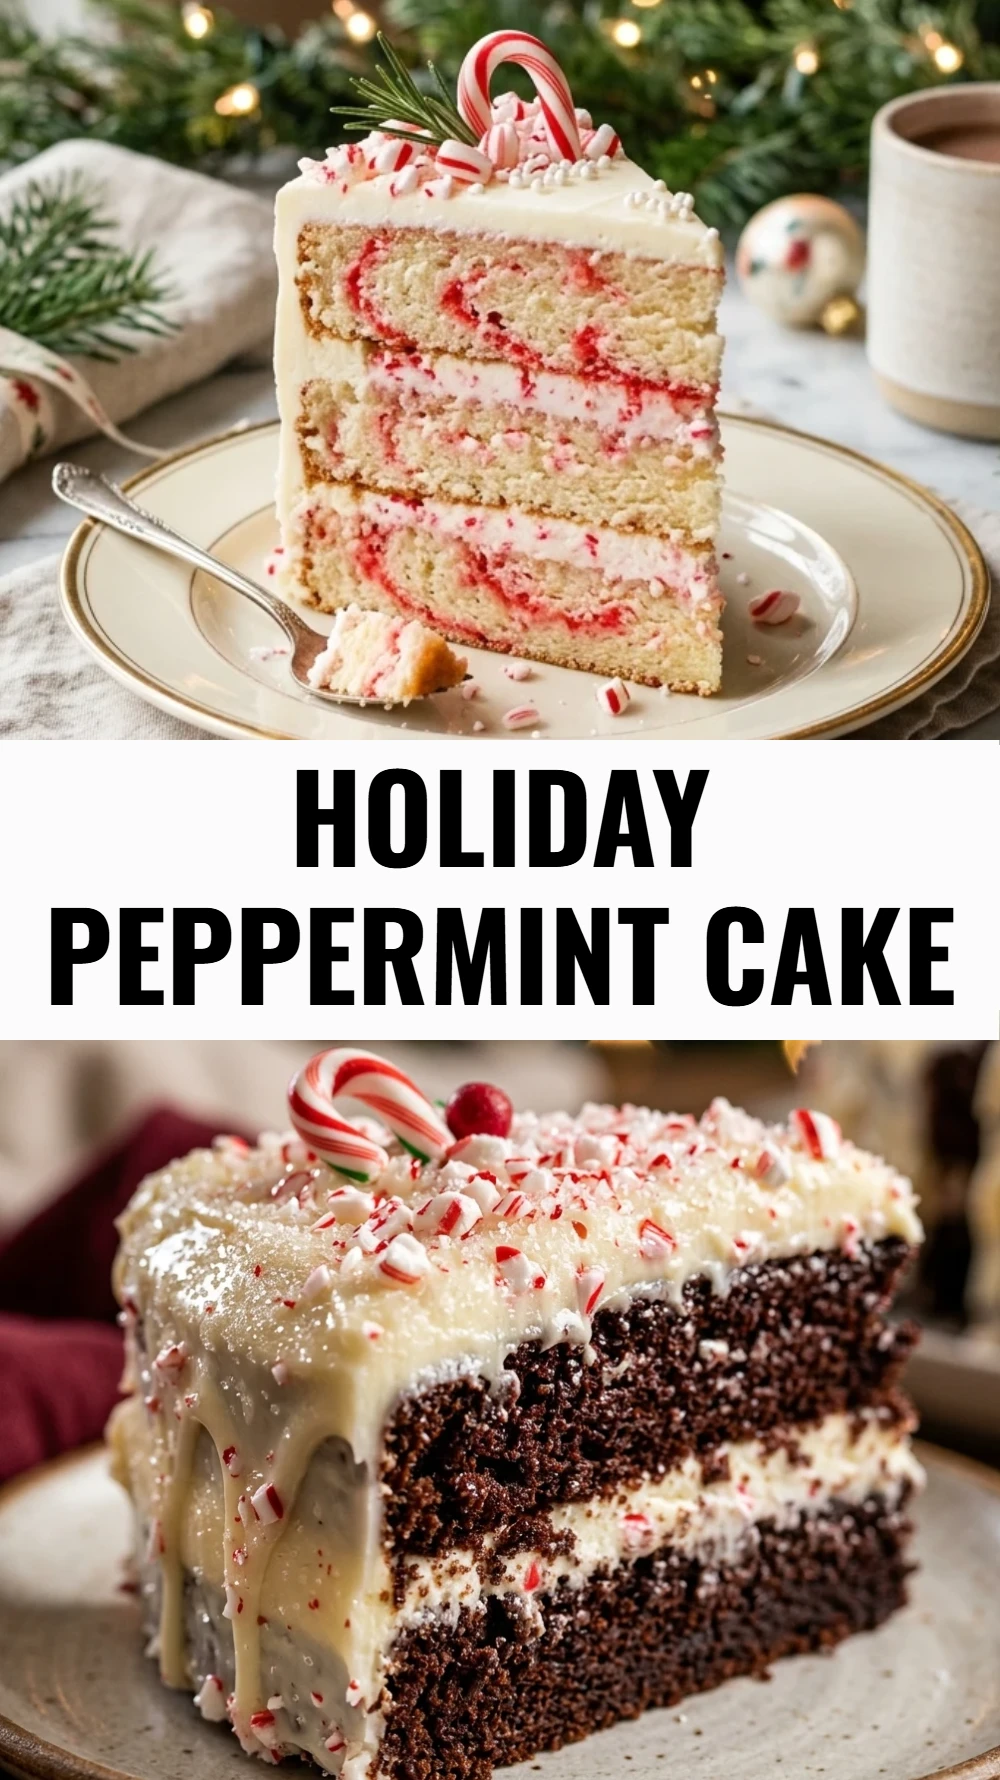
This Holiday Peppermint Cake is more than just a dessert, it is a festive celebration on a plate. Whether you are baking it for a large party or a small family gathering, it is sure to bring a smile to everyone’s face. The combination of the soft cake and the crunchy peppermint topping creates a wonderful contrast that is uniquely suited for the Christmas season. Enjoy the process of baking and the joy of sharing this beautiful treat with the people you love.
Holiday Peppermint Cake
- Total Time: 1 hour 5 minutes
Ingredients
- 2 1/2 cups all-purpose flour
- 1 1/2 cups granulated sugar
- 1 tablespoon baking powder
- 1/2 teaspoon salt
- 3/4 cup unsalted butter, softened
- 1 cup whole milk, room temperature
- 1/2 cup sour cream
- 4 large egg whites
- 2 teaspoons alcohol-free vanilla extract
- 1 teaspoon peppermint extract
- 1/2 cup crushed candy canes
- For the frosting: 1 cup unsalted butter, 4 cups powdered sugar, 2 tablespoons heavy cream, and 1/2 teaspoon peppermint extract
Instructions
- Preheat your oven to 350 degrees Fahrenheit. Grease and flour two 8-inch round cake pans or line the bottoms with parchment paper to ensure the cakes release easily after baking.
- In a large mixing bowl, whisk together the all-purpose flour, granulated sugar, baking powder, and salt. Ensure there are no large clumps so the cake has a uniform, fine crumb.
- In a separate large bowl, beat the softened butter until creamy. Slowly add the milk, sour cream, alcohol-free vanilla extract, and peppermint extract. Mix until well combined, even if the mixture looks slightly curdled at this stage.
- Gradually add the dry ingredients to the wet mixture, beating on low speed until just combined. In a clean bowl, whip the egg whites until stiff peaks form, then gently fold them into the batter using a spatula to keep the cake light and fluffy.
- Divide the batter evenly between the two prepared pans. Bake for 30 to 35 minutes, or until a toothpick inserted into the center comes out clean. Let the cakes cool in the pans for 10 minutes before transferring them to a wire rack to cool completely.
- Beat the frosting ingredients together until smooth and fluffy. Place one cake layer on a plate, spread a layer of frosting, and top with the second cake. Cover the entire cake with the remaining frosting and press the crushed candy canes onto the sides or sprinkle them generously on top.
- Cook Time: 1 hour 5 minutes
- Diet: Vegetarian