
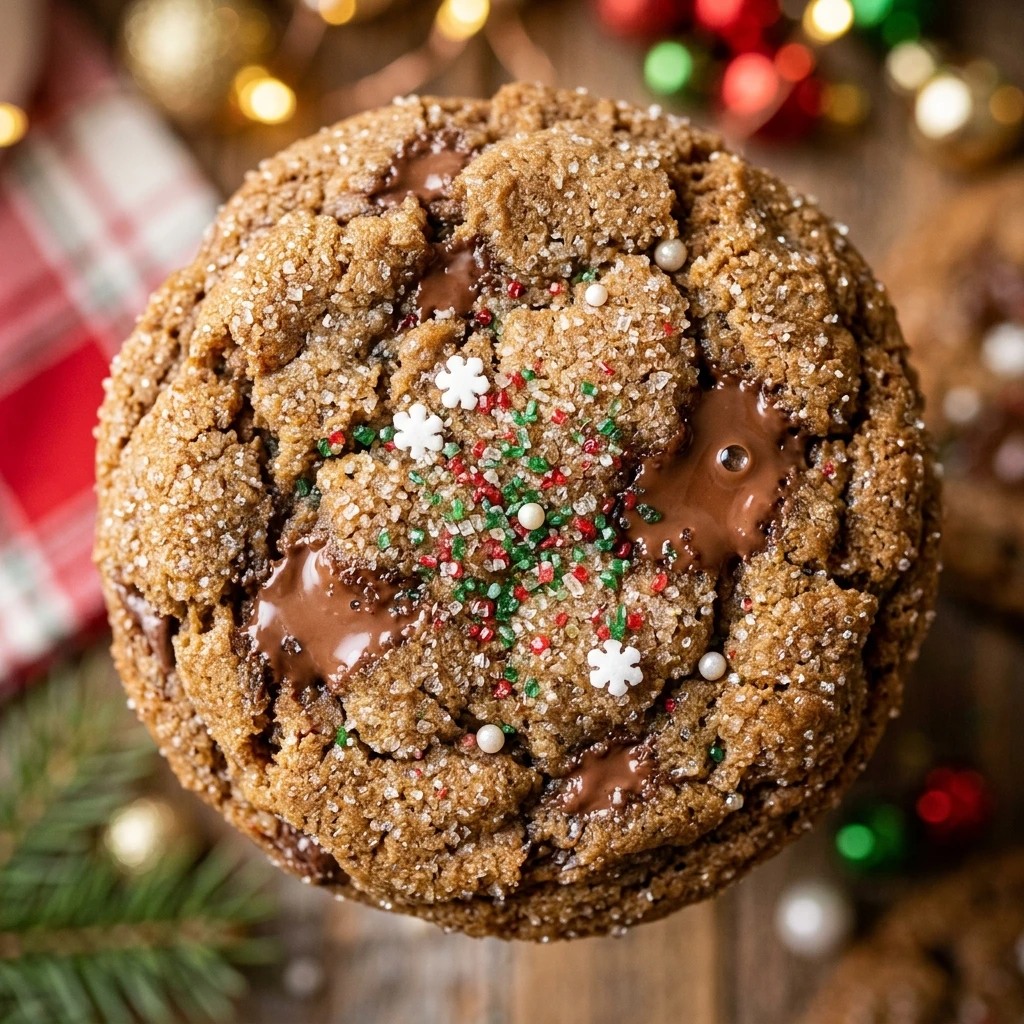
Every year, my kitchen fills with the scent of warm butter and sweet sugar as we prepare for the most magical night of the season. I love watching my children carefully arrange a plate of these treats by the fireplace, making sure they pick the ones with the most festive colors. These cookies have become a cherished tradition in our home, and I am so excited to share this soft and chewy recipe with you today.
Recipe Details
Recipe Information
- Prep Time: 15 minutes
- Cook Time: 10 minutes
- Total Time: 25 minutes
- Servings: 24 cookies
- Difficulty: Easy
Nutrition Information (Per Serving)
- Calories: 185 kcal
- Protein: 2 g
- Carbs: 25 g
- Fat: 9 g
Why You’ll Love This Santa’s Favorite Christmas Cookies
There is something truly special about a cookie that balances a soft, buttery center with slightly crisp edges. You will love how the red and green chocolate candies add a festive pop of color that instantly brightens up any holiday dessert table. They are incredibly easy to whip up with basic pantry staples, making them a stress-free option for busy December afternoons. Most importantly, they are sturdy enough to be stacked for gifting but tender enough to melt in your mouth with every bite.
Santa’s Favorite Christmas Cookies Ingredients & Substitutions
- 1 cup unsalted butter, softened to room temperature
- 1 cup granulated white sugar
- 1/2 cup packed light brown sugar
- 2 large eggs, room temperature
- 2 teaspoons alcohol-free vanilla extract
- 3 cups all-purpose flour
- 1 teaspoon baking soda
- 1/2 teaspoon salt
- 1 cup semi-sweet chocolate chips
- 1 cup red and green chocolate candies
If you prefer a deeper caramel flavor, you can use dark brown sugar instead of light brown sugar. For those with a preference for different textures, feel free to swap the semi-sweet chocolate chips for white chocolate chips or even chopped nuts for an added crunch. If you find yourself without alcohol-free vanilla extract, the scrapings of a fresh vanilla bean provide an excellent and aromatic alternative. You can also use a gluten-free flour blend as long as it is a one-to-one replacement suitable for baking.
Step-by-Step Instructions to Make Santa’s Favorite Christmas Cookies
Step 1: Preparation and Creaming
Preheat your oven to 350 degrees Fahrenheit and line two large baking sheets with parchment paper or silicone baking mats. In a large mixing bowl, beat the softened butter, white sugar, and brown sugar together until the mixture is light and fluffy. This usually takes about two to three minutes with an electric mixer and ensures a soft cookie texture.
Step 2: Mixing the Wet Ingredients
Add the eggs one at a time to the butter mixture, beating well after each addition to ensure they are fully incorporated. Stir in the alcohol-free vanilla extract. Scrape down the sides of the bowl with a spatula so that all the ingredients are evenly combined before moving on to the dry ingredients.
Step 3: Combining the Dry Ingredients
In a separate medium-sized bowl, whisk together the all-purpose flour, baking soda, and salt. Gradually add these dry ingredients to the wet mixture while mixing on low speed. Be careful not to overmix the dough at this stage, as overmixing can lead to a tougher cookie. Stop just when the flour streaks disappear.
Step 4: Folding in the Festive Mix-ins
Using a sturdy spatula or a wooden spoon, gently fold in the semi-sweet chocolate chips and the red and green chocolate candies. Set aside a small handful of the candies to press into the tops of the cookies later for a picture-perfect look. The dough should be thick, colorful, and hold its shape well.
Step 5: Shaping and Baking
Scoop rounded tablespoons of dough and place them about two inches apart on the prepared baking sheets. Lightly press the remaining candies into the tops of the dough balls. Bake for 9 to 11 minutes, or until the edges are just beginning to turn a light golden brown. Let the cookies rest on the baking sheet for five minutes before transferring them to a wire rack to cool completely.
Tips for Success
To get the best results, always ensure your butter is truly at room temperature, which means it should dent easily when pressed but not be oily or melted. Using room temperature eggs also helps the dough emulsify better, resulting in a more uniform bake. If you want perfectly round cookies, you can use a round glass or a cookie cutter to gently “scoot” the cookies into a circle immediately after they come out of the oven while they are still soft. For a thicker cookie, try chilling the dough in the refrigerator for 30 minutes before scooping.
Variations of Santa’s Favorite Christmas Cookies
You can easily customize this recipe to suit your family’s tastes. Try adding a half cup of toasted chopped pecans or walnuts for a nutty element that pairs perfectly with the chocolate. For a “White Christmas” version, use white chocolate chips and dried cranberries instead of the traditional chocolate candies. If you enjoy a bit of spice, a pinch of cinnamon or nutmeg added to the flour mixture can provide a warm, cozy flavor profile that screams holiday spirit.
Serving Suggestions: What to Pair with Santa’s Favorite Christmas Cookies
The classic pairing for these cookies is, of course, a tall glass of cold milk. For a more indulgent holiday treat, serve them alongside a mug of steaming hot cocoa topped with whipped cream and a sprinkle of cinnamon. These cookies also make a wonderful addition to a festive dessert board featuring peppermint bark, gingerbread men, and fresh orange slices. If you are hosting a holiday dinner, they serve as a perfect light dessert to enjoy with coffee or herbal tea.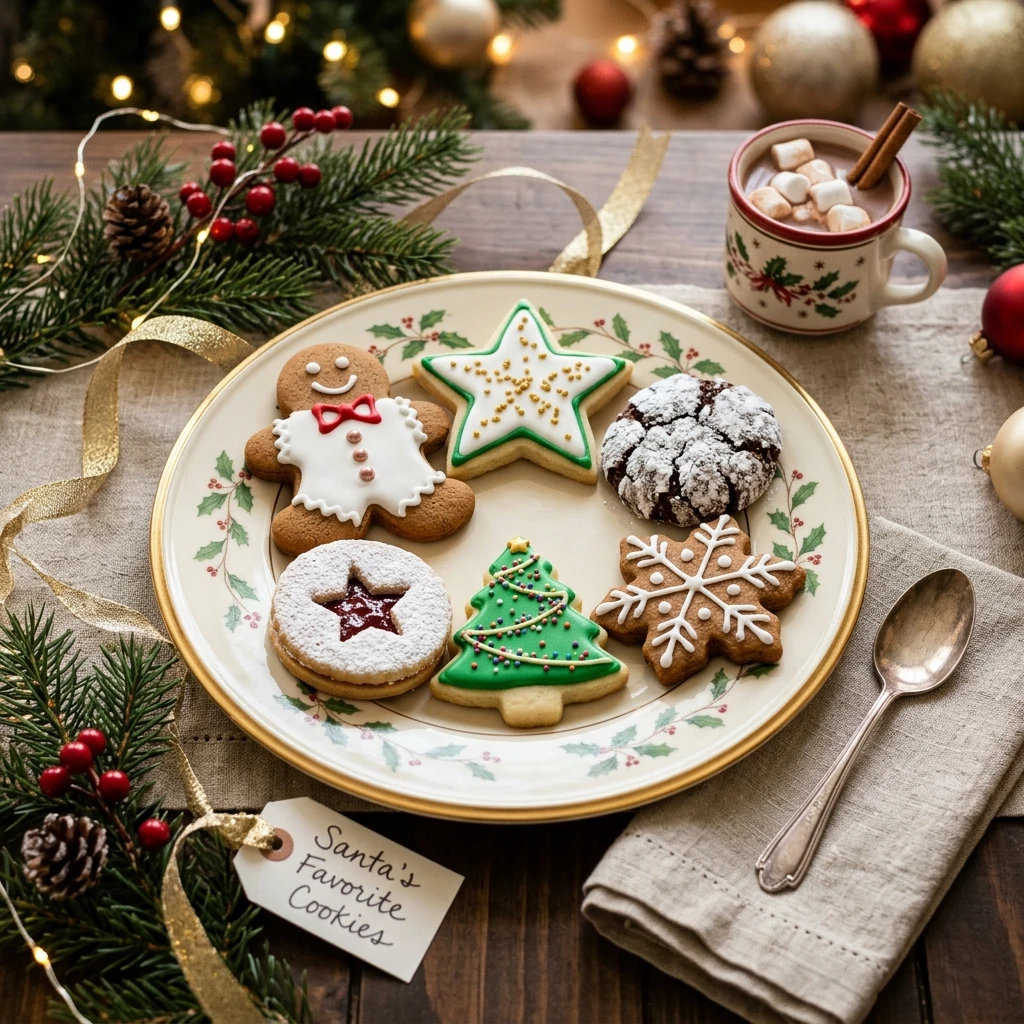
Storage & Reheating Instructions
Store your cookies in an airtight container at room temperature for up to five days to keep them soft. If you want to keep them longer, you can freeze the baked cookies in a freezer-safe bag for up to three months. When you are ready to enjoy a frozen cookie, let it thaw at room temperature or pop it in the microwave for about 10 seconds to restore that fresh-out-of-the-oven warmth. You can also freeze the unbaked dough balls and bake them straight from the freezer by adding two minutes to the total bake time.
Memories Made Around the Table
I remember the first time I made these cookies with my grandmother. She always told me that the secret ingredient was a little bit of holiday magic and a lot of patience. We would spend hours decorating each one, making sure the red and green colors were perfectly balanced. Now, every time I pull a tray of Santa’s Favorite Christmas Cookies out of the oven, I feel that same warmth and connection to my family. It is a beautiful way to slow down and appreciate the joy of the holidays together.
FAQs
Can I make the dough in advance?
Yes, you can prepare the cookie dough up to 48 hours in advance. Simply keep it covered in the refrigerator until you are ready to bake. Chilling the dough can actually enhance the flavor and prevent the cookies from spreading too much in the oven.
Why are my cookies flat and thin?
This usually happens if the butter was too soft or melted when you started mixing. It can also happen if your baking soda is expired. Ensure your butter is at room temperature and your leavening agents are fresh for the best rise and texture.
Can I use salted butter instead of unsalted?
You can use salted butter if that is what you have on hand. If you do, simply reduce the added salt in the recipe to a small pinch to ensure the cookies do not end up too salty. The extra salt in the butter will provide enough seasoning for the dough.
How do I keep the cookies soft for several days?
The best trick to keeping cookies soft is to place a single slice of white bread in the airtight container with them. The cookies will absorb the moisture from the bread, keeping them perfectly chewy for days. Just make sure the container is sealed tightly.
Do I need to grease the baking sheets?
It is not necessary to grease the baking sheets if you are using parchment paper or silicone mats. In fact, greasing the pans can sometimes cause cookies to spread too much. The parchment paper provides a non-stick surface while also making cleanup much easier.
Final Thoughts
Baking Santa’s Favorite Christmas Cookies is more than just a kitchen task, it is a way to create lasting holiday memories. These cookies are reliable, delicious, and perfectly festive, making them the ultimate addition to your seasonal traditions. Whether you are leaving them out for Santa or sharing them with neighbors, they are sure to bring a smile to everyone’s face. I hope they bring as much joy to your home as they have brought to mine over the years.


Santa’s Favorite Christmas Cookies
- Total Time: 25 minutes
Ingredients
- 1 cup unsalted butter, softened to room temperature
- 1 cup granulated white sugar
- 1/2 cup packed light brown sugar
- 2 large eggs, room temperature
- 2 teaspoons alcohol-free vanilla extract
- 3 cups all-purpose flour
- 1 teaspoon baking soda
- 1/2 teaspoon salt
- 1 cup semi-sweet chocolate chips
- 1 cup red and green chocolate candies
Instructions
- Preheat your oven to 350 degrees Fahrenheit and line two large baking sheets with parchment paper or silicone baking mats. In a large mixing bowl, beat the softened butter, white sugar, and brown sugar together until the mixture is light and fluffy. This usually takes about two to three minutes with an electric mixer and ensures a soft cookie texture.
- Add the eggs one at a time to the butter mixture, beating well after each addition to ensure they are fully incorporated. Stir in the alcohol-free vanilla extract. Scrape down the sides of the bowl with a spatula so that all the ingredients are evenly combined before moving on to the dry ingredients.
- In a separate medium-sized bowl, whisk together the all-purpose flour, baking soda, and salt. Gradually add these dry ingredients to the wet mixture while mixing on low speed. Be careful not to overmix the dough at this stage, as overmixing can lead to a tougher cookie. Stop just when the flour streaks disappear.
- Using a sturdy spatula or a wooden spoon, gently fold in the semi-sweet chocolate chips and the red and green chocolate candies. Set aside a small handful of the candies to press into the tops of the cookies later for a picture-perfect look. The dough should be thick, colorful, and hold its shape well.
- Scoop rounded tablespoons of dough and place them about two inches apart on the prepared baking sheets. Lightly press the remaining candies into the tops of the dough balls. Bake for 9 to 11 minutes, or until the edges are just beginning to turn a light golden brown. Let the cookies rest on the baking sheet for five minutes before transferring them to a wire rack to cool completely.
- Cook Time: 25 minutes
- Diet: Vegetarian