
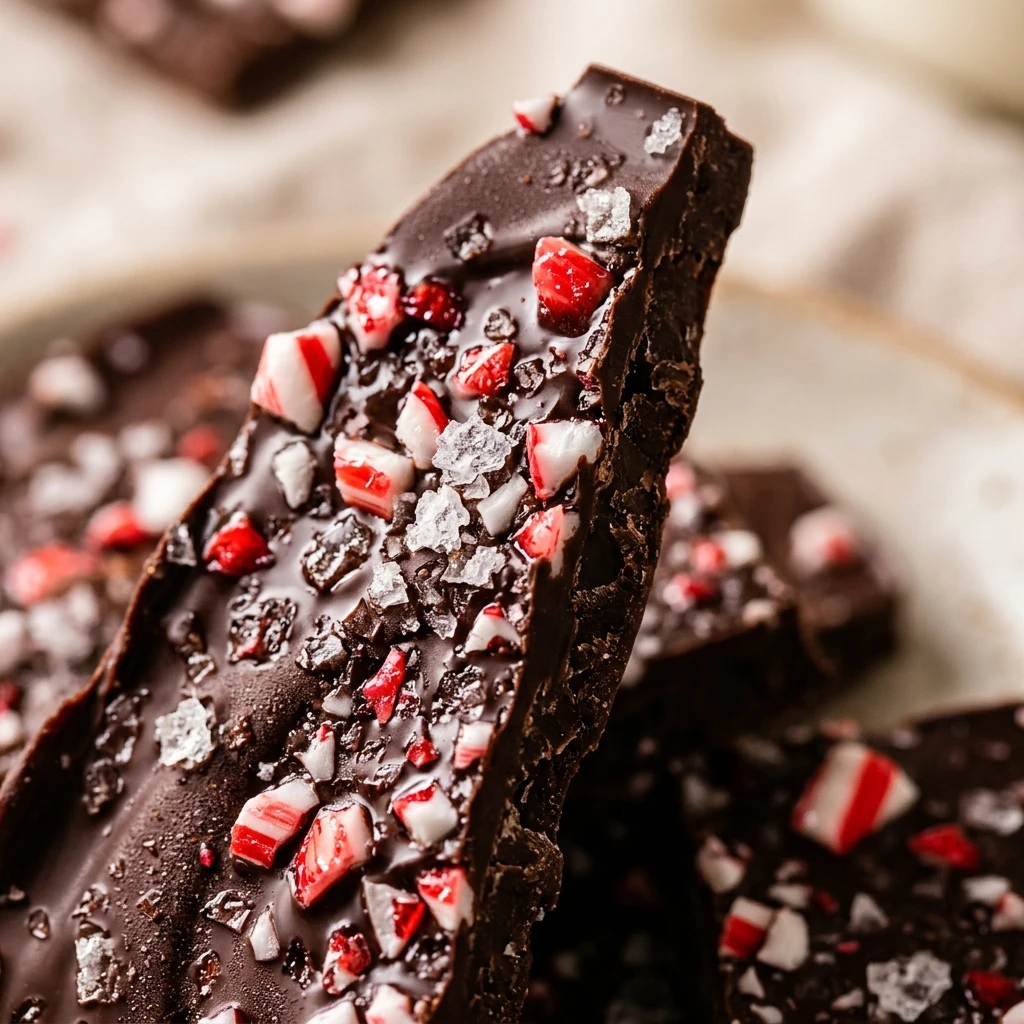
Christmas time always feels more festive when the kitchen smells like rich chocolate and cooling peppermint. I make this Salted Peppermint Chocolate Bark every year because it is incredibly simple to assemble and everyone loves the combination of sweet, minty, and salty flavors. It has become my go-to gift for neighbors and friends during the holidays, and I love how beautiful the white and dark layers look when they are swirled together.
Recipe Details
Recipe Information
- Prep Time: 15 minutes
- Cook Time: 45 minutes
- Total Time: 1 hour
- Servings: 12 servings
- Difficulty: Easy
Nutrition Information (Per Serving)
- Calories: 185 calories
- Protein: 2 grams
- Carbs: 22 grams
- Fat: 11 grams
Why You’ll Love This Salted Peppermint Chocolate Bark
This Salted Peppermint Chocolate Bark is the ultimate holiday treat because it requires no baking and very little active effort. The contrast between the semi-sweet chocolate and the creamy white chocolate creates a sophisticated flavor profile that appeals to both kids and adults. Adding a touch of flaky sea salt elevates the entire dish, cutting through the sweetness and highlighting the refreshing peppermint crunch. It is also a very versatile recipe that you can customize based on what you have in your pantry during the busy Christmas season.
Salted Peppermint Chocolate Bark Ingredients & Substitutions
- 12 ounces semi-sweet chocolate chips or chopped bars
- 12 ounces white chocolate chips or chopped bars
- 2 teaspoons coconut oil, divided
- 1/2 teaspoon alcohol-free vanilla extract
- 1/2 cup crushed candy canes
- 1 teaspoon flaky sea salt
You can use dark chocolate instead of semi-sweet for a deeper flavor, or swap the candy canes for peppermint sprinkles if you prefer a softer crunch. If you do not have coconut oil, a neutral vegetable oil works well to help thin the chocolate for easier spreading. For those who enjoy more texture, adding a handful of crushed pretzels provides an extra salty element that pairs beautifully with the mint.
Step-by-Step Instructions to Make Salted Peppermint Chocolate Bark
Step 1: Preparation
Line a large baking sheet with parchment paper or a silicone baking mat. This ensures the bark will lift off easily once it has set. Ensure your candy canes are already crushed into small bits by placing them in a sealed plastic bag and gently tapping them with a rolling pin.
Step 2: Melting the Dark Layer
In a microwave-safe bowl, combine the semi-sweet chocolate chips with one teaspoon of coconut oil. Microwave in 30 second intervals, stirring well between each, until the chocolate is completely smooth. Pour the melted chocolate onto the prepared baking sheet and spread it into an even layer about one quarter inch thick. Place the sheet in the refrigerator for about 10 minutes to let it partially set.
Step 3: Melting the White Layer
While the first layer chills, melt the white chocolate chips with the remaining teaspoon of coconut oil and the alcohol-free vanilla extract using the same microwave method. Stir carefully, as white chocolate can burn more easily than dark chocolate. Once smooth, stir in a tablespoon of the crushed candy canes for extra flavor within the layer.
Step 4: Swirling and Topping
Remove the baking sheet from the fridge. Pour the melted white chocolate over the dark chocolate layer. Use a knife or a toothpick to gently swirl the two chocolates together for a marbled effect. Immediately sprinkle the remaining crushed candy canes and the flaky sea salt evenly over the top while the chocolate is still wet.
Step 5: Chilling and Breaking
Place the baking sheet back into the refrigerator for at least 30 to 45 minutes, or until the bark is completely firm and cold. Once set, lift the parchment paper off the sheet and use your hands to break the bark into irregular, bite-sized shards. Alternatively, you can use a sharp knife to cut it into more uniform squares.
Tips for Success
- Use high-quality chocolate bars or chips for the best melting consistency and flavor.
- Be careful not to let any water touch the chocolate while melting, as even a single drop can cause the chocolate to seize and become grainy.
- Wait until the bottom layer is firm but not rock hard before adding the top layer to ensure they stick together properly.
- If the layers separate when you break the bark, it usually means the first layer was too cold when you added the second, so try letting the dark chocolate sit at room temperature for a minute before adding the white chocolate next time.
Variations of Salted Peppermint Chocolate Bark
You can easily put a twist on this classic Salted Peppermint Chocolate Bark by changing the toppings or the base. Try using a layer of milk chocolate instead of semi-sweet for a sweeter, creamier taste. If you want more color, add a few drops of red or green oil-based food coloring to the white chocolate. You can also mix in chopped nuts like almonds or pistachios to add a different kind of crunch that complements the holiday spirit.
Serving Suggestions: What to Pair with Salted Peppermint Chocolate Bark
This bark is a wonderful companion to a hot cup of cocoa or a steaming mug of coffee on a cold Christmas morning. It also looks beautiful served on a dessert platter alongside gingerbread cookies and sugar cookies. If you are hosting a holiday party, try serving it with a side of fresh berries to provide a tart contrast to the rich chocolate and sweet mint.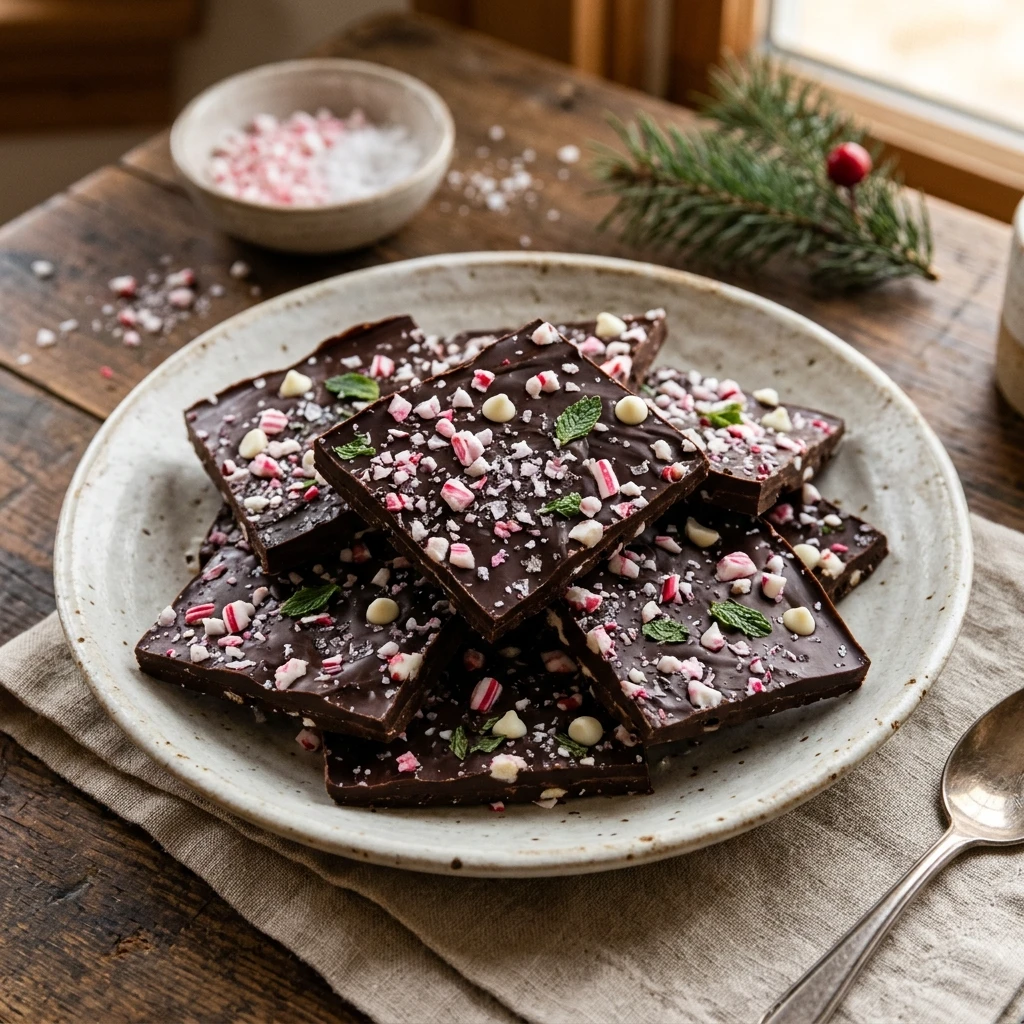
Storage & Reheating Instructions
Store your Salted Peppermint Chocolate Bark in an airtight container in the refrigerator for up to three weeks. If you prefer the texture of room temperature chocolate, you can keep it in a cool, dry place for about a week, though the peppermint might start to soften slightly. This treat also freezes exceptionally well, just place the shards in a freezer-safe bag for up to two months and thaw them in the fridge before serving.
Memories Made Around the Table
I remember standing on a small stool in my grandmother’s kitchen, helping her crush candy canes with a heavy wooden rolling pin. The bright, sharp scent of peppermint would fill the entire room, signaling that the Christmas season had officially arrived. Now, every time I break a fresh sheet of this bark, I am instantly transported back to those cold December afternoons filled with laughter, sticky sugar, and the warmth of family traditions.
FAQs
Can I use a double boiler instead of a microwave?
Yes, a double boiler is actually a very safe way to melt chocolate. Simply place a heat-proof bowl over a pot of simmering water, making sure the bottom of the bowl does not touch the water, and stir until smooth.
Why did my white chocolate become thick and clumpy?
White chocolate is very sensitive to heat. If it gets too hot, it will seize. To fix this, you can try stirring in a tiny bit more coconut oil or shortening to see if it thins out, but it is best to melt it slowly at lower power.
How do I get perfectly crushed candy canes?
The easiest way is to put unwrapped candy canes in a heavy-duty freezer bag and hit them with a meat tenderizer or a rolling pin. This keeps the sticky bits contained and allows you to control the size of the pieces.
Can I make this bark without coconut oil?
You can leave it out, but the coconut oil gives the chocolate a much smoother sheen and makes it slightly easier to bite into once it is chilled. Any neutral oil like canola or vegetable oil will work as a substitute.
How do I prevent the layers from separating?
The key is timing. You want the first layer to be set enough that the second layer does not completely mix into it, but it should still be slightly tacky to the touch so the layers bond together as they cool.
Final Thoughts
Making Salted Peppermint Chocolate Bark is a simple joy that brings a lot of cheer to the holiday season. Whether you are snacking on it while watching a classic Christmas movie or packing it into pretty tins for your loved ones, it is a recipe that never fails to satisfy. I hope this sweet and salty treat becomes a favorite tradition in your home just as it has in mine.

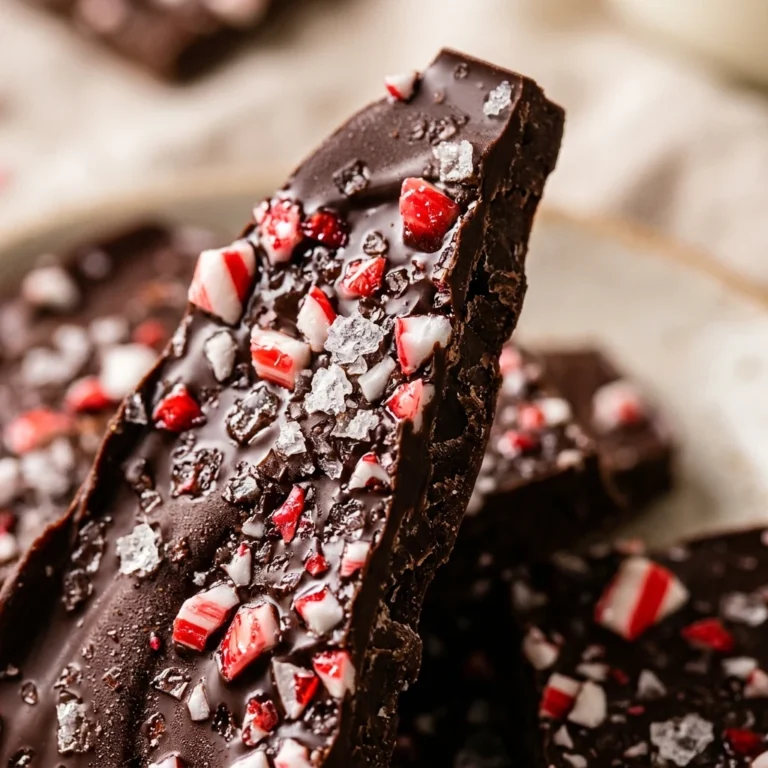
Salted Peppermint Chocolate Bark
- Total Time: 1 hour
Ingredients
- 12 ounces semi-sweet chocolate chips or chopped bars
- 12 ounces white chocolate chips or chopped bars
- 2 teaspoons coconut oil, divided
- 1/2 teaspoon alcohol-free vanilla extract
- 1/2 cup crushed candy canes
- 1 teaspoon flaky sea salt
Instructions
- Step 1: Preparation. Line a large baking sheet with parchment paper or a silicone baking mat. This ensures the bark will lift off easily once it has set. Ensure your candy canes are already crushed into small bits by placing them in a sealed plastic bag and gently tapping them with a rolling pin.
- Step 2: Melting the Dark Layer. In a microwave-safe bowl, combine the semi-sweet chocolate chips with one teaspoon of coconut oil. Microwave in 30 second intervals, stirring well between each, until the chocolate is completely smooth. Pour the melted chocolate onto the prepared baking sheet and spread it into an even layer about one quarter inch thick. Place the sheet in the refrigerator for about 10 minutes to let it partially set.
- Step 3: Melting the White Layer. While the first layer chills, melt the white chocolate chips with the remaining teaspoon of coconut oil and the alcohol-free vanilla extract using the same microwave method. Stir carefully, as white chocolate can burn more easily than dark chocolate. Once smooth, stir in a tablespoon of the crushed candy canes for extra flavor within the layer.
- Step 4: Swirling and Topping. Remove the baking sheet from the fridge. Pour the melted white chocolate over the dark chocolate layer. Use a knife or a toothpick to gently swirl the two chocolates together for a marbled effect. Immediately sprinkle the remaining crushed candy canes and the flaky sea salt evenly over the top while the chocolate is still wet.
- Step 5: Chilling and Breaking. Place the baking sheet back into the refrigerator for at least 30 to 45 minutes, or until the bark is completely firm and cold. Once set, lift the parchment paper off the sheet and use your hands to break the bark into irregular, bite-sized shards. Alternatively, you can use a sharp knife to cut it into more uniform squares.
- Cook Time: 1 hour
- Diet: Vegetarian