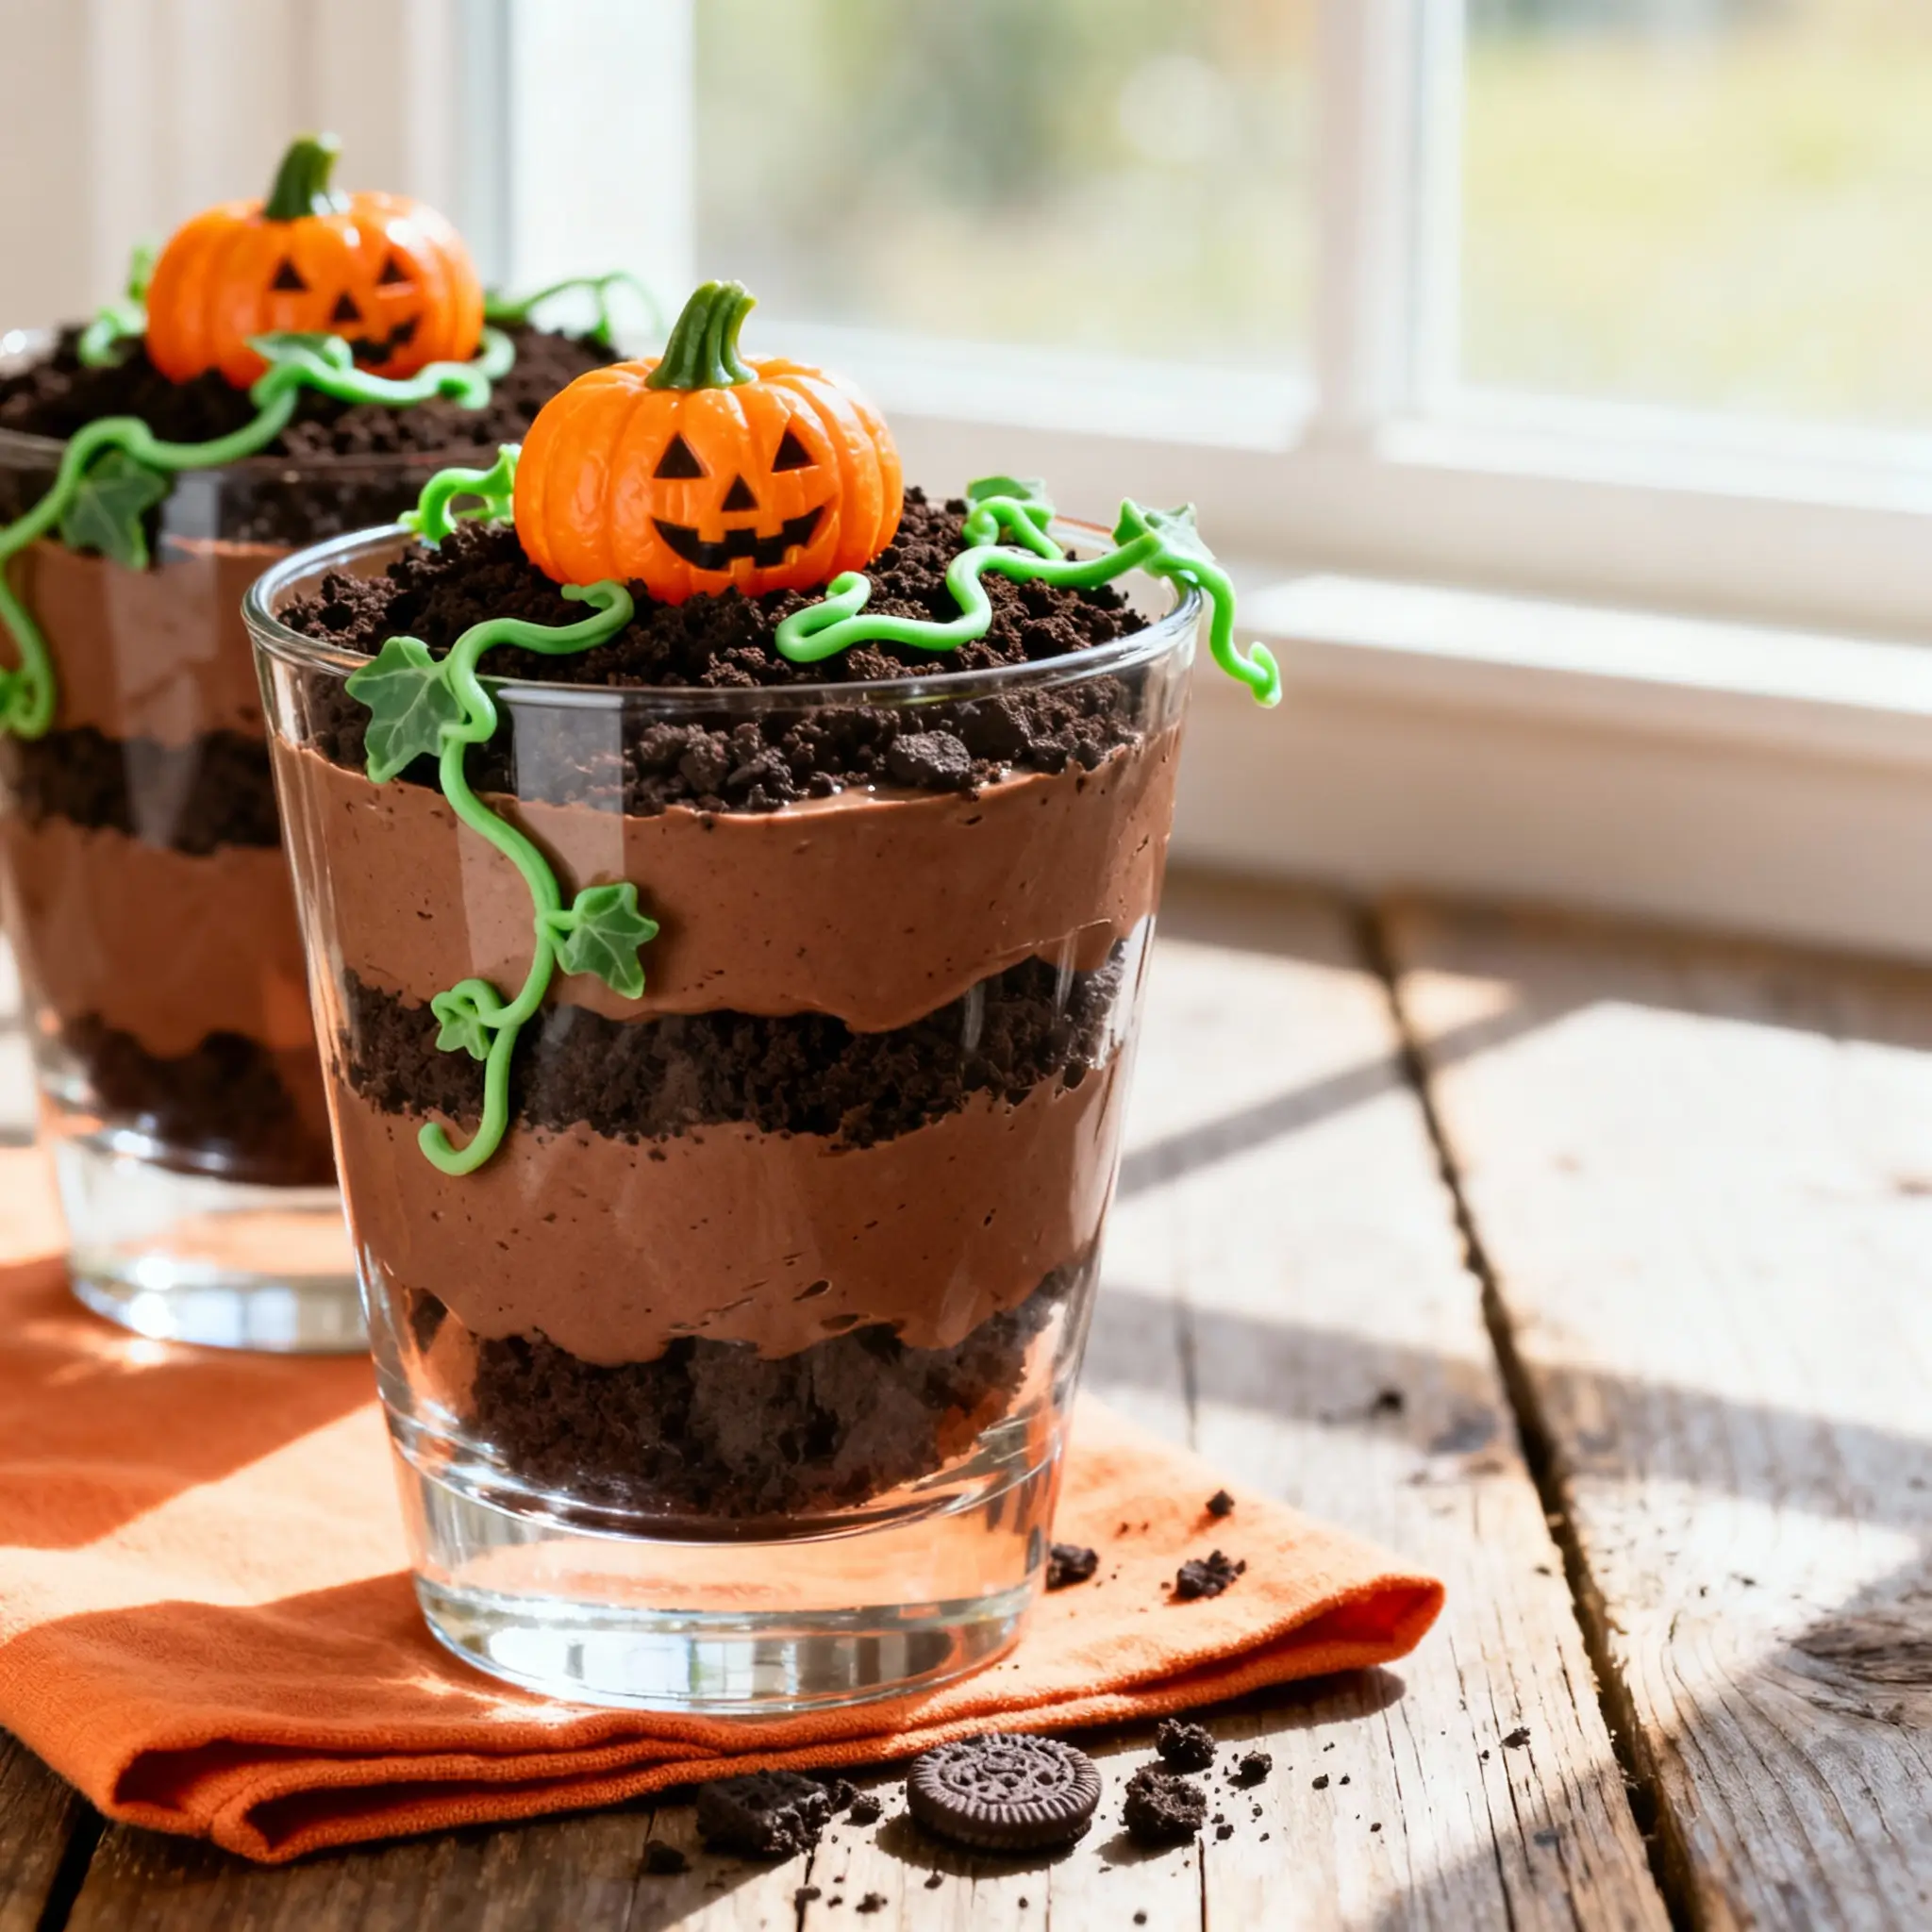
When the spooky season hits and time is short, these Pumpkin Patch Dirt Cups save the day. They are creamy, chocolatey, and delightfully cute with candy pumpkins nestled in rich Oreo dirt. No baking, minimal cleanup, and total kid joy.
Why You’ll Love This Pumpkin Patch Dirt Cups
- No bake and ready in minutes.
- Budget friendly with simple grocery store ingredients.
- Perfect for Trick or Treat tables and school parties.
- Easy to customize for allergies and preferences.
- Make ahead friendly for stress free hosting.
Pumpkin Patch Dirt Cups Ingredients & Substitutions
- Instant chocolate pudding mix – two 3.9 ounce boxes. Substitute vanilla pudding plus 2 tablespoons cocoa for a lighter chocolate flavor.
- Milk – 4 cups, cold. Use any dairy or unsweetened non dairy milk that sets instant pudding.
- Chocolate sandwich cookies – about 24, crushed into fine crumbs. Use gluten free chocolate cookies if needed.
- Whipped topping – 2 cups, thawed, optional for extra creaminess.
- Candy pumpkins – mellowcreme pumpkins or similar.
- Gummy worms – optional, for a playful garden vibe.
- Green frosting or gel – to pipe tiny vines and leaves.
- Clear 8 ounce cups – for those layered pumpkin patch looks.
Step-by-Step Instructions
- Make the pudding: In a large bowl, whisk pudding mix with cold milk for 2 minutes until thick. Fold in whipped topping if using. Refrigerate 5 minutes to set.
- Crush the cookies: Add cookies to a zip top bag and roll with a rolling pin until sandy crumbs form. Reserve about 1 cup for topping.
- Layer the cups: Spoon 1 tablespoon cookie crumbs into each cup. Add a generous layer of pudding, then finish with more cookie crumbs for the “dirt.”
- Plant the pumpkins: Press 2 to 3 candy pumpkins into the top of each cup.
- Add vines: Pipe thin green frosting lines and tiny leaves so it looks like a real pumpkin patch.
- Optional extras: Tuck in a gummy worm, sprinkle a few extra crumbs, and add a mini spoon.
- Chill: Refrigerate at least 20 minutes to set and serve cool.
Tips for Success
- Use cold milk so the pudding sets quickly.
- Crush cookies finely for the most realistic dirt texture.
- Pipe tiny vine curls with a small round tip for a cute finish.
- Build just before serving if you prefer crunchier cookie tops.
- Transport cups in a 9×13 pan for easy party travel.
Variations
- Graveyard twist: Add a cookie “sign” and write Patch with edible marker.
- Peanut butter cup patch: Add chopped peanut butter cups between layers.
- Dirt trifle: Make one big bowl instead of cups for a crowd.
- Vegan friendly: Use plant based pudding mix, non dairy milk, and vegan cookies.
- Minty patch: Add a drop of peppermint extract to the pudding.
Serving Suggestions
- Set up a topping bar with candy pumpkins, worms, and sprinkles for Halloween Kids Party Food Snacks Ideas.
- Serve with tiny wooden spoons for a playful touch.
- Pair with apple cider or hot cocoa for cozy fall vibes.
Storage & Reheating
Cover each cup and refrigerate up to 3 days. The cookie top will soften over time, so hold back a little extra crumb to sprinkle just before serving. Freezing is not recommended. No reheating needed.
Memories Made Around the Table
The first time I set these out, the kids lined up to “plant” their own pumpkins. Tiny hands, big smiles, and a table full of giggles turned a simple weeknight into a sweet fall memory.
FAQs
Can I make Pumpkin Patch Dirt Cups ahead? Yes. Assemble up to 24 hours ahead. For crunchier tops, wait to add the final crumb layer and pumpkins until serving day.
How can I keep the cookie layer from getting soggy? Chill the pudding first and add a fresh sprinkle of crumbs on top just before serving.
Can I scale this for a class party? Absolutely. Double or triple the recipe and use 5 ounce cups for kid sized portions.
Final Thoughts
These Pumpkin Patch Dirt Cups bring effortless magic to any spooky get together. Quick to make, adorable to serve, and unforgettable to eat.

Pumpkin Patch Dirt Cups
Equipment
- 1 Large mixing bowl
- 1 Whisk
- 1 Zip-top bag for crushing cookies
- 1 Rolling Pin to crush cookies
- 12 Clear 8 ounce cups
- 1 Piping bag with small round tip or a tube of green gel
Ingredients
Pudding & Dirt
- 2 boxes instant chocolate pudding mix 3.9 oz each
- 4 cups milk cold
- 24 chocolate sandwich cookies crushed into fine crumbs; reserve about 1 cup for topping
- 2 cups whipped topping thawed; optional
Decorations
- 24 candy pumpkins mellowcreme or similar; 2–3 per cup
- 12 gummy worms optional
- 1 tube green frosting or gel for vines and leaves
Instructions
Make the Cups
- Make the pudding: In a large bowl, whisk pudding mix with cold milk for 2 minutes until thick. Fold in whipped topping if using. Refrigerate 5 minutes to set.
- Crush the cookies: Add cookies to a zip top bag and roll with a rolling pin until sandy crumbs form. Reserve about 1 cup for topping.
- Layer the cups: Spoon 1 tablespoon cookie crumbs into each cup. Add a generous layer of pudding, then finish with more cookie crumbs for the “dirt.”
- Plant the pumpkins: Press 2 to 3 candy pumpkins into the top of each cup.
- Add vines: Pipe thin green frosting lines and tiny leaves so it looks like a real pumpkin patch.
- Optional extras: Tuck in a gummy worm, sprinkle a few extra crumbs, and add a mini spoon.
- Chill: Refrigerate at least 20 minutes to set and serve cool.