
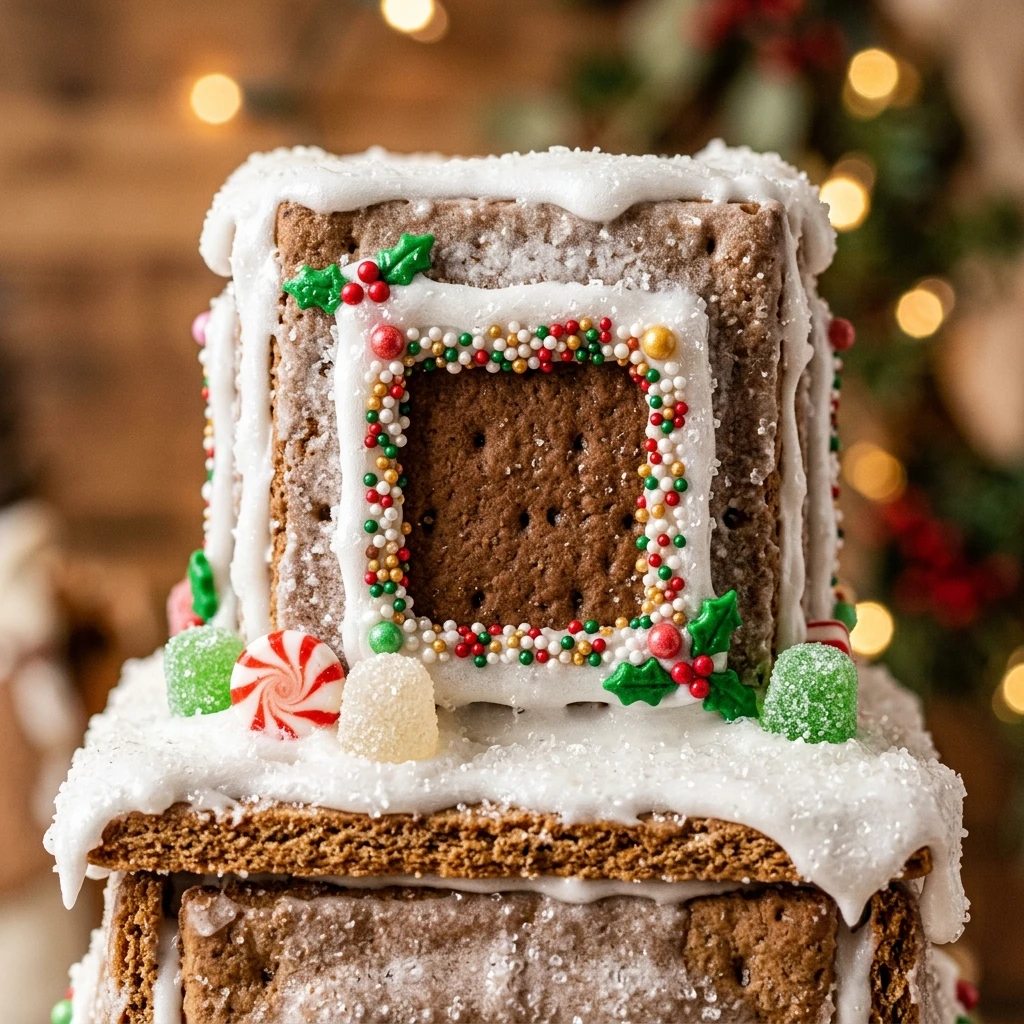
Every year, I look forward to the magic of holiday crafting, but sometimes the traditional gingerbread kits are just too much work. That is why I absolutely adore making this No-Bake Pop-Tart Gingerbread House, which uses pre-baked toaster pastries for a sturdy and delicious structure. It is the perfect Christmas activity for kids and adults alike, filling the home with sweetness without ever turning on the oven.
Recipe Details
Recipe Information
- Prep Time: 30 minutes
- Cook Time: 0 minutes
- Total Time: 30 minutes
- Servings: 4 servings
- Difficulty: Easy
Nutrition Information (Per Serving)
- Calories: 310
- Protein: 2g
- Carbs: 62g
- Fat: 6g
Why You’ll Love This No-Bake Pop-Tart Gingerbread House
This holiday project is a total game changer for busy families. Unlike traditional gingerbread that can be brittle or difficult to bake, toaster pastries provide a uniform shape and a soft texture that is surprisingly easy to “build” with. You will love how quickly it comes together, leaving you more time to focus on the fun part, which is the decorating. Plus, the cinnamon and ginger scents from the pastries make your kitchen smell exactly like Christmas morning. It is a stress free way to create memories without the floury mess of a standard baking project.
No-Bake Pop-Tart Gingerbread House Ingredients & Substitutions
- 6 Gingerbread or Brown Sugar Cinnamon Pop-Tarts
- 2 cups powdered sugar
- 2 tablespoons meringue powder
- 4 tablespoons warm water
- 1/2 teaspoon alcohol-free vanilla extract
- 1/2 cup small gumdrops
- 1/4 cup peppermint candies or candy canes
- 1/4 cup mini pretzels for windows or fences
- 1 tablespoon shredded coconut for snow
If you cannot find the specific gingerbread flavor, any frosted toaster pastry will work perfectly as the base. You can swap the homemade royal icing for a thick store bought tub of decorating frosting, but make sure it is the kind that dries hard to ensure the house stays upright. For the decorations, feel free to use whatever holiday treats you have on hand, such as chocolate chips, colorful cereal, or even small crackers for a rustic roof look.
Step-by-Step Instructions to Make No-Bake Pop-Tart Gingerbread House
Step 1: Prepare the Royal Icing
In a medium bowl, whisk together the powdered sugar and meringue powder. Slowly add the warm water and alcohol-free vanilla extract, beating with a hand mixer until the icing is stiff and forms peaks. This “glue” is essential for keeping your house together, so make sure it is thick enough to hold its shape. Transfer the icing to a piping bag with a small round tip or a plastic bag with the corner snipped off.
Step 2: Trim the Gable Ends
Take two of your toaster pastries to create the front and back of the house. Using a sharp serrated knife, gently saw off the top corners of these two pastries to create a pointed triangle shape at the top. These will be your gable ends that support the roof. Be very gentle to avoid cracking the frosting on the pastry.
Step 3: Assemble the Walls
Pipe a thick line of icing along the bottom and side edges of one of the trimmed pastries. Attach it to a base, such as a sturdy plate or a piece of cardboard covered in foil. Use two untrimmed pastries for the side walls, piping icing along the edges to connect them to the front gable. Repeat with the back gable until you have a rectangular base. Hold the pieces for a few seconds to let the icing set.
Step 4: Attach the Roof
Pipe a generous amount of icing along the slanted top edges of the front and back gables, as well as the top edges of the side walls. Take your remaining two untrimmed pastries and gently press them onto the slanted edges to form the roof. The two pieces should meet at the top to form a peak. Pipe an extra line of icing along the top ridge where the two roof pieces meet for extra stability.
Step 5: Decorate the House
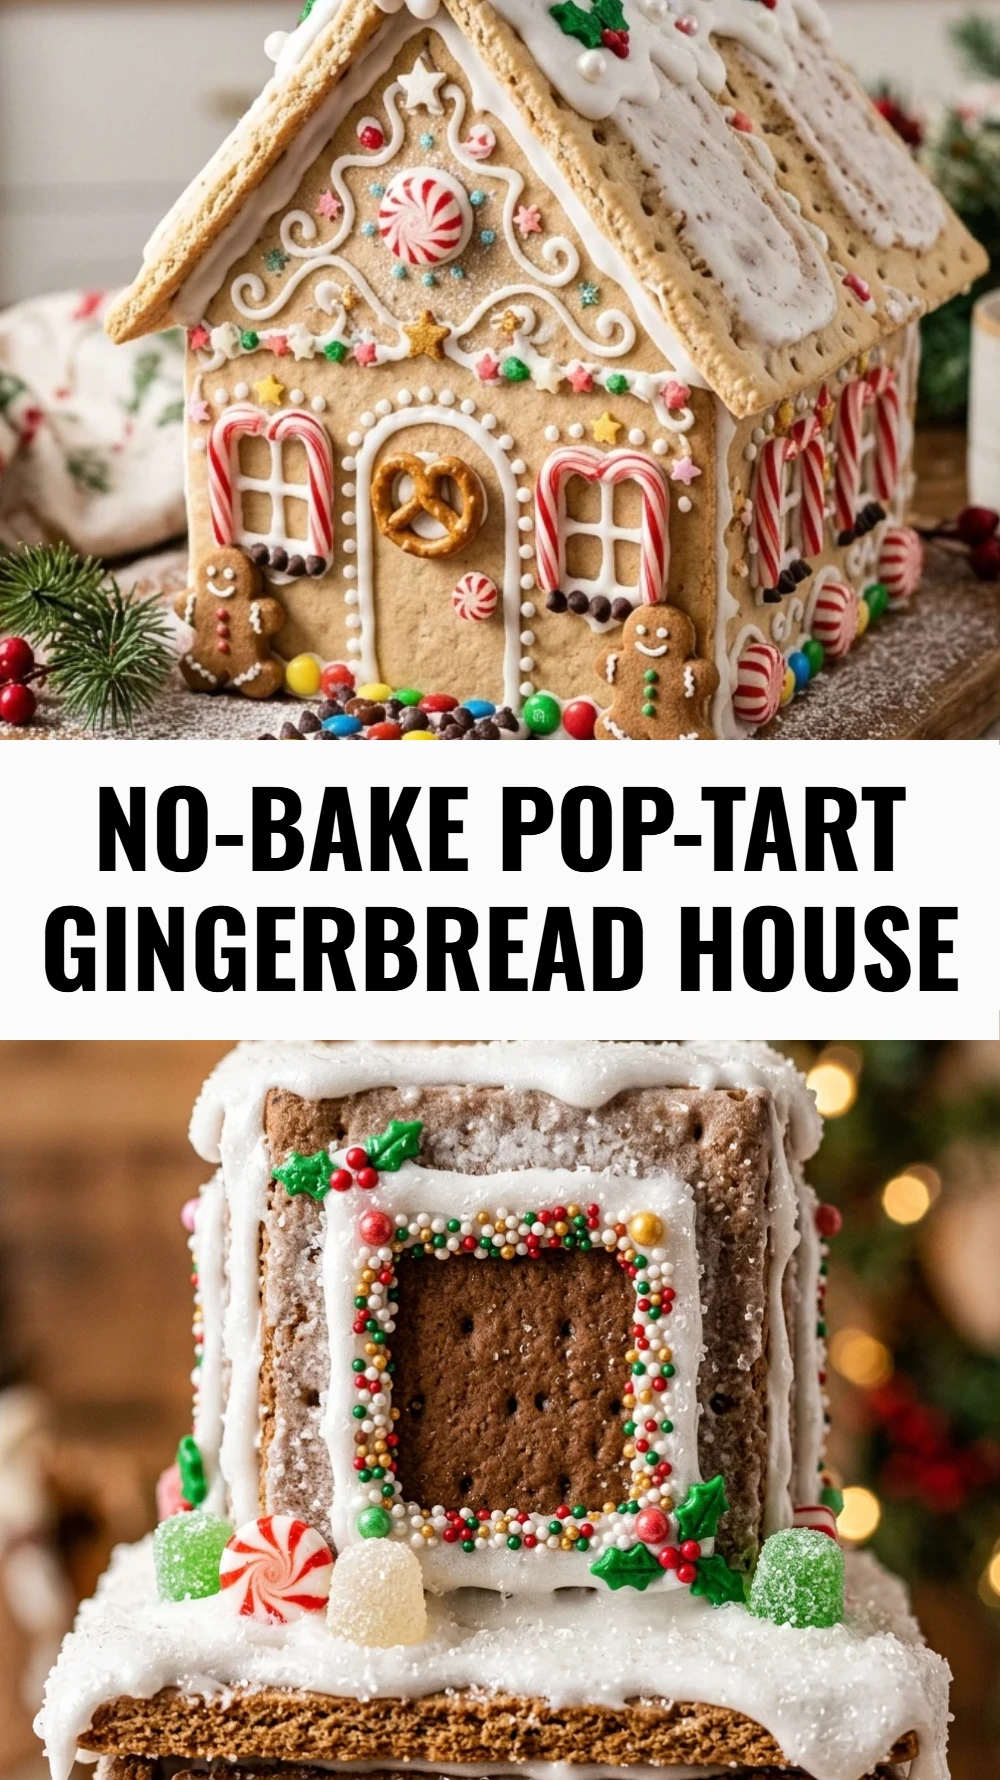
Now comes the creative part. Use your icing to “glue” gumdrops along the roofline, pretzels for windows, and peppermint rounds for a walkway. You can pipe icicles hanging from the roof or add a thick layer of icing to the base and sprinkle coconut flakes to look like freshly fallen snow. Let the house sit for at least an hour to fully dry before moving it.
Tips for Success
To ensure your house stays standing, always use royal icing rather than whipped frosting, as royal icing dries like cement. If you find the pieces are sliding, you can use small cans or glasses to prop up the walls from the outside while the icing sets for the first ten minutes. It is also helpful to work on a flat, non-slip surface so the base doesn’t shift. If a pastry breaks, don’t worry, just use a “beaded” line of icing to repair the crack, it will look like a decorative architectural detail!
Variations of No-Bake Pop-Tart Gingerbread House
You can easily customize this project for different themes. For a “Winter Wonderland” look, use blueberry or strawberry pastries with white icing and blue silver sprinkles. If you want a “Log Cabin” style, use chocolate pastries and stick small pretzel sticks all over the exterior with icing. You can even make a tiny village by using mini toaster pastries for smaller, bite-sized houses that sit perfectly on the rim of a mug.
Serving Suggestions: What to Pair with No-Bake Pop-Tart Gingerbread House
While these houses are often used as decor, they are entirely edible and delicious. Serve the pieces of the house alongside a warm mug of cocoa topped with whipped cream. It also makes a beautiful centerpiece for a holiday dessert board filled with oranges, nuts, and Christmas cookies. If you are hosting a party, you can set up a “building station” where guests can make their own mini versions while sipping on warm apple cider.
Storage & Reheating Instructions
Since this is a no-bake treat meant for display, it can stay at room temperature for several days. If you plan on eating it later, keep it in a cool, dry place away from direct sunlight or humidity, which can soften the pastries. Do not refrigerate the house as the moisture will make the “gingerbread” soggy and the icing may run. There is no need to reheat this treat, it is best enjoyed at room temperature when the icing is crisp and the pastry is soft.
Memories Made Around the Table
I remember one particular Christmas when the snow was piled high outside and we realized we had forgotten to buy a gingerbread kit. I looked in the pantry and saw a box of cinnamon toaster pastries, and a new tradition was born. We sat around the table for hours, laughing as we tried to make pretzel fences and gumdrop chimneys. It wasn’t about having a perfect, professional looking house, it was about the sticky fingers and the joy of creating something together. Every time I smell cinnamon now, I am transported back to that cozy afternoon.
FAQs
How long does it take for the icing to dry?
The royal icing will begin to set within 10 to 15 minutes, which is helpful during the assembly phase. However, for the house to be completely sturdy and for the icing to harden fully, it is best to let it sit undisturbed for at least two hours or even overnight.
Can I use store-bought frosting instead of making royal icing?
You can use store-bought frosting if it is labeled as “decorator icing” or “royal icing” in a tube. Standard whipped or creamy tub frostings usually do not dry hard enough to support the weight of the roof and the candy decorations, which might cause the house to collapse.
What is the best way to cut the pastries without breaking them?
The best method is to use a sharp serrated knife and a very gentle sawing motion. Do not press down hard on the pastry, as the pressure will cause it to snap. If the pastry feels very cold, let it come to room temperature to make it slightly more pliable before cutting.
Is the gingerbread house edible after sitting out?
Yes, the ingredients are shelf stable. However, after sitting out for more than a couple of days, the pastries may become a bit stale or hard. If you intend to eat the house, it is best to do so within 24 to 48 hours of assembly for the best flavor and texture.
Can I make the icing without meringue powder?
You can make a simple glaze using just powdered sugar and water, but it will not be as strong. For a sturdy house, meringue powder is highly recommended because it provides the structural integrity needed to hold the weight of the toaster pastries and candies.
Final Thoughts
Creating a No-Bake Pop-Tart Gingerbread House is a delightful way to embrace the Christmas spirit without the stress of traditional baking. It allows for endless creativity and provides a fun, edible craft that looks beautiful on any holiday table. Whether you are building this with children or making a sophisticated version for a party centerpiece, the process is sure to bring a smile to everyone’s face. Happy building and Merry Christmas!
No-Bake Pop-Tart Gingerbread House
- Total Time: 30 minutes
Ingredients
- 6 Gingerbread or Brown Sugar Cinnamon Pop-Tarts
- 2 cups powdered sugar
- 2 tablespoons meringue powder
- 4 tablespoons warm water
- 1/2 teaspoon alcohol-free vanilla extract
- 1/2 cup small gumdrops
- 1/4 cup peppermint candies or candy canes
- 1/4 cup mini pretzels for windows or fences
- 1 tablespoon shredded coconut for snow
Instructions
- In a medium bowl, whisk together the powdered sugar and meringue powder. Slowly add the warm water and alcohol-free vanilla extract, beating with a hand mixer until the icing is stiff and forms peaks. This “glue” is essential for keeping your house together, so make sure it is thick enough to hold its shape. Transfer the icing to a piping bag with a small round tip or a plastic bag with the corner snipped off.
- Take two of your toaster pastries to create the front and back of the house. Using a sharp serrated knife, gently saw off the top corners of these two pastries to create a pointed triangle shape at the top. These will be your gable ends that support the roof. Be very gentle to avoid cracking the frosting on the pastry.
- Pipe a thick line of icing along the bottom and side edges of one of the trimmed pastries. Attach it to a base, such as a sturdy plate or a piece of cardboard covered in foil. Use two untrimmed pastries for the side walls, piping icing along the edges to connect them to the front gable. Repeat with the back gable until you have a rectangular base. Hold the pieces for a few seconds to let the icing set.
- Pipe a generous amount of icing along the slanted top edges of the front and back gables, as well as the top edges of the side walls. Take your remaining two untrimmed pastries and gently press them onto the slanted edges to form the roof. The two pieces should meet at the top to form a peak. Pipe an extra line of icing along the top ridge where the two roof pieces meet for extra stability.
- Now comes the creative part. Use your icing to “glue” gumdrops along the roofline, pretzels for windows, and peppermint rounds for a walkway. You can pipe icicles hanging from the roof or add a thick layer of icing to the base and sprinkle coconut flakes to look like freshly fallen snow. Let the house sit for at least an hour to fully dry before moving it.
- Cook Time: 30 minutes
- Diet: Vegetarian