
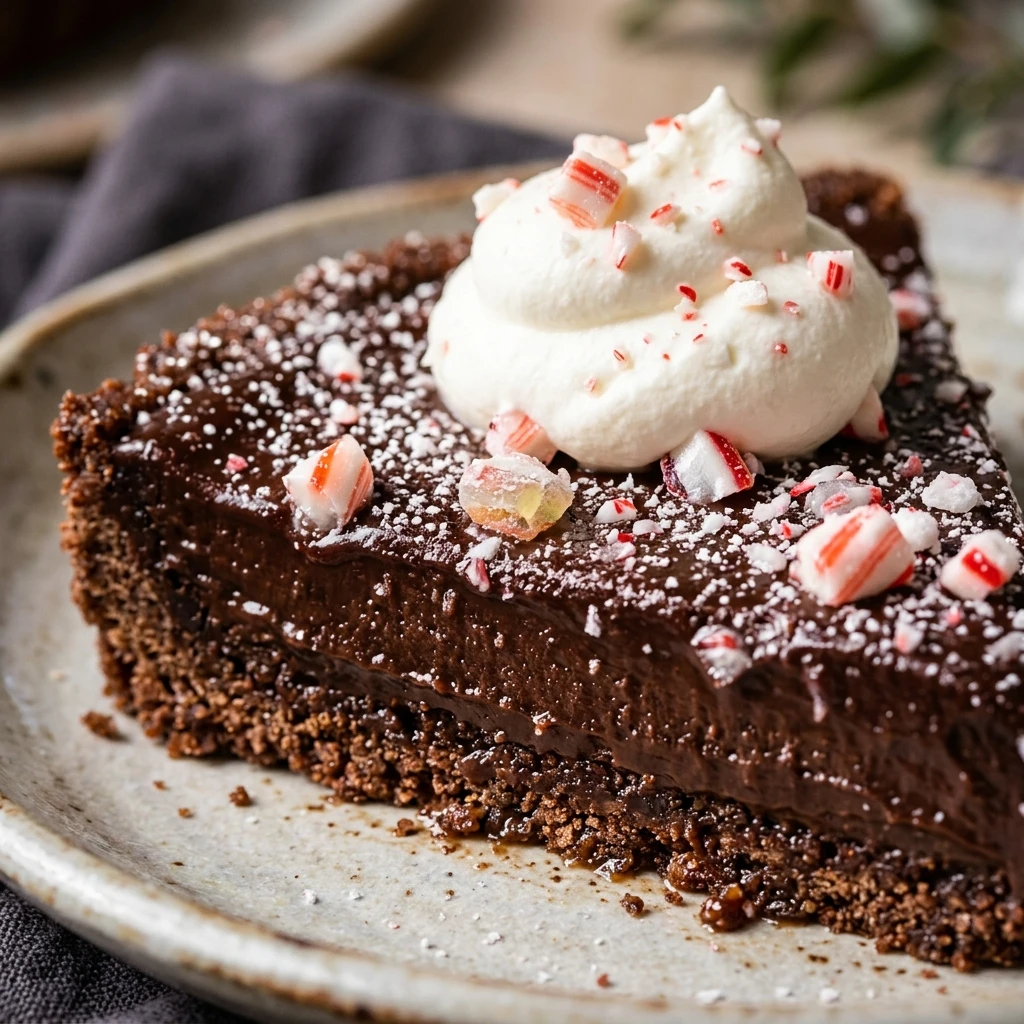
Every year when the Christmas lights go up, I find myself craving the cool, refreshing taste of peppermint paired with rich chocolate. This No-Bake Peppermint Tart is my favorite way to bring that festive spirit to the table without even turning on the oven. It is creamy, decadent, and looks absolutely stunning with its snowy white filling and bright red candy cane topping.
Recipe Details
Recipe Information
- Prep Time: 25 minutes
- Cook Time: 0 minutes
- Total Time: 25 minutes
- Servings: 10 servings
- Difficulty: Easy
Nutrition Information (Per Serving)
- Calories: 340 kcal
- Protein: 4g
- Carbs: 38g
- Fat: 20g
Why You’ll Love This No-Bake Peppermint Tart
This dessert is a total lifesaver during the busy Christmas season. Since it requires no baking, you can save that precious oven space for your turkey or roasted vegetables. The combination of the crunchy chocolate crust and the silky peppermint mousse creates a texture that is both light and satisfying. Plus, the vibrant colors make it a natural centerpiece for any holiday dessert spread, requiring very little effort for a high-end look.
No-Bake Peppermint Tart Ingredients & Substitutions
- 24 chocolate sandwich cookies
- 5 tablespoons unsalted butter, melted
- 8 ounces cream cheese, softened to room temperature
- 1 cup powdered sugar
- 1 teaspoon alcohol-free vanilla extract
- 1/2 teaspoon peppermint extract
- 8 ounces whipped topping, thawed
- 1/2 cup crushed candy canes
- 2 drops red gel food coloring, optional for a pink swirl
If you prefer a different base, you can use graham crackers or ginger snaps instead of chocolate cookies. For the filling, if you want a more natural approach, you can substitute the whipped topping with one and a half cups of heavy cream whipped to stiff peaks. If peppermint extract feels too strong, start with a quarter teaspoon and adjust to your preference. Alcohol-free vanilla extract is essential here to keep the flavors clean and bright.
Step-by-Step Instructions to Make No-Bake Peppermint Tart
Step 1: Prepare the Chocolate Crust
Place the chocolate sandwich cookies into a food processor and pulse until they become fine crumbs. Pour in the melted butter and pulse again until the mixture resembles wet sand. Press the mixture firmly into the bottom and up the sides of a 9-inch tart pan with a removable bottom. Use the back of a spoon to ensure the edges are even, then place the crust in the freezer to set while you prepare the filling.
Step 2: Cream the Filling Base
In a large mixing bowl, beat the softened cream cheese until it is completely smooth and free of lumps. Sift in the powdered sugar slowly, beating on low speed until combined. Add the alcohol-free vanilla extract and the peppermint extract, mixing once more to ensure the flavors are evenly distributed throughout the cream cheese base.
Step 3: Fold in the Whipped Topping
Gently fold the thawed whipped topping into the cream cheese mixture using a rubber spatula. Use a light hand here so you do not deflate the air in the topping, as this is what gives the tart its mousse-like texture. If you want a festive pink look, you can add a tiny drop of red gel food coloring at this stage and fold it in just enough to create beautiful swirls.
Step 4: Fill the Tart Shell
Remove the tart crust from the freezer. Pour the peppermint filling into the shell and spread it out evenly with an offset spatula. Smooth the top or create decorative peaks if you like. If you have extra filling, you can pipe small stars around the border for an extra professional touch.
Step 5: Chill and Garnish
Place the tart in the refrigerator for at least four hours, or ideally overnight, to allow the filling to firm up. Just before serving, sprinkle the crushed candy canes over the top. It is important to wait until the last minute to add the candy canes, as they can start to melt and bleed color into the white filling if they sit in the fridge for too long.
Tips for Success
Make sure your cream cheese is truly at room temperature before you start mixing, or you will end up with tiny lumps in your tart. When pressing the crust into the pan, pay extra attention to the corner where the bottom meets the side to ensure it is not too thick. For clean slices, dip your knife in hot water and wipe it dry between every single cut. This helps the knife glide through the chilled filling without sticking.
Variations of No-Bake Peppermint Tart
You can easily customize this dessert to suit your family’s taste. Try adding a layer of chocolate ganache over the crust before adding the peppermint filling for a “thin mint” inspired experience. For a more textured bite, fold half a cup of mini chocolate chips directly into the filling. If you want a lighter version, you can use a reduced-fat cream cheese, though the final result may be slightly softer in consistency.
Serving Suggestions: What to Pair with No-Bake Peppermint Tart
This tart is quite rich, so it pairs beautifully with a hot cup of black coffee or a spicy herbal tea. For the kids, serve it alongside a glass of cold milk or a mug of homemade cocoa. If you are serving this at a Christmas dinner party, a side of fresh raspberries or a simple berry coulis adds a nice tartness that cuts through the sweetness of the peppermint and chocolate.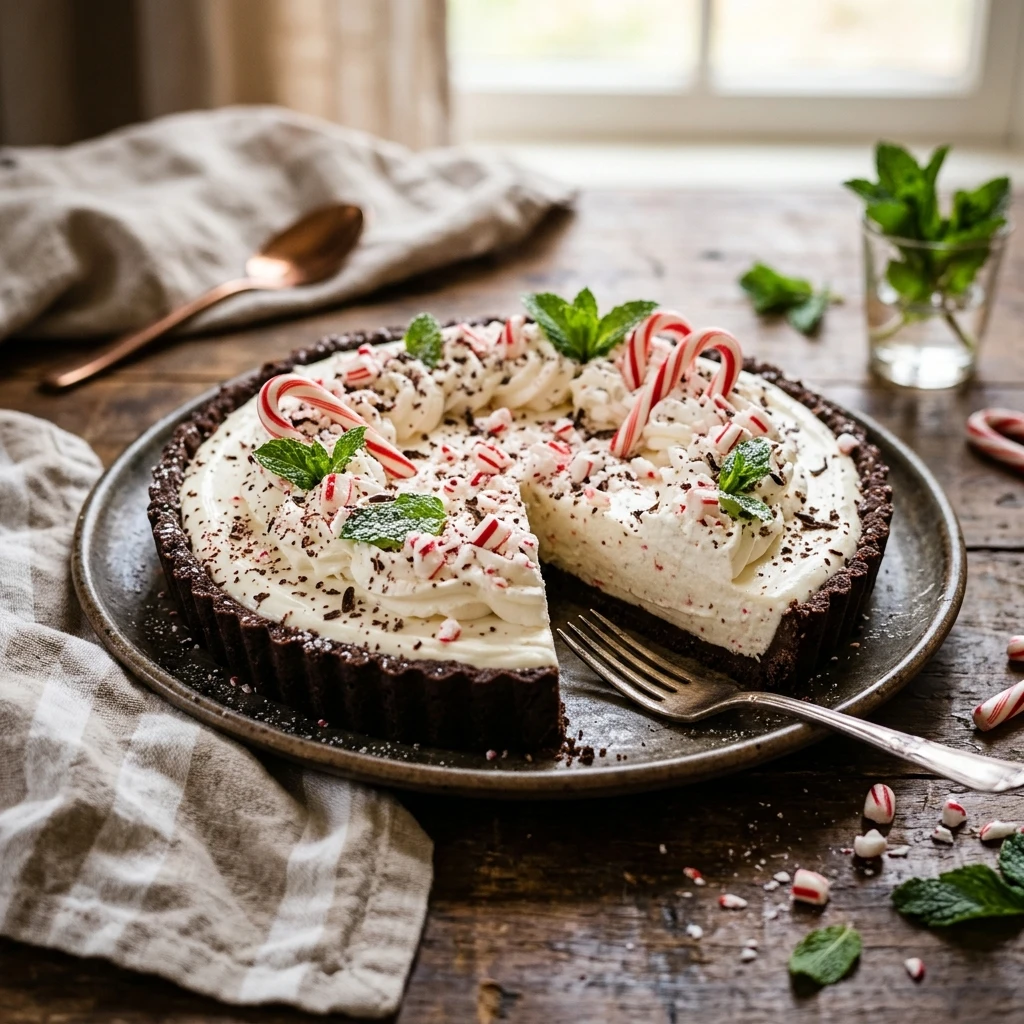
Storage & Reheating Instructions
This tart should be stored in the refrigerator in an airtight container or tightly covered with plastic wrap. It will stay fresh for up to three days. Because this is a no-bake chilled dessert, it should not be reheated. If you have leftovers, keep them cold until the moment you are ready to eat. You can freeze the tart for up to one month, but for the best texture, thaw it in the fridge for a few hours before serving.
Memories Made Around the Table
I remember one particular Christmas where my kitchen was so full of flour and cookie sheets that I did not think I could handle one more task. I decided to try this no-bake recipe just to save my sanity, and it ended up being the star of the night. My nieces loved helping me crush the candy canes in a plastic bag, and we all laughed as their little faces turned pink from the peppermint dust. It has since become our official holiday tradition, reminding us that the best desserts are often the ones that let us spend more time laughing and less time hovering over a hot stove.
FAQs
Can I make this tart a day in advance?
Yes, this tart is actually better when made a day in advance. Giving it a full night to chill in the refrigerator allows the flavors to meld and the structure to become firm enough for perfect slicing. Just remember to hold off on adding the crushed candy canes until you are ready to put it on the table.
How do I crush the candy canes without making a mess?
The easiest way to crush candy canes is to place them in a heavy-duty zip-top bag, squeeze out the air, and wrap the bag in a kitchen towel. Use a rolling pin or a heavy skillet to whack the bag until the pieces are the desired size. The towel prevents the bag from getting tiny punctures that would leak sugar dust everywhere.
Can I use a regular pie dish instead of a tart pan?
You certainly can. A 9-inch pie dish works perfectly for this recipe. The only difference is that you will not be able to remove the sides like you would with a tart pan, so you will serve the slices directly from the dish. It still looks lovely and tastes exactly the same.
What if my filling is too soft?
If the filling seems too soft after chilling, it might be because the cream cheese was whipped too much or the whipped topping was too warm. You can place the tart in the freezer for about 30 to 45 minutes before serving to help it firm up quickly. This will give it a semi-frozen, refreshing texture that is also very delicious.
Is there a substitute for the chocolate sandwich cookies?
If you cannot find chocolate sandwich cookies, you can use chocolate graham crackers or even plain digestive biscuits mixed with two tablespoons of cocoa powder and an extra tablespoon of sugar. The goal is to have a dark, crunchy base that provides a color and flavor contrast to the minty filling.
Final Thoughts
The No-Bake Peppermint Tart is the ultimate holiday hack for anyone who wants a gorgeous, festive dessert without the stress of baking. Its cool mint flavor and rich chocolate crust are a match made in heaven, especially during the Christmas season. Whether you are hosting a large gathering or just want a special treat for your family, this tart is sure to bring a bit of magic to your holiday table. Enjoy every creamy, minty bite!
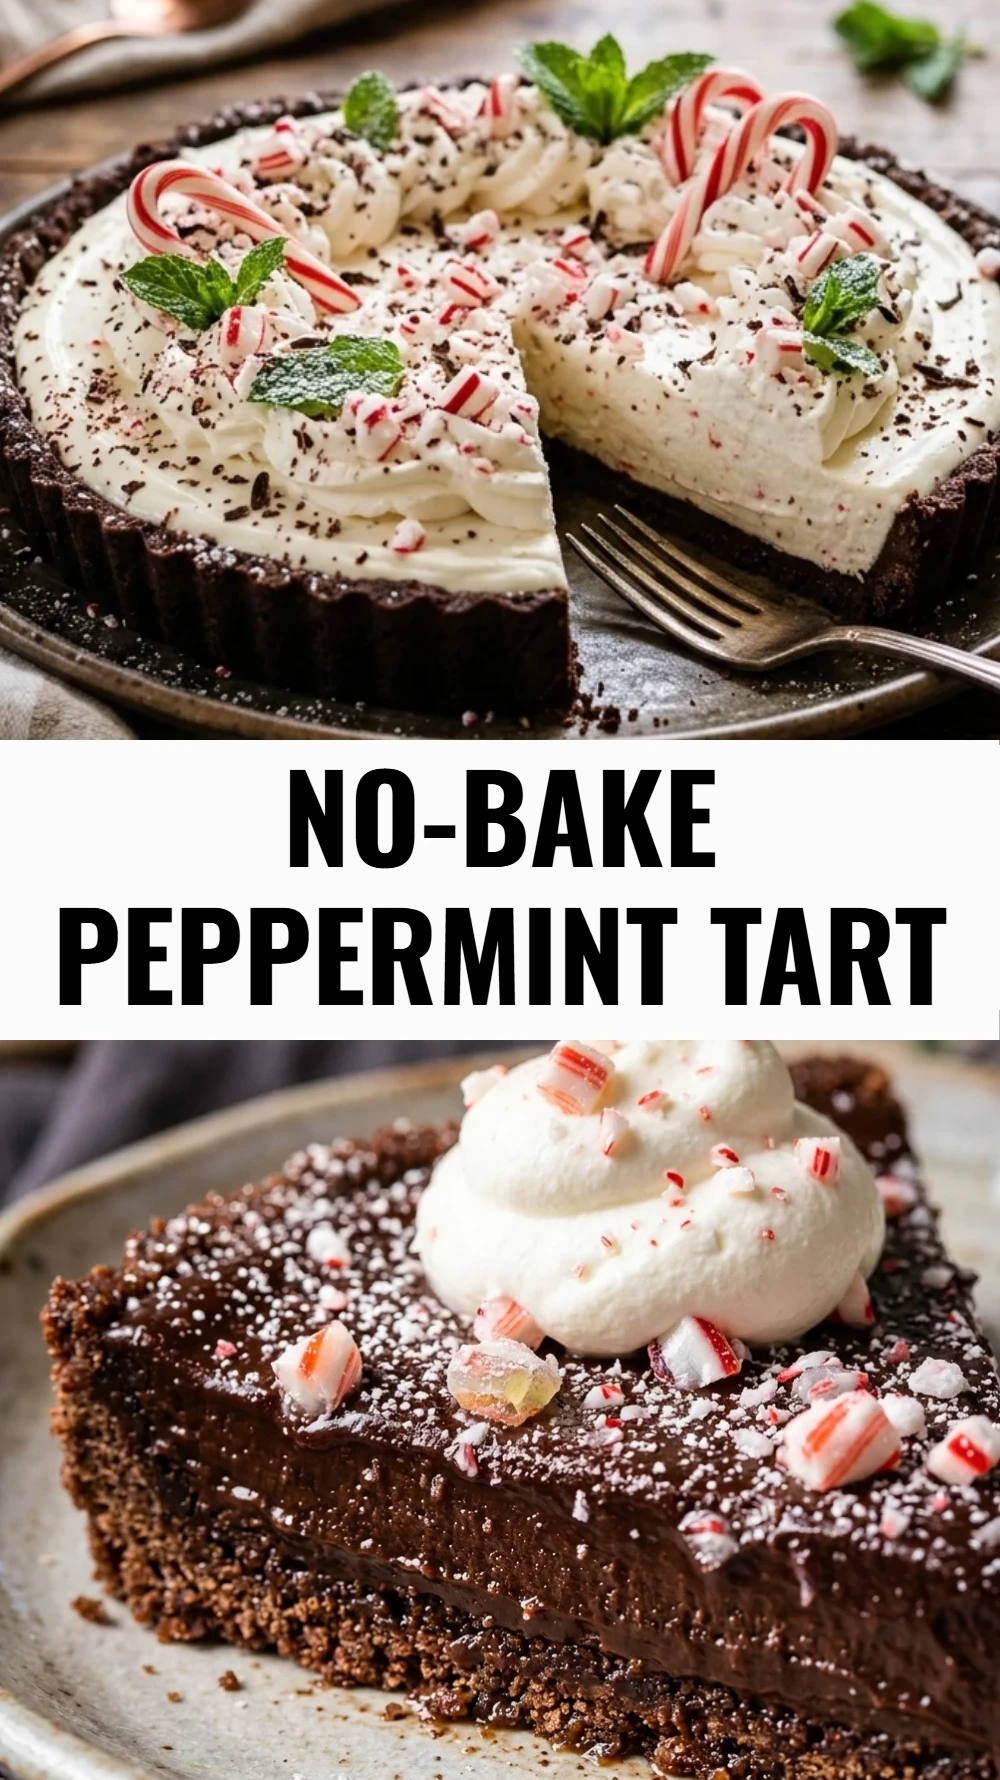
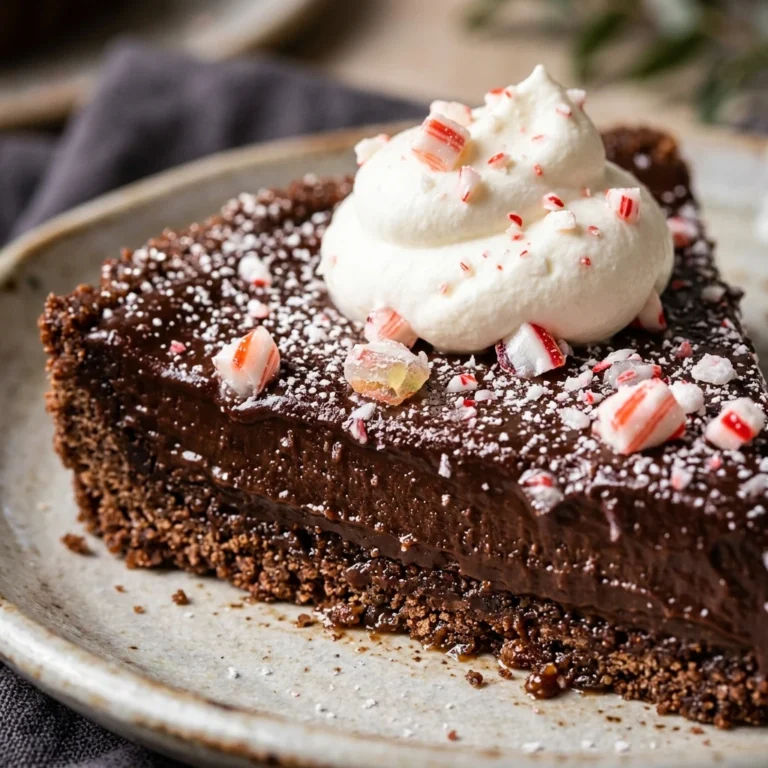
No-Bake Peppermint Tart
- Total Time: 25 minutes
Ingredients
- 24 chocolate sandwich cookies
- 5 tablespoons unsalted butter, melted
- 8 ounces cream cheese, softened to room temperature
- 1 cup powdered sugar
- 1 teaspoon alcohol-free vanilla extract
- 1/2 teaspoon peppermint extract
- 8 ounces whipped topping, thawed
- 1/2 cup crushed candy canes
- 2 drops red gel food coloring, optional for a pink swirl
Instructions
- Step 1: Prepare the Chocolate Crust
Place the chocolate sandwich cookies into a food processor and pulse until they become fine crumbs. Pour in the melted butter and pulse again until the mixture resembles wet sand. Press the mixture firmly into the bottom and up the sides of a 9-inch tart pan with a removable bottom. Use the back of a spoon to ensure the edges are even, then place the crust in the freezer to set while you prepare the filling. - Step 2: Cream the Filling Base
In a large mixing bowl, beat the softened cream cheese until it is completely smooth and free of lumps. Sift in the powdered sugar slowly, beating on low speed until combined. Add the alcohol-free vanilla extract and the peppermint extract, mixing once more to ensure the flavors are evenly distributed throughout the cream cheese base. - Step 3: Fold in the Whipped Topping
Gently fold the thawed whipped topping into the cream cheese mixture using a rubber spatula. Use a light hand here so you do not deflate the air in the topping, as this is what gives the tart its mousse-like texture. If you want a festive pink look, you can add a tiny drop of red gel food coloring at this stage and fold it in just enough to create beautiful swirls. - Step 4: Fill the Tart Shell
Remove the tart crust from the freezer. Pour the peppermint filling into the shell and spread it out evenly with an offset spatula. Smooth the top or create decorative peaks if you like. If you have extra filling, you can pipe small stars around the border for an extra professional touch. - Step 5: Chill and Garnish
Place the tart in the refrigerator for at least four hours, or ideally overnight, to allow the filling to firm up. Just before serving, sprinkle the crushed candy canes over the top. It is important to wait until the last minute to add the candy canes, as they can start to melt and bleed color into the white filling if they sit in the fridge for too long.
- Cook Time: 25 minutes
- Diet: Vegetarian