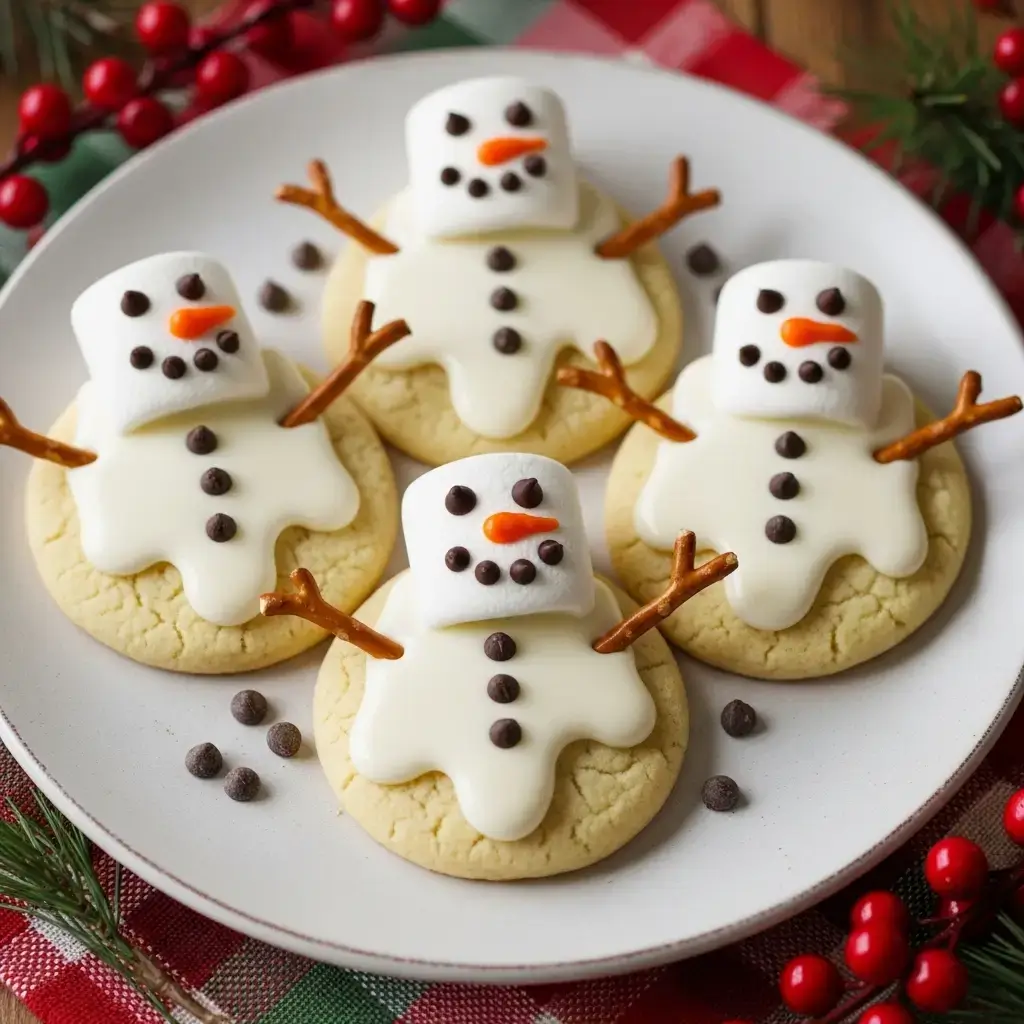
These Melted Snowman Cookies are the whimsical winter treat everyone asks for. Think tender no-spread sugar cookies, glossy white icing, and a melty marshmallow head that makes kids and adults grin with every bite.
I’ve tested these for clean edges, soft centers, and easy decorating, so you can focus on the fun. Grab your sprinkles and let’s build the cutest cookie plate of the season.

Melted Snowman Cookies (No-Spread Sugar Cookies)
Equipment
- 1 Rolling Pin
- 1 Parchment Paper
- 2 Baking sheets
- 1 Cooling rack
- 1 Electric Mixer hand or stand
- 1 Microwave for softening marshmallows
- 1 Piping Bag or Zip-top Bag for icing
- 1 Toothpicks to pop bubbles and nudge icing
- 1 Round cookie cutter (3 to 3 1/2 inch) or cut organic puddle shapes
Ingredients
For the no-spread sugar cookies
- 2.75 cup all-purpose flour
- 2 tbsp cornstarch for structure and minimal spread
- 0.5 tsp baking powder
- 0.5 tsp fine sea salt
- 0.75 cup unsalted butter room temperature
- 0.75 cup granulated sugar
- 1 large egg room temperature
- 1.5 tsp pure vanilla extract
- 0.5 tsp almond extract optional but lovely
For the easy royal icing
- 3 cup powdered sugar sifted
- 2.5 tbsp meringue powder
- 5 tbsp warm water plus more as needed; start with 5–6 tbsp
- 1 tsp vanilla extract clear vanilla if preferred
- Pinch of salt to balance sweetness
For decorating
- 12 large marshmallows halved crosswise to make 24 heads
- Mini chocolate chips or black icing for eyes and buttons
- Orange sprinkles or orange icing for carrot noses
- Brown icing or pretzel sticks for twig arms
- Assorted sprinkles or colored icing for scarves and hats
Instructions
- Whisk flour, cornstarch, baking powder, and salt. In a separate bowl, beat butter and sugar on medium until just creamy and light, about 2 minutes. Mix in egg, vanilla, and almond extract. Add dry ingredients on low until a smooth dough forms. Do not overmix.
- Divide dough into 2 disks, wrap, and chill 30–45 minutes until cool yet pliable. This quick chill keeps edges sharp without making the dough crumbly.
- Preheat oven to 350°F (175°C). Roll dough between parchment to 1/4 inch thick. Cut into 3 to 3 1/2 inch rounds or imperfect puddle shapes. Transfer to parchment-lined sheets and freeze the cutouts 10 minutes to prevent spread.
- Bake 9–11 minutes until edges look set and the tops lose their shine. They should be pale. Cool on the sheet 5 minutes, then transfer to a rack and cool completely.
- Beat powdered sugar, meringue powder, vanilla, and 5 tbsp warm water on low until combined, then on medium until thick, glossy, and smooth, 2–3 minutes. Adjust with drops of water to reach a thick flood consistency that slowly ribbons back into itself in 12–15 seconds.
- Pipe a wiggly outline around each cookie, then fill with icing. Use a toothpick to nudge icing into corners and pop bubbles. Let sit 3–5 minutes to gently set.
- Place a marshmallow half on a microwave-safe plate. Microwave 5–8 seconds until slightly slumped but still intact. Immediately transfer onto the wet icing so it adheres. Work 2–3 at a time so they do not overmelt.
- Use mini chips or black icing for eyes and buttons, orange icing for noses, and brown icing or pretzel bits for arms. Add scarves with colored icing or sprinkles. Let cookies dry at room temperature until the icing is fully set, 6–8 hours or overnight.
Notes
Why You’ll Love This Melted Snowman Cookies
- No-spread edges that hold their shape for picture-perfect snowmen.
- Soft centers with a light vanilla-almond bakery flavor.
- Kid-friendly decorating with simple, accessible ingredients.
- Make-ahead friendly for stress-free holiday hosting.
Melted Snowman Cookies Ingredients & Substitutions
For the no-spread sugar cookies
- 2 3/4 cups (345 g) all-purpose flour
- 2 tbsp (16 g) cornstarch for structure and minimal spread
- 1/2 tsp baking powder
- 1/2 tsp fine sea salt
- 3/4 cup (170 g) unsalted butter, room temperature
- 3/4 cup (150 g) granulated sugar
- 1 large egg, room temperature
- 1 1/2 tsp pure vanilla extract
- 1/2 tsp almond extract, optional but lovely
Substitutions: Use salted butter and reduce added salt to a pinch. Swap almond extract for additional vanilla or leave out. For gluten-free, use a quality 1:1 gluten-free flour with xanthan gum and add 1-2 tsp milk if dough feels dry.
For the easy royal icing
- 3 cups (360 g) powdered sugar, sifted
- 2 1/2 tbsp meringue powder
- 5-6 tbsp warm water, plus more as needed
- 1 tsp vanilla or clear vanilla
- Pinch of salt to balance sweetness
No meringue powder? Use 2 large pasteurized egg whites and 3 cups powdered sugar, adding water a teaspoon at a time to reach a pipeable-consistency. For egg-free, use 4 tbsp aquafaba in place of meringue powder and start with 4 tbsp water.
For decorating
- 12 large marshmallows, halved crosswise to make 24 heads
- Mini chocolate chips or black icing for eyes and buttons
- Orange sprinkles or orange icing for carrot noses
- Brown icing or pretzel sticks for twig arms
- Assorted sprinkles or colored icing for scarves and hats
Step-by-Step Instructions to Make Melted Snowman Cookies
1. Make the dough
Whisk flour, cornstarch, baking powder, and salt. In a separate bowl, beat butter and sugar on medium until just creamy and light, about 2 minutes. Mix in egg, vanilla, and almond extract. Add dry ingredients on low until a smooth dough forms. Do not overmix.
2. Chill briefly
Divide dough into 2 disks, wrap, and chill 30-45 minutes until cool yet pliable. This quick chill keeps edges sharp without making the dough crumbly.
3. Roll and cut
Preheat oven to 350 F (175 C). Roll dough between parchment to 1/4 inch thick. Cut into 3 to 3 1/2 inch rounds or imperfect puddle shapes. Transfer to parchment-lined sheets and freeze the cutouts 10 minutes to prevent spread.
4. Bake
Bake 9-11 minutes until edges look set and the tops lose their shine. They should be pale. Cool on the sheet 5 minutes, then transfer to a rack and cool completely.
5. Make royal icing
Beat powdered sugar, meringue powder, vanilla, and 5 tbsp warm water on low until combined, then on medium until thick, glossy, and smooth, 2-3 minutes. Adjust with drops of water to reach a thick flood consistency that slowly ribbons back into itself in 12-15 seconds.
6. Create the snowy puddles
Pipe a wiggly outline around each cookie, then fill with icing. Use a toothpick to nudge icing into corners and pop bubbles. Let sit 3-5 minutes to gently set.
7. Melt marshmallow heads
Place a marshmallow half on a microwave-safe plate. Microwave 5-8 seconds until slightly slumped but still intact. Immediately transfer onto the wet icing so it adheres. Work 2-3 at a time so they do not overmelt.
8. Add faces, buttons, and arms
Use mini chips or black icing for eyes and buttons, orange icing for noses, and brown icing or pretzel bits for arms. Add scarves with colored icing or sprinkles. Let cookies dry at room temperature until the icing is fully set, 6-8 hours or overnight.
Tips for Success
- Weigh flour for best texture. Too much flour makes dry cookies.
- Chill cut shapes 10 minutes right before baking to keep edges crisp.
- Roll between parchment to avoid sticking and extra flour.
- Use a 12-15 second royal icing for smooth puddles that hold detail.
- Microwave marshmallows briefly. If they collapse, you microwaved too long.
- Let decorated cookies dry completely before stacking or packaging.
Variations of Melted Snowman Cookies
- Chocolate base: Replace 1/2 cup (40 g) flour with 1/2 cup (40 g) Dutch cocoa and add 1 tbsp milk if needed.
- Gingerbread snowmen: Add 2 tsp ground ginger, 1 tsp cinnamon, and 1/4 tsp cloves. Swap almond extract for 1 tbsp molasses.
- Peppermint twist: Add 1/2 tsp peppermint extract and sprinkle crushed candy canes on wet icing.
- Gluten-free: Use a 1:1 gluten-free baking flour. Chill well and handle gently.
- Colorful snow: Tint a portion of icing pastel blue and swirl into the white for a frosty effect.
Serving Suggestions: What to Pair with Melted Snowman Cookies
- Hot cocoa with whipped cream and a pinch of cinnamon.
- Vanilla or peppermint ice cream for a cookie sundae.
- Mulled cider or a cozy chai latte.
- A festive dessert board with fruit, truffles, and these cookies as the star.
Storage & Reheating Instructions
Store fully dried cookies in an airtight container at room temperature up to 5 days. Layer with parchment to protect decorations.
To freeze undecorated cookies: Wrap well and freeze up to 2 months. Thaw wrapped at room temperature. To freeze decorated cookies: Let dry 24 hours, then freeze in a single layer before stacking with parchment; enjoy within 6 weeks.
To refresh plain cookies: Warm in a 300 F oven 4 minutes. Avoid warming decorated cookies so icing stays intact. To keep cookies soft, tuck a piece of sandwich bread in the container and replace as needed.
Memories Made Around the Table
My favorite holiday memory is setting out bowls of sprinkles and watching little hands bring each snowman to life. Someone always gives a snowman sunglasses, and it never fails to make us laugh.
FAQs
Why did my cookies spread?
Warm dough, too little flour, or overcreamed butter can cause spread. Chill cut shapes 10 minutes, measure flour accurately, and cream butter just until light.
Can I make icing without meringue powder?
Yes. Use pasteurized egg whites with powdered sugar, or use aquafaba for an egg-free version. Adjust water until the icing slowly ribbons back into itself.
How far ahead can I make these?
Bake cookies up to 2 days ahead and store airtight. Ice and decorate the day before serving so everything sets overnight.
Do I have to microwave the marshmallows?
No. Place marshmallow halves on freshly iced cookies and let them slump slightly, or warm the cookies in a 200 F oven for 1-2 minutes to soften the marshmallows.
Final Thoughts
These Melted Snowman Cookies deliver bakery-worthy looks with simple steps you can trust. Make a batch, turn on the carols, and invite everyone to decorate. The smiles are the best part.