
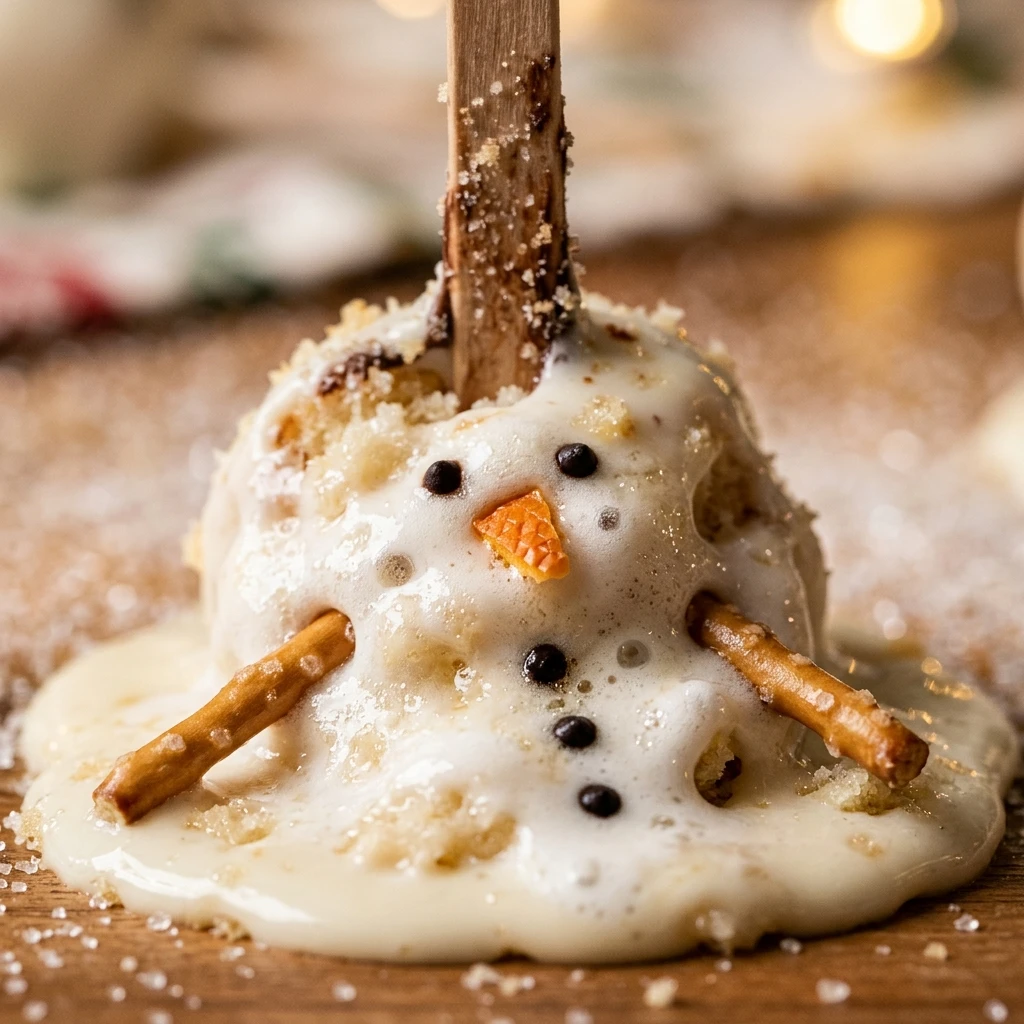
Every year when the first frost hits, I find myself looking for ways to bring the winter wonderland into my kitchen. These Melted Snowman Cake Pops are the perfect way to celebrate the Christmas season because they are meant to look adorably messy. I love how these treats take away the stress of making a perfectly round cake pop, making them a joyful activity for the whole family during the holidays.
Recipe Details
Recipe Information
- Prep Time: 45 minutes
- Cook Time: 30 minutes
- Total Time: 75 minutes
- Servings: 12 cake pops
- Difficulty: Medium
Nutrition Information (Per Serving)
- Calories: 210 kcal
- Protein: 2g
- Carbs: 32g
- Fat: 9g
Why You’ll Love This Melted Snowman Cake Pops
This recipe is a holiday lifesaver because it turns imperfections into a design choice. Since the snowmen are supposed to be “melting,” you do not have to worry about the candy coating dripping or pooling at the bottom. It is a fantastic Christmas project for children, allowing them to get creative with snowman faces and accessories. Plus, the combination of moist cake and a crunchy shell makes for a satisfying festive bite.
Melted Snowman Cake Pops Ingredients & Substitutions
- 1 box of white or yellow cake mix, baked and cooled
- 1/2 cup of alcohol-free vanilla frosting
- 12 ounces of white candy melts or white chocolate
- 12 lollipop sticks
- 24 mini pretzel sticks for the arms
- 12 small orange heart sprinkles or orange fondant pieces for the noses
- 24 mini chocolate chips for the eyes
- 12 miniature peanut butter cups or chocolate cookies for the hats
- 1 teaspoon of alcohol-free vanilla extract
If you do not have a boxed cake mix, you can use any leftover homemade cake or even store-bought pound cake. Feel free to swap the white candy melts for white chocolate chips mixed with a teaspoon of coconut oil to help with the flow. If pretzel sticks are unavailable, small pieces of dark chocolate or even edible ink markers can be used to create the snowman arms and buttons.
Step-by-Step Instructions to Make Melted Snowman Cake Pops
Step 1: Prepare the Cake Base
Begin by baking your favorite cake according to the package instructions. Once the cake has completely cooled, use your hands or a fork to crumble it into fine crumbs in a large mixing bowl. Ensure there are no large chunks remaining so the texture of the pops remains smooth and consistent.
Step 2: Create the Cake Dough
Add the alcohol-free vanilla frosting and the alcohol-free vanilla extract to the cake crumbs. Use a spatula or your hands to mix everything together until a dough-like consistency forms. You should be able to roll a small amount into a ball that holds its shape without falling apart.
Step 3: Shape and Chill
Roll the mixture into twelve even balls, roughly the size of a golf ball. Place them on a baking sheet lined with parchment paper. Insert a lollipop stick into the center of each ball and place the tray in the freezer for about 20 minutes. This helps the cake stay firm when you dip it into the warm coating.
Step 4: Dip for the Melted Look
Melt the white candy melts in a microwave-safe bowl in 30-second intervals, stirring in between until smooth. Dip each chilled cake ball into the coating. Instead of shaking off the excess, place the cake pop directly onto the parchment paper so the coating pools around the base, creating the appearance of a puddle of melted snow.
Step 5: Decorate the Snowmen
While the coating is still wet, quickly add your decorations. Place a chocolate cup on top for a hat, two mini chocolate chips for eyes, and an orange sprinkle for the nose. Press two pretzel sticks into the sides of the cake ball for arms. Let the cake pops sit at room temperature until the coating is completely hardened.
Tips for Success
To ensure the best results, make sure your cake balls are cold but not frozen solid when you dip them. If they are too cold, the candy coating might crack as it sets. If your candy melts are too thick, add a tiny amount of vegetable shortening to thin them out. Always have your decorations ready to go before you start dipping, as the “melted” puddle sets faster than you might expect during the cold Christmas months.
Variations of Melted Snowman Cake Pops
You can easily customize these treats by changing the interior cake flavor. Red velvet cake or gingerbread cake provides a beautiful color contrast against the white “snow” exterior. For a different look, use small colorful candies like gummy ribbons to create tiny scarves for the snowmen. You can also use edible glitter to give the melted snow a magical, glistening effect that sparkles under Christmas lights.
Serving Suggestions: What to Pair with Melted Snowman Cake Pops
These festive pops are best served alongside a steaming mug of hot cocoa topped with marshmallows. They look wonderful as part of a Christmas dessert charcuterie board, surrounded by peppermint bark, gingersnaps, and fresh cranberries. If you are hosting a party, try standing them up in a container filled with sugar to look like they are sitting in a snowdrift.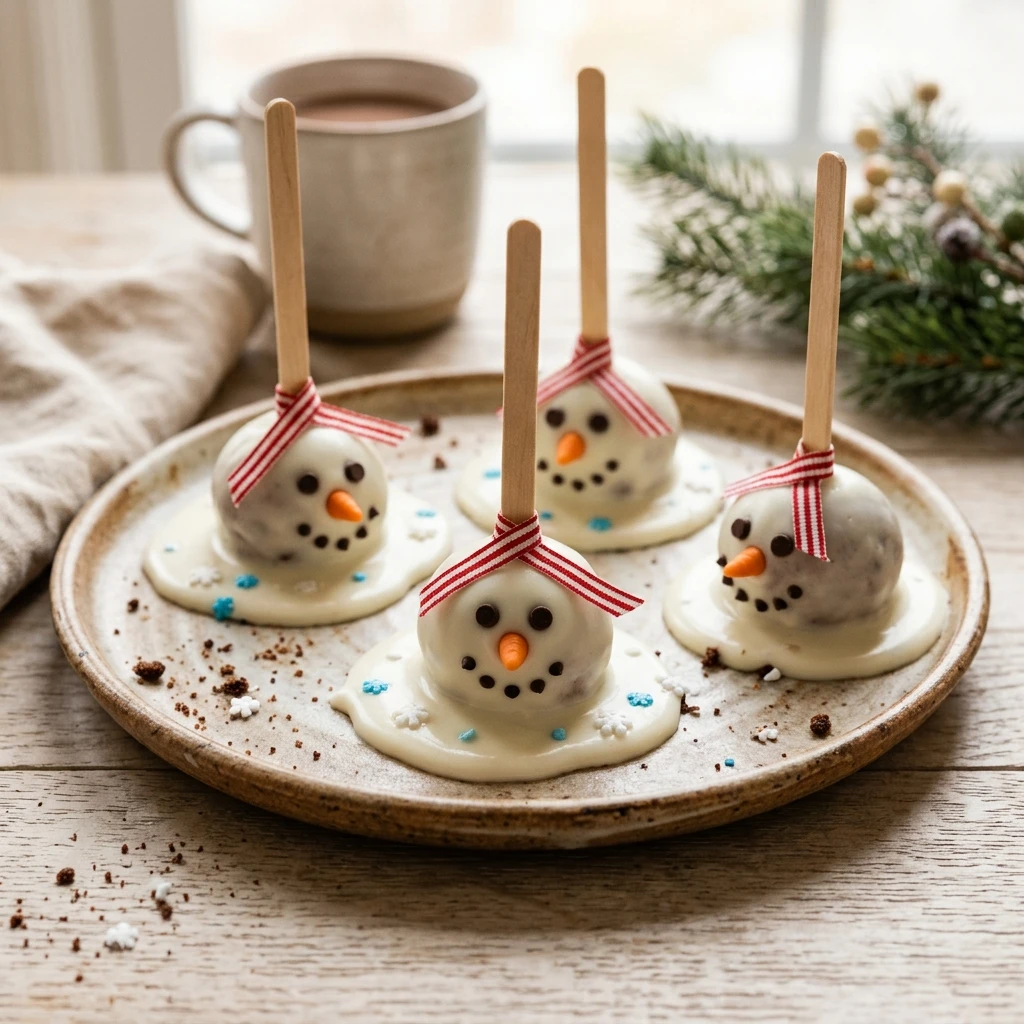
Storage & Reheating Instructions
Store these cake pops in an airtight container at room temperature for up to three days. If your kitchen is particularly warm, you may store them in the refrigerator for up to a week, but be aware that the chocolate may develop a slight condensation when brought back to room temperature. It is not recommended to reheat these, as the candy coating will melt and the decorations will fall off.
Memories Made Around the Table
I remember the first time I made these with my nieces on a chilly December afternoon. We spent hours laughing at our melting snowmen, each one having a unique personality and a slightly lopsided hat. Those moments of connection and messy fun are what the holidays are truly about for me, and these treats always bring back those warm feelings every time I see them on the table.
FAQs
Can I make these Melted Snowman Cake Pops in advance?
Yes, you can prepare the cake balls a day in advance and keep them in the fridge. You can also fully decorate them up to two days before your event, provided they are stored in a cool, dry place to prevent the pretzel arms from becoming stale.
Why is my candy coating cracking after it dries?
Cracking usually happens when there is an extreme temperature difference between the cake ball and the coating. Try to let the cake balls sit at room temperature for a few minutes after taking them out of the freezer before you start the dipping process.
What cake flavor works best for these pops?
While white or vanilla cake is traditional to match the snowman theme, chocolate or red velvet provides a delicious flavor profile. Since the outside is covered in white coating, the interior flavor can be whatever you prefer most for your Christmas celebration.
How do I stop the cake pops from falling off the stick?
A great trick is to dip the tip of the lollipop stick into the melted candy coating before inserting it into the cake ball. This acts like a glue and keeps the ball securely attached to the stick while you are dipping and decorating.
Can I use white chocolate instead of candy melts?
Absolutely, though white chocolate can be a bit more temperamental. Make sure to melt it slowly and perhaps add a small amount of coconut oil to get a smooth, pourable consistency that will create that perfect melted puddle on the parchment paper.
Final Thoughts
These Melted Snowman Cake Pops are a whimsical and delicious addition to any Christmas gathering. They remind us that the holidays do not have to be perfect to be beautiful and sweet. Whether you are an experienced baker or a beginner looking for a fun project, these treats are sure to bring a smile to everyone’s face this winter season.
Melted Snowman Cake Pops
- Total Time: 1 hour 15 minutes
Ingredients
- 1 box of white or yellow cake mix, baked and cooled
- 1/2 cup of alcohol-free vanilla frosting
- 12 ounces of white candy melts or white chocolate
- 12 lollipop sticks
- 24 mini pretzel sticks for the arms
- 12 small orange heart sprinkles or orange fondant pieces for the noses
- 24 mini chocolate chips for the eyes
- 12 miniature peanut butter cups or chocolate cookies for the hats
- 1 teaspoon of alcohol-free vanilla extract
Instructions
- Begin by baking your favorite cake according to the package instructions. Once the cake has completely cooled, use your hands or a fork to crumble it into fine crumbs in a large mixing bowl. Ensure there are no large chunks remaining so the texture of the pops remains smooth and consistent.
- Add the alcohol-free vanilla frosting and the alcohol-free vanilla extract to the cake crumbs. Use a spatula or your hands to mix everything together until a dough-like consistency forms. You should be able to roll a small amount into a ball that holds its shape without falling apart.
- Roll the mixture into twelve even balls, roughly the size of a golf ball. Place them on a baking sheet lined with parchment paper. Insert a lollipop stick into the center of each ball and place the tray in the freezer for about 20 minutes. This helps the cake stay firm when you dip it into the warm coating.
- Melt the white candy melts in a microwave-safe bowl in 30-second intervals, stirring in between until smooth. Dip each chilled cake ball into the coating. Instead of shaking off the excess, place the cake pop directly onto the parchment paper so the coating pools around the base, creating the appearance of a puddle of melted snow.
- While the coating is still wet, quickly add your decorations. Place a chocolate cup on top for a hat, two mini chocolate chips for eyes, and an orange sprinkle for the nose. Press two pretzel sticks into the sides of the cake ball for arms. Let the cake pops sit at room temperature until the coating is completely hardened.
- Cook Time: 75 minutes
- Diet: Vegetarian