
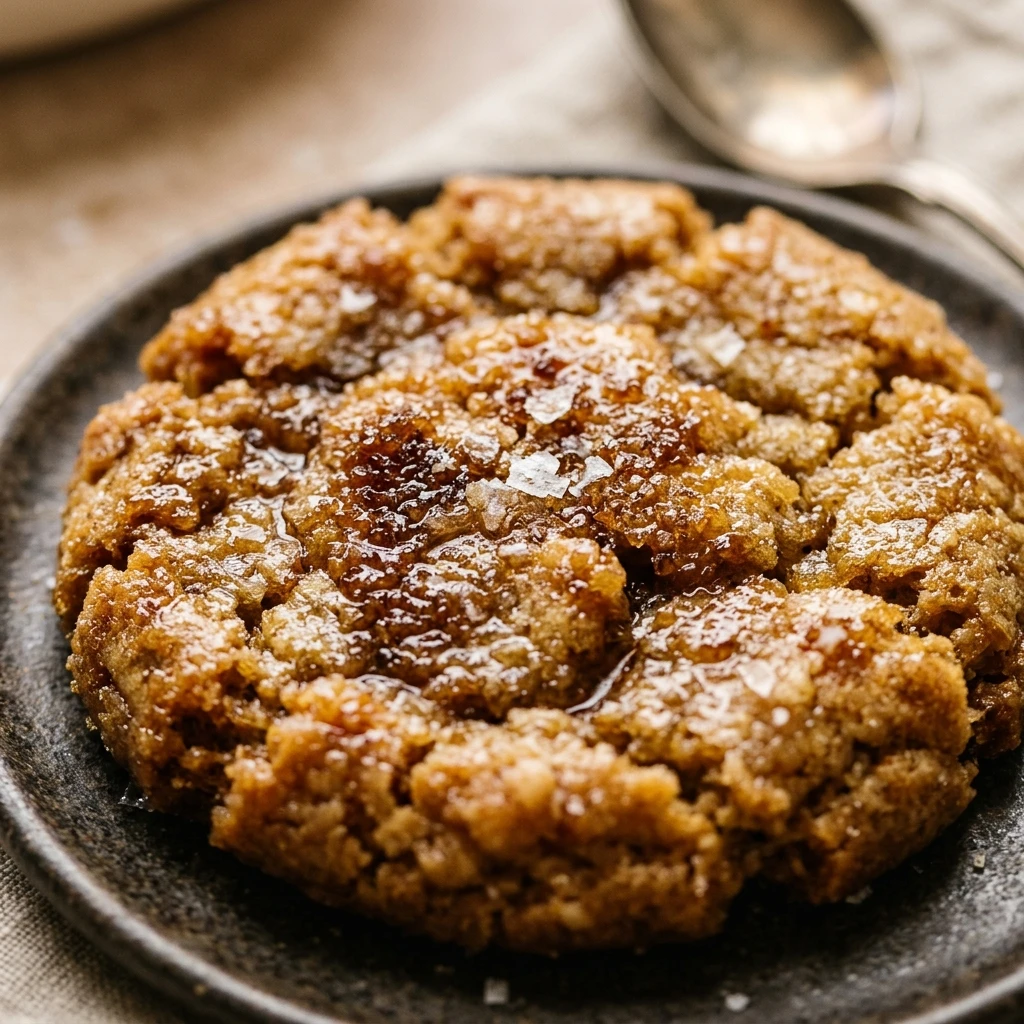
I love the way the kitchen smells during the Christmas season, especially when the aroma of toasted butter and maple syrup fills the air. These cookies have become a staple for my holiday baking because they bring so much warmth and comfort to every gathering. I really enjoy how the flaky salt balances the deep sweetness, making them an instant favorite for everyone who tries them.
Recipe Details
Recipe Information
- Prep Time: 20 minutes
- Cook Time: 10 minutes
- Total Time: 30 minutes
- Servings: 18
- Difficulty: Medium
Nutrition Information (Per Serving)
- Calories: 165
- Protein: 1.5g
- Carbs: 21g
- Fat: 8.5g
Why You’ll Love These Cookies
There is something incredibly special about the combination of maple and brown butter, particularly when the weather gets cold. These cookies offer a sophisticated flavor profile that feels much more complex than your average holiday treat. You will love the chewy centers, the crisp edges, and the way the salt makes the maple flavor truly pop on your tongue. They are elegant enough for a formal Christmas party yet simple enough to enjoy with a warm mug of cocoa by the fireplace.
These Cookies Ingredients & Substitutions
- 1 cup unsalted butter
- 1/2 cup granulated sugar
- 3/4 cup packed light brown sugar
- 1/4 cup pure maple syrup
- 1 large egg, room temperature
- 1 teaspoon alcohol-free vanilla extract
- 2 1/4 cups gluten-free all-purpose flour blend with xanthan gum
- 1 teaspoon baking soda
- 1/2 teaspoon fine sea salt
- 1 tablespoon flaky sea salt for topping
If you prefer a deeper flavor, you can swap the light brown sugar for dark brown sugar to increase the molasses notes. For those who do not have a gluten-free flour blend, a standard all-purpose flour can be used at a one to one ratio. If you want a bit of crunch, adding finely chopped pecans is a wonderful adjustment that complements the maple perfectly. Ensure your maple syrup is grade A dark for the most robust flavor profile in the finished bake.
Step-by-Step Instructions to Make These Cookies
Step 1: Brown the Butter
Place the unsalted butter in a medium saucepan over medium heat. Melt the butter and continue to cook it, whisking constantly, until it begins to foam and develop small brown specks at the bottom. Once it smells nutty and turns a golden amber color, remove it from the heat immediately and pour it into a heat-proof bowl to cool for about ten minutes.
Step 2: Cream the Sugars and Butter
Add the granulated sugar and brown sugar to the cooled brown butter. Use a hand mixer or a stand mixer to beat the mixture until it is smooth and well combined. Pour in the pure maple syrup, the egg, and the alcohol-free vanilla extract, then continue to beat on medium speed until the mixture is light and fluffy.
Step 3: Combine Dry Ingredients
In a separate medium bowl, whisk together the gluten-free flour blend, baking soda, and fine sea salt. Gradually add the dry ingredients to the wet ingredients, mixing on low speed until just combined. Be careful not to overmix, as you want the dough to remain tender.
Step 4: Chill and Scoop
Cover the dough and place it in the refrigerator for at least thirty minutes. This step is crucial for preventing the cookies from spreading too much in the oven. Once chilled, preheat your oven to 350 degrees Fahrenheit and line a baking sheet with parchment paper. Use a cookie scoop to form balls of dough and place them two inches apart on the sheet.
Step 5: Bake and Finish
Bake for 9 to 11 minutes or until the edges are lightly golden but the centers still look slightly soft. Remove the baking sheet from the oven and immediately sprinkle each cookie with a pinch of flaky sea salt. Let them cool on the pan for five minutes before transferring them to a wire rack to cool completely.
Tips for Success
To get the best results, always watch your butter closely during the browning process because it can go from perfect to burnt in just a few seconds. Using room temperature eggs will help the dough emulsify better, resulting in a more uniform texture. If your gluten-free flour blend does not include xanthan gum, be sure to add half a teaspoon to the dry ingredients to help the cookies hold their structure. Chilling the dough is not optional if you want that perfect chewy center, so plan ahead for that extra time.
Variations of These Cookies
You can easily customize this recipe to suit your festive preferences. Try adding a half cup of white chocolate chips for a creamier sweetness that pairs beautifully with the maple. For a more rustic version, stir in some toasted walnuts or pecans. If you want a more intense maple experience, you can whisk together a simple glaze using maple syrup and powdered sugar to drizzle over the cooled cookies. Another great twist is to add a pinch of cinnamon or nutmeg to the flour for extra Christmas warmth.
Serving Suggestions: What to Pair with These Cookies
These cookies are the ultimate companion for a festive drink. Serve them alongside a steaming cup of apple cider or a rich, alcohol-free hot chocolate topped with whipped cream. For a sophisticated afternoon tea, pair them with a spicy chai or a robust Earl Grey. They also make a beautiful addition to a Christmas dessert charcuterie board, surrounded by fresh berries, dried apricots, and dark chocolate squares. If you are feeling indulgent, use two cookies to sandwich a scoop of vanilla bean ice cream.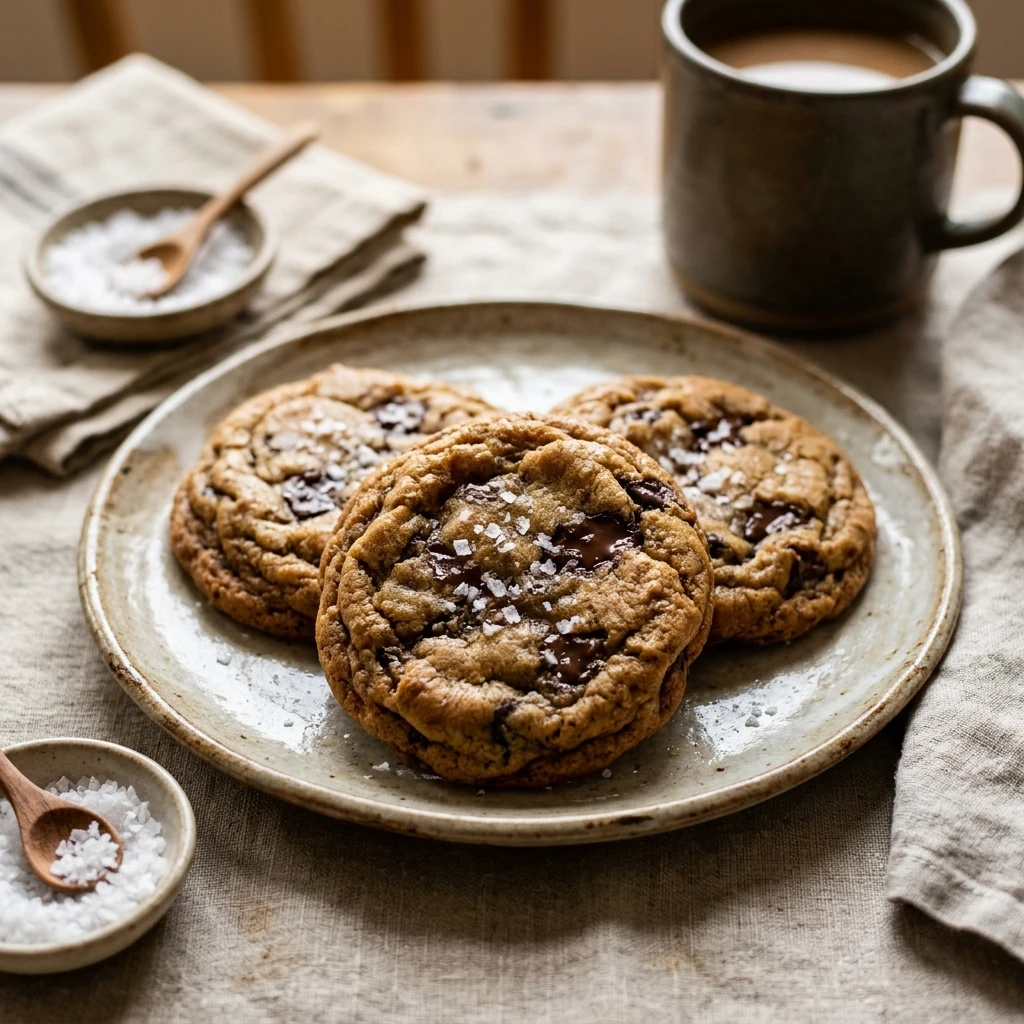
Storage & Reheating Instructions
Store your cookies in an airtight container at room temperature for up to five days. To keep them extra soft, you can place a slice of bread in the container to maintain moisture. If you want to save them for later, these cookies freeze beautifully for up to three months. Simply thaw them at room temperature when you are ready to eat. If you prefer a warm cookie, pop one in the microwave for about five to ten seconds to revive that fresh-from-the-oven softness.
Memories Made Around the Table
I remember sitting by the Christmas tree last year, watching the snow fall outside while the house was filled with this sweet, nutty fragrance. My children were helping me sprinkle the sea salt on top, and we couldn’t wait for them to cool down. It is moments like these, sharing a warm treat and a laugh, that make the holiday season so magical. These cookies have a way of slowing down time and making everyone feel right at home.
FAQs
Can I make the dough ahead of time?
Yes, you can prepare the dough up to two days in advance. Keep it tightly wrapped in the refrigerator until you are ready to scoop and bake. You may need to let it sit at room temperature for a few minutes if it becomes too hard to scoop easily.
Why did my cookies spread so much?
Excessive spreading usually happens if the butter was too hot when mixed or if the dough was not chilled long enough. Ensure the brown butter has cooled significantly and do not skip the thirty-minute refrigeration step. Also, make sure your baking sheet is cool before placing a new batch of dough on it.
Can I use pancake syrup instead of maple syrup?
It is not recommended to use pancake syrup because it is mostly corn syrup and artificial flavorings. Pure maple syrup provides the necessary moisture and the authentic deep flavor that makes these cookies special. The texture may also change if you use a substitute.
How do I know the butter is browned correctly?
The butter will go through a phase of bubbling and then foaming. Once the foam subsides slightly, you will see little brown bits at the bottom and the liquid will turn a rich golden color. It will also have a very distinct, nutty aroma similar to toasted hazelnuts.
Are these cookies supposed to be soft or crunchy?
These cookies are designed to have a perfect balance of both. The edges should be slightly crisp and golden, while the centers should remain soft and chewy. Chilling the dough and avoiding over-baking are the keys to achieving this specific texture.
Final Thoughts
These cookies are a true celebration of the Christmas season, combining simple ingredients into something truly extraordinary. Whether you are baking them for a gift exchange or just to enjoy during a quiet evening at home, they are sure to bring joy to your kitchen. I hope you enjoy the process of browning the butter and the wonderful scent that follows. Happy baking and may your holiday be filled with sweetness and warmth.
Gluten-Free Salted Maple Brown Butter Cookies
- Total Time: 30 minutes
Ingredients
- 1 cup unsalted butter
- 1/2 cup granulated sugar
- 3/4 cup packed light brown sugar
- 1/4 cup pure maple syrup
- 1 large egg, room temperature
- 1 teaspoon alcohol-free vanilla extract
- 2 1/4 cups gluten-free all-purpose flour blend with xanthan gum
- 1 teaspoon baking soda
- 1/2 teaspoon fine sea salt
- 1 tablespoon flaky sea salt for topping
Instructions
- Place the unsalted butter in a medium saucepan over medium heat. Melt the butter and continue to cook it, whisking constantly, until it begins to foam and develop small brown specks at the bottom. Once it smells nutty and turns a golden amber color, remove it from the heat immediately and pour it into a heat-proof bowl to cool for about ten minutes.
- Add the granulated sugar and brown sugar to the cooled brown butter. Use a hand mixer or a stand mixer to beat the mixture until it is smooth and well combined. Pour in the pure maple syrup, the egg, and the alcohol-free vanilla extract, then continue to beat on medium speed until the mixture is light and fluffy.
- In a separate medium bowl, whisk together the gluten-free flour blend, baking soda, and fine sea salt. Gradually add the dry ingredients to the wet ingredients, mixing on low speed until just combined. Be careful not to overmix, as you want the dough to remain tender.
- Cover the dough and place it in the refrigerator for at least thirty minutes. This step is crucial for preventing the cookies from spreading too much in the oven. Once chilled, preheat your oven to 350 degrees Fahrenheit and line a baking sheet with parchment paper. Use a cookie scoop to form balls of dough and place them two inches apart on the sheet.
- Bake for 9 to 11 minutes or until the edges are lightly golden but the centers still look slightly soft. Remove the baking sheet from the oven and immediately sprinkle each cookie with a pinch of flaky sea salt. Let them cool on the pan for five minutes before transferring them to a wire rack to cool completely.
- Cook Time: 30 minutes
- Diet: Gluten-Free