
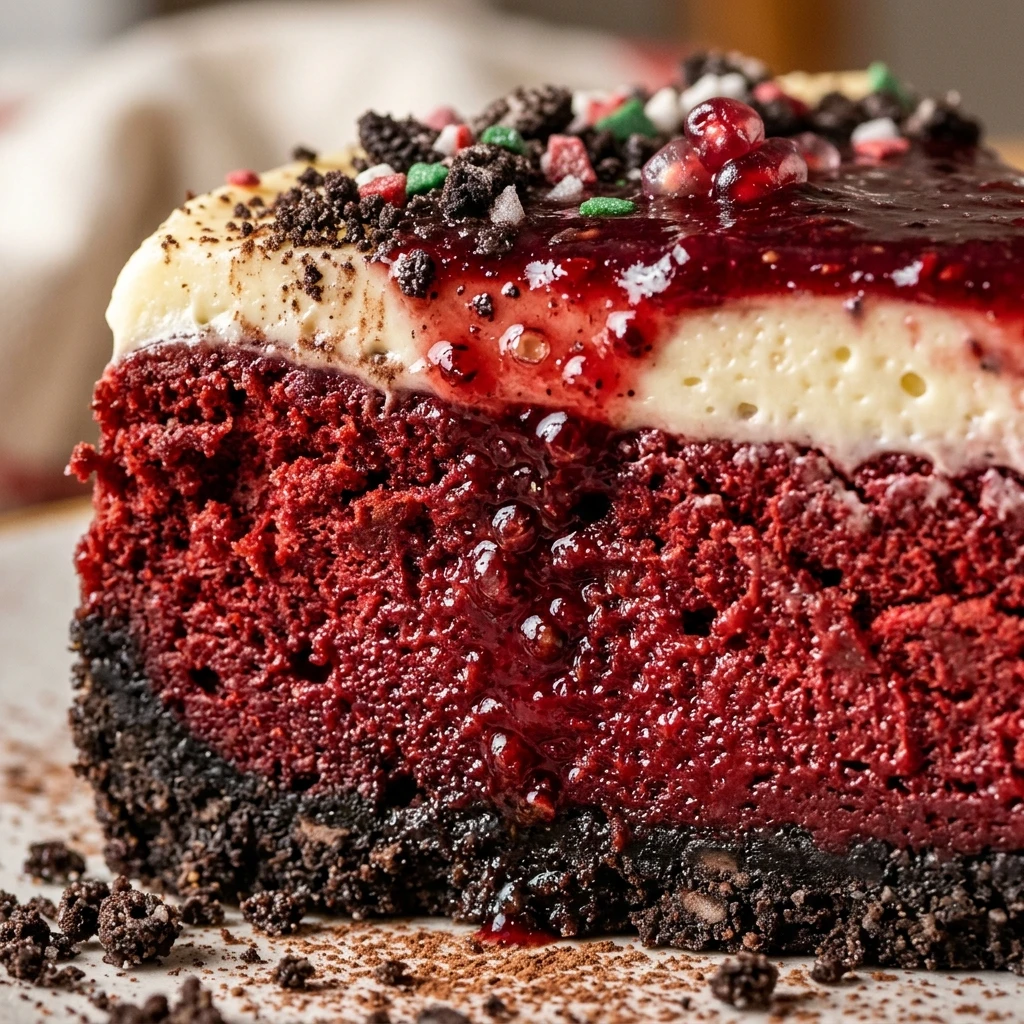
I always look forward to the holiday season because it means I finally get to bake my favorite showstopping treats for my family. This Christmas Red Velvet Cheesecake with Oreo Crust is the ultimate festive dessert, combining a deep cocoa flavor with a striking ruby color that looks beautiful on any holiday table. I love how the creamy texture pairs with the crunchy chocolate base, making every bite feel like a special celebration of the season.
Recipe Details
Recipe Information
- Prep Time: 30 minutes
- Cook Time: 1 hour 15 minutes
- Total Time: 1 hour 45 minutes
- Servings: 12
- Difficulty: Medium
Nutrition Information (Per Serving)
- Calories: 450 kcal
- Protein: 7g
- Carbs: 38g
- Fat: 32g
Why You’ll Love This Cheesecake
This Cheesecake is a festive masterpiece that brings together two iconic flavors in one stunning presentation. The Oreo crust provides a dark, chocolatey foundation that perfectly balances the tangy and sweet red velvet filling. It is incredibly creamy, rich, and features that signature hint of cocoa that makes red velvet so unique. Plus, the vibrant red color against the dark crust makes it a perfect centerpiece for your Christmas dinner spread, impressing your guests before they even take their first bite.
This Cheesecake Ingredients & Substitutions
- 24 Oreo cookies, finely crushed
- 4 tablespoons unsalted butter, melted
- 24 ounces cream cheese, softened to room temperature
- 1 cup granulated sugar
- 3 large eggs, room temperature
- 1/4 cup unsweetened cocoa powder
- 1 cup full-fat sour cream
- 1/2 cup buttermilk
- 2 teaspoons alcohol-free vanilla extract
- 1 teaspoon lemon juice
- 2 tablespoons red food coloring
- Whipped cream and chocolate shavings for garnish
If you do not have buttermilk on hand, you can create a simple alternative by mixing half a cup of milk with half a teaspoon of lemon juice and letting it rest for five minutes. For those who prefer a different base, chocolate graham crackers work well as a substitute for the Oreo cookies. You can also adjust the amount of red food coloring based on the intensity of the color you desire, or use a gel based coloring for an even deeper hue.
Step-by-Step Instructions to Make This Cheesecake
Step 1: Preparation of the Oreo Crust
Preheat your oven to 325 degrees Fahrenheit and grease a nine inch springform pan. In a medium bowl, combine the crushed Oreo cookies with the melted butter until the mixture resembles wet sand. Press the mixture firmly into the bottom of the prepared pan, using the bottom of a measuring cup to ensure it is even. Bake the crust for about eight to ten minutes, then remove it from the oven and let it cool completely while you prepare the filling.
Step 2: Mixing the Cream Cheese Base
In a large mixing bowl or a stand mixer, beat the softened cream cheese and granulated sugar together until the mixture is completely smooth and fluffy. It is important to scrape down the sides of the bowl to ensure no lumps remain. Add the eggs one at a time, beating on a low speed after each addition just until combined, which helps prevent too much air from entering the batter.
Step 3: Adding the Red Velvet Elements
Sift the cocoa powder into the cream cheese mixture and stir gently. Add the sour cream, buttermilk, alcohol-free vanilla extract, and lemon juice, mixing until the batter is uniform. Finally, pour in the red food coloring and stir until the color is consistent throughout. The batter should be thick, smooth, and a vibrant shade of red.
Step 4: Baking with a Water Bath
Wrap the outside of the springform pan tightly with two layers of heavy duty aluminum foil to prevent water from seeping in. Place the pan into a larger roasting pan and pour boiling water into the roasting pan until it reaches halfway up the sides of the cheesecake pan. Bake for one hour and fifteen minutes, or until the edges are set but the center still has a slight jiggle. Turn off the oven and leave the door cracked open for one hour to let the cheesecake cool slowly.
Step 5: Cooling and Setting
Remove the cheesecake from the water bath and take off the aluminum foil. Run a thin knife around the edge of the pan to loosen the sides. Allow it to cool to room temperature on a wire rack before transferring it to the refrigerator. For the best results, let the cheesecake chill for at least six hours, or preferably overnight, to allow the flavors to develop and the texture to firm up.
Tips for Success
To ensure a perfectly smooth top, make sure all your refrigerated ingredients like the cream cheese, eggs, and sour cream are at room temperature before you start. This prevents lumps and ensures everything incorporates evenly. Using a water bath is highly recommended as it provides the gentle heat needed to prevent the cheesecake from cracking. When you are ready to serve, use a warm, wet knife to get those clean, professional looking slices that will wow your holiday guests.
Variations of This Cheesecake
You can easily customize this dessert to suit your family preferences. Try adding a layer of white chocolate ganache on top for an extra decadent touch, or mix in some white chocolate chips directly into the red velvet batter for little pockets of sweetness. If you want a more rustic look, you can leave the edges of the Oreo crust slightly higher up the sides of the pan. For a smaller gathering, this recipe can be halved and baked in a smaller pan, though you will need to adjust the baking time accordingly.
Serving Suggestions: What to Pair with This Cheesecake
This Cheesecake is quite rich, so it pairs beautifully with light and refreshing accompaniments. A dollop of fresh whipped cream and a few fresh raspberries or strawberries can provide a nice tart contrast to the sweet filling. If you are serving this as part of a Christmas feast, a warm cup of coffee or a spicy herbal tea makes for an excellent pairing. For a truly festive presentation, sprinkle some crushed peppermint or chocolate shavings over the top just before serving.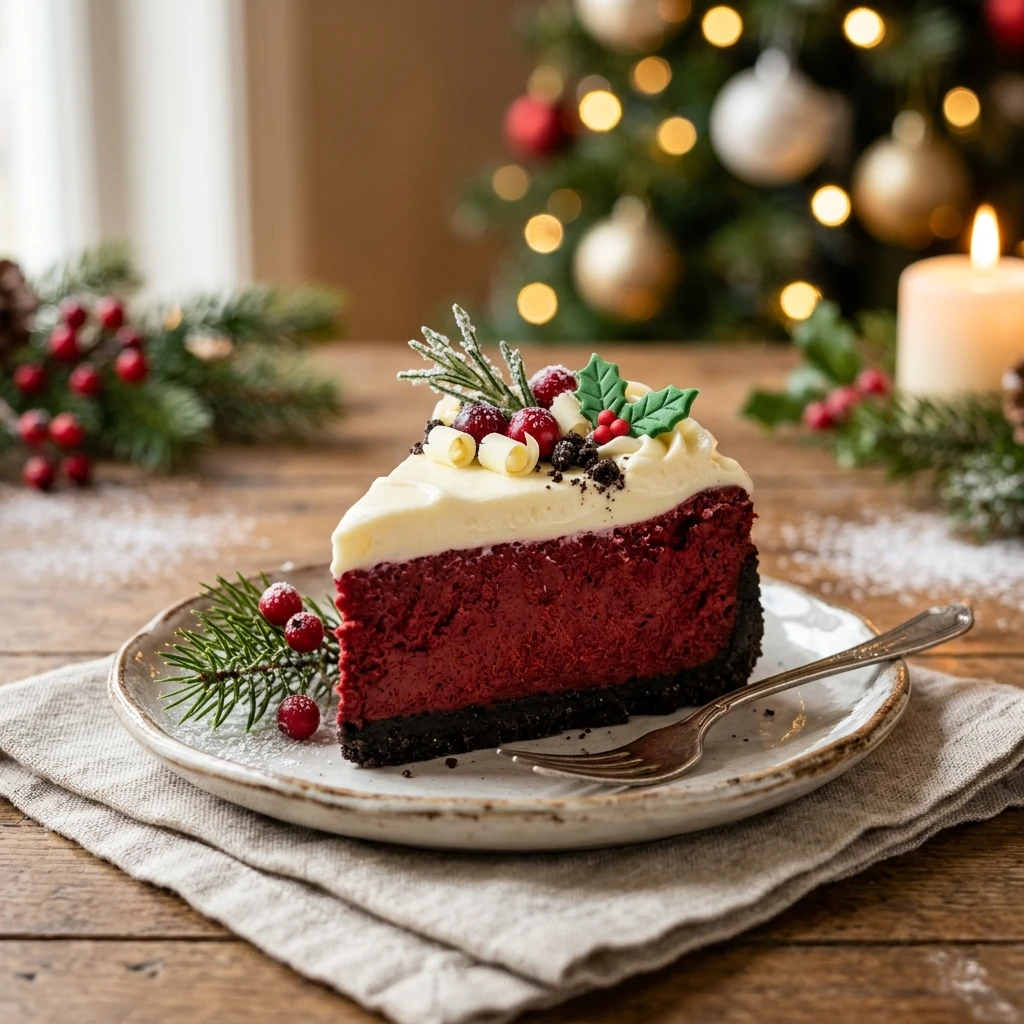
Storage & Reheating Instructions
Keep any leftover cheesecake in the refrigerator, covered tightly with plastic wrap or stored in an airtight container, for up to five days. This dessert is best served cold, so there is no need to reheat it. If you want to store it for a longer period, you can freeze the entire cheesecake or individual slices. Wrap them tightly in plastic wrap and then a layer of foil, and they will stay fresh for up to two months. Simply thaw in the refrigerator overnight before you plan to serve it again.
Memories Made Around the Table
Every year, I remember the excitement of the house filling with the scent of chocolate and vanilla as Christmas approached. My grandmother always said that the best part of the holiday wasn’t the gifts, but the time we spent sharing a meal and a special dessert together. This red velvet recipe has become a staple in my own home, and seeing my children’s eyes light up when I bring this bright red cake to the table brings back all those warm feelings of my own childhood. It is more than just a dessert, it is a way to create new traditions and hold onto the old ones.
FAQs
How do I avoid cracks on the top of my cheesecake?
The best way to avoid cracks is to use a water bath and avoid over-mixing the eggs. Also, letting the cheesecake cool slowly in the oven with the door cracked helps the cake adjust to the temperature change gradually.
Can I use a different type of cookie for the crust?
Yes, you can use chocolate graham crackers or even gingersnaps for a more spiced holiday flavor. Just ensure you use the same amount of crumbs and melted butter to maintain the structure.
How long does the cheesecake need to chill before serving?
Ideally, the cheesecake should chill for at least six hours, but overnight is much better. This allows the internal structure to fully set, making it easier to slice and enhancing the flavor.
Is the water bath absolutely necessary?
While you can bake it without one, a water bath is highly recommended for cheesecakes. It creates a humid environment and provides gentle heat, which results in a much creamier texture and a flat, crack free top.
Can I make this cheesecake ahead of time?
Absolutely, this is a great make ahead dessert. You can bake it one or two days before your event and keep it in the refrigerator. In fact, many people find that the flavor actually improves after a day or two.
Final Thoughts
Bringing this Christmas Red Velvet Cheesecake with Oreo Crust to your holiday table is a wonderful way to celebrate the joy of the season. It is a dessert that looks as good as it tastes, combining classic holiday colors with a flavor profile that everyone loves. Whether you are a seasoned baker or trying your hand at a cheesecake for the first time, this recipe provides a reliable and delicious result that will have your family asking for seconds. I hope this treat brings as much warmth and happiness to your Christmas celebration as it does to mine.

Christmas Red Velvet Cheesecake with Oreo Crust
- Total Time: 1 hour 45 minutes
Ingredients
- 24 Oreo cookies, finely crushed
- 4 tablespoons unsalted butter, melted
- 24 ounces cream cheese, softened to room temperature
- 1 cup granulated sugar
- 3 large eggs, room temperature
- 1/4 cup unsweetened cocoa powder
- 1 cup full-fat sour cream
- 1/2 cup buttermilk
- 2 teaspoons alcohol-free vanilla extract
- 1 teaspoon lemon juice
- 2 tablespoons red food coloring
- Whipped cream and chocolate shavings for garnish
Instructions
- Preheat your oven to 325 degrees Fahrenheit and grease a nine inch springform pan. In a medium bowl, combine the crushed Oreo cookies with the melted butter until the mixture resembles wet sand. Press the mixture firmly into the bottom of the prepared pan, using the bottom of a measuring cup to ensure it is even. Bake the crust for about eight to ten minutes, then remove it from the oven and let it cool completely while you prepare the filling.
- In a large mixing bowl or a stand mixer, beat the softened cream cheese and granulated sugar together until the mixture is completely smooth and fluffy. It is important to scrape down the sides of the bowl to ensure no lumps remain. Add the eggs one at a time, beating on a low speed after each addition just until combined, which helps prevent too much air from entering the batter.
- Sift the cocoa powder into the cream cheese mixture and stir gently. Add the sour cream, buttermilk, alcohol-free vanilla extract, and lemon juice, mixing until the batter is uniform. Finally, pour in the red food coloring and stir until the color is consistent throughout. The batter should be thick, smooth, and a vibrant shade of red.
- Wrap the outside of the springform pan tightly with two layers of heavy duty aluminum foil to prevent water from seeping in. Place the pan into a larger roasting pan and pour boiling water into the roasting pan until it reaches halfway up the sides of the cheesecake pan. Bake for one hour and fifteen minutes, or until the edges are set but the center still has a slight jiggle. Turn off the oven and leave the door cracked open for one hour to let the cheesecake cool slowly.
- Remove the cheesecake from the water bath and take off the aluminum foil. Run a thin knife around the edge of the pan to loosen the sides. Allow it to cool to room temperature on a wire rack before transferring it to the refrigerator. For the best results, let the cheesecake chill for at least six hours, or preferably overnight, to allow the flavors to develop and the texture to firm up.
- Cook Time: 1 hour 45 minutes
- Diet: None