
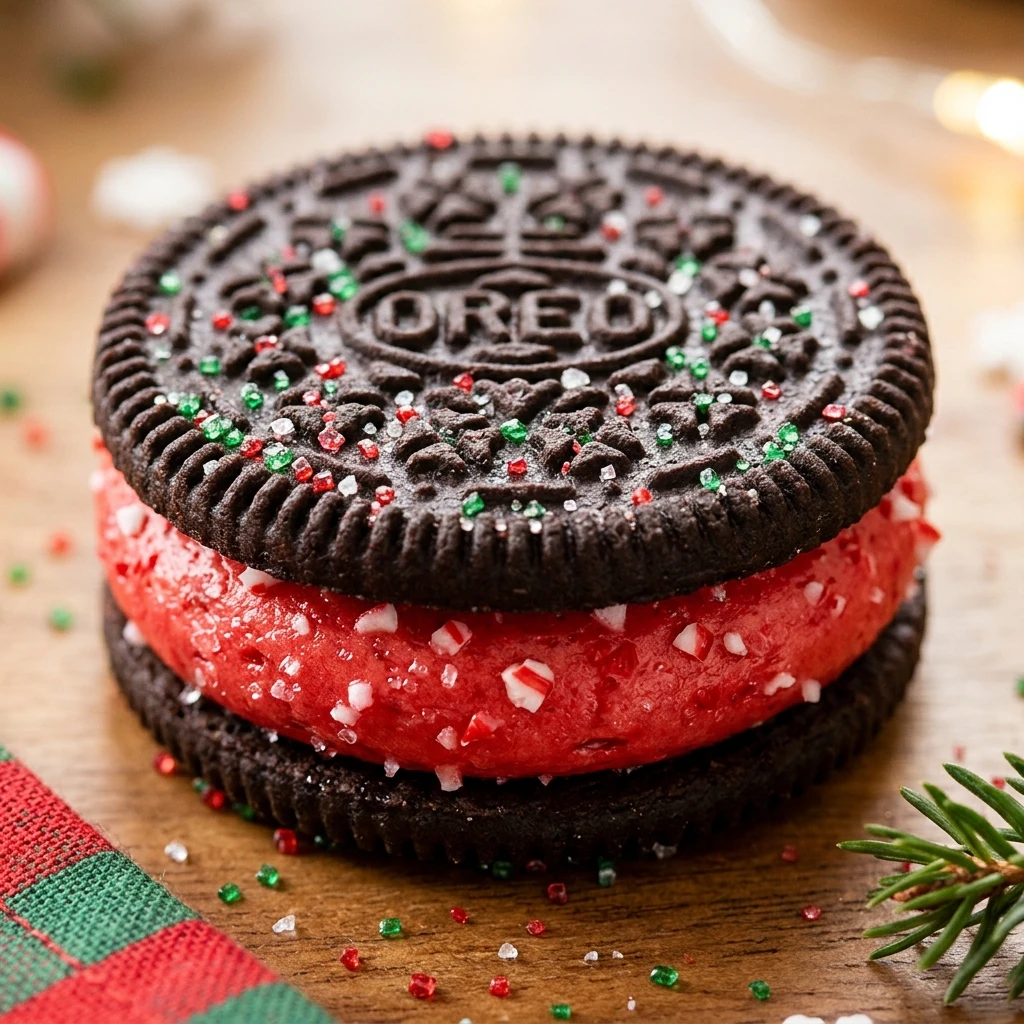
Every year when the first frost hits the windows, I find myself reaching for my favorite festive supplies to start our holiday baking. I love making Christmas Oreos because they are the perfect blend of crunchy, creamy, and festive without requiring hours in the kitchen. My kids always get so excited to help with the sprinkles, making this a wonderful way for us to bond during the busy holiday season.
Recipe Details
Recipe Information
- Prep Time: 20 minutes
- Cook Time: 10 minutes
- Total Time: 30 minutes
- Servings: 24 cookies
- Difficulty: Easy
Nutrition Information (Per Serving)
- Calories: 160 kcal
- Protein: 1g
- Carbs: 21g
- Fat: 8g
Why You’ll Love This Christmas Oreos
These Christmas Oreos are a total game changer for your holiday dessert platters. They require no actual baking, which is a huge relief when your oven is already occupied by a turkey or trays of gingerbread. The combination of the classic chocolate wafer and the smooth, sweet coating creates a satisfying crunch that everyone from toddlers to grandparents will enjoy. Plus, they are incredibly customizable, allowing you to use whatever festive decorations you have on hand to make them look professional and beautiful.
Christmas Oreos Ingredients & Substitutions
- 1 package (14.3 oz) Oreo cookies
- 16 oz white candy melts or high quality white chocolate
- 2 teaspoons coconut oil or vegetable shortening
- 1/2 teaspoon alcohol-free vanilla extract
- 3 tablespoons red and green festive sprinkles
- 1/4 cup crushed peppermint candies
You can easily swap the white candy melts for dark or milk chocolate if you prefer a less sweet treat, and any variety of sandwich cookie will work perfectly. If you cannot find coconut oil, a small amount of butter can help thin out real chocolate, though candy melts usually perform best for a smooth finish. For those who enjoy different flavors, feel free to use mint-filled or peanut butter-filled cookies to add a surprise element to every bite.
Step-by-Step Instructions to Make Christmas Oreos
Step 1: Preparation
Line two large baking sheets with parchment paper or silicone mats. This ensures that your Christmas Oreos will not stick as they set and makes the cleanup process much faster later on.
Step 2: Melt the Coating
In a microwave-safe bowl, combine the white candy melts and the coconut oil. Heat in 30-second intervals, stirring thoroughly between each session, until the mixture is completely smooth and glossy. Stir in the alcohol-free vanilla extract once the chocolate is melted.
Step 3: Dip the Cookies
Using a fork or a specialized dipping tool, submerge one Oreo cookie at a time into the melted chocolate. Lift the cookie out and gently tap the fork against the side of the bowl to let the excess coating drip off back into the mixture.
Step 4: Decorate
Place the coated cookie onto the prepared baking sheet. While the chocolate is still wet, immediately garnish with your choice of red and green sprinkles or crushed peppermint. It is best to do this one by one so the chocolate does not harden before the decorations can stick.
Step 5: Set and Cool
Allow the cookies to sit at room temperature for about 40 minutes until the coating is firm to the touch. If you are in a hurry, you can place the baking sheets in the refrigerator for 10 to 15 minutes to speed up the setting process.
Tips for Success
To get the smoothest finish on your Christmas Oreos, make sure your bowl is completely dry before adding the chocolate, as even a drop of water can cause it to seize. If the chocolate starts to thicken as you work, simply pop it back into the microwave for 10 seconds and give it a good stir. Using a toothpick can help you pop any small air bubbles that appear on the surface of the chocolate right after dipping. For a clean look, try to avoid sliding the cookies once you place them on the parchment paper so you do not get “feet” or messy edges around the base.
Variations of Christmas Oreos
There are so many ways to switch up this simple recipe. You can drizzle melted red or green candy melts over the white base for a striped effect, or even dip half the cookie in white chocolate and the other half in dark chocolate. If you want a more gourmet feel, sprinkle a tiny pinch of sea salt over the dark chocolate versions. For a fun project with kids, you can use small icing decorations like edible snowflakes or tiny holly leaves to create miniature winter scenes on each cookie.
Serving Suggestions: What to Pair with Christmas Oreos
These treats are the ultimate companion for a warm mug of hot cocoa or a tall glass of cold milk. I often serve them alongside a festive fruit platter to balance out the sweetness with some fresh berries and grapes. They also look stunning when tucked into a holiday cookie box alongside gingerbread men and shortbread. If you are hosting a party, try stacking them in a clear glass jar with a red ribbon tied around the top for a simple yet elegant centerpiece that guests can snack on throughout the evening.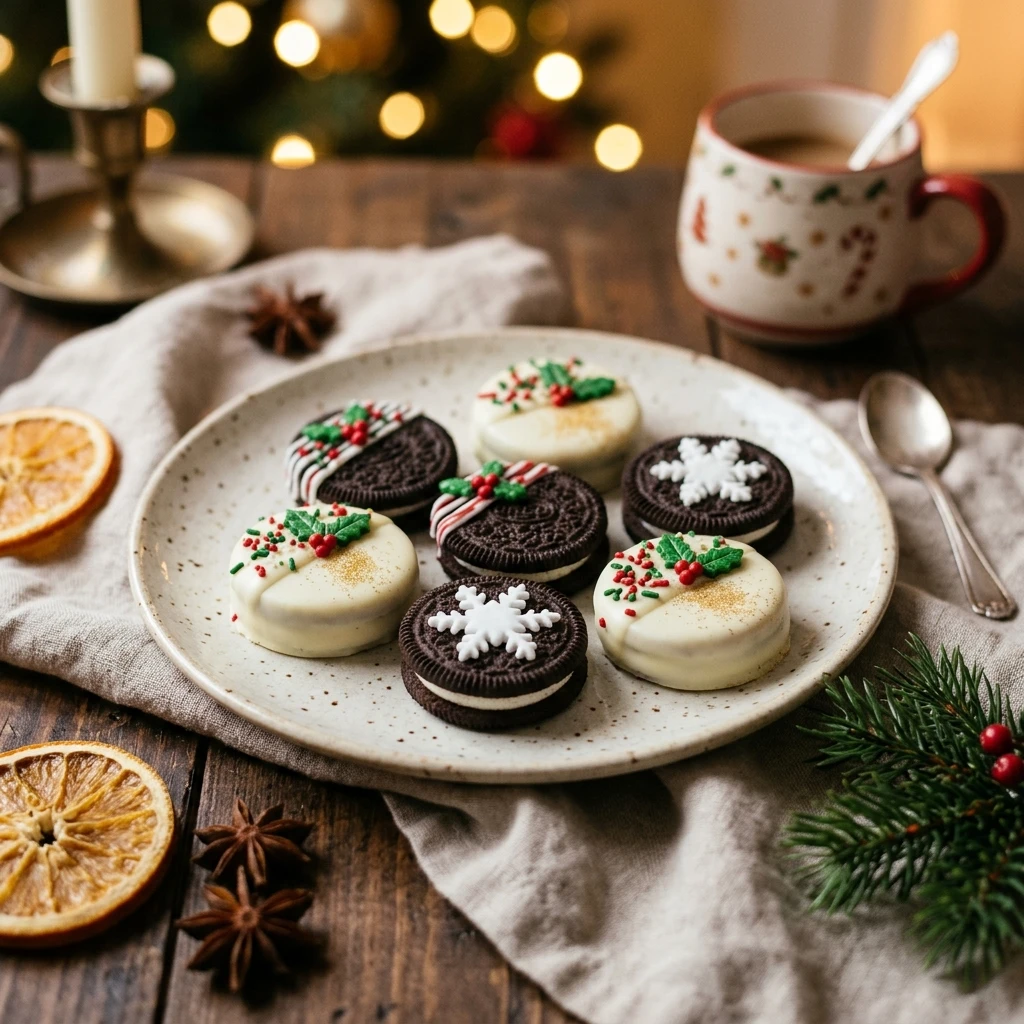
Storage & Reheating Instructions
Store your Christmas Oreos in an airtight container at room temperature for up to two weeks. Keep them in a cool, dry place away from direct sunlight to prevent the chocolate from softening or blooming. If you live in a very warm climate, you may want to keep them in the refrigerator, though this can sometimes cause the chocolate to lose its shine. You can also freeze these cookies for up to three months by layering them between sheets of parchment paper in a freezer-safe bag, just let them thaw at room temperature for an hour before serving.
Memories Made Around the Table
I still remember the first time I made these with my grandmother in her tiny, flour-dusted kitchen. We didn’t have fancy tools, so we used old kitchen forks and laughed as we got sprinkles all over the floor. Now, every time I smell the sweet scent of melting chocolate, I am transported back to those cold December afternoons filled with warmth and laughter. Sharing these cookies with my own neighbors today feels like passing on a little piece of that childhood joy to everyone on our block.
FAQs
How can I make the chocolate coating smoother?
The key to a smooth coating is adding a small amount of coconut oil or vegetable shortening. This thins the chocolate slightly, making it more fluid and easier to dip, which results in a professional, glass-like finish on your cookies.
Can I use regular chocolate chips instead of candy melts?
Yes, you can use white chocolate chips, but they tend to be thicker and more finicky than candy melts. If you use chips, be very careful not to overheat them and consider adding a little more oil to help them reach the right dipping consistency.
How do I stop the sprinkles from falling off?
You must apply the sprinkles immediately after placing the dipped cookie on the parchment paper. If you wait even a minute, the chocolate may begin to set, and the decorations will not adhere properly to the surface.
Do I need to store these in the fridge?
Usually, no. These cookies stay perfectly fresh at room temperature as long as your kitchen is not excessively hot. Storing them in a cool pantry is ideal to maintain the texture of both the Oreo and the chocolate coating.
Can I make these ahead of time for a party?
Absolutely. These are one of the best make-ahead treats because they stay fresh for a long time. You can easily make them several days in advance, which saves you a lot of stress on the day of your holiday gathering.
Final Thoughts
Christmas Oreos are a beautiful reminder that holiday treats do not have to be complicated to be special. With just a few simple ingredients and a little bit of creativity, you can create a dessert that looks like it came from a high-end bakery. Whether you are gifting them to friends or enjoying them by the fireplace, these cookies are sure to bring a smile to everyone’s face this season. I hope they become as much of a staple in your home as they have in mine.

Christmas Oreos
- Total Time: 30 minutes
Ingredients
- 1 package (14.3 oz) Oreo cookies
- 16 oz white candy melts or high quality white chocolate
- 2 teaspoons coconut oil or vegetable shortening
- 1/2 teaspoon alcohol-free vanilla extract
- 3 tablespoons red and green festive sprinkles
- 1/4 cup crushed peppermint candies
Instructions
- Line two large baking sheets with parchment paper or silicone mats. This ensures that your Christmas Oreos will not stick as they set and makes the cleanup process much faster later on.
- In a microwave-safe bowl, combine the white candy melts and the coconut oil. Heat in 30-second intervals, stirring thoroughly between each session, until the mixture is completely smooth and glossy. Stir in the alcohol-free vanilla extract once the chocolate is melted.
- Using a fork or a specialized dipping tool, submerge one Oreo cookie at a time into the melted chocolate. Lift the cookie out and gently tap the fork against the side of the bowl to let the excess coating drip off back into the mixture.
- Place the coated cookie onto the prepared baking sheet. While the chocolate is still wet, immediately garnish with your choice of red and green sprinkles or crushed peppermint. It is best to do this one by one so the chocolate does not harden before the decorations can stick.
- Allow the cookies to sit at room temperature for about 40 minutes until the coating is firm to the touch. If you are in a hurry, you can place the baking sheets in the refrigerator for 10 to 15 minutes to speed up the setting process.
- Cook Time: 30 minutes
- Diet: Vegetarian