
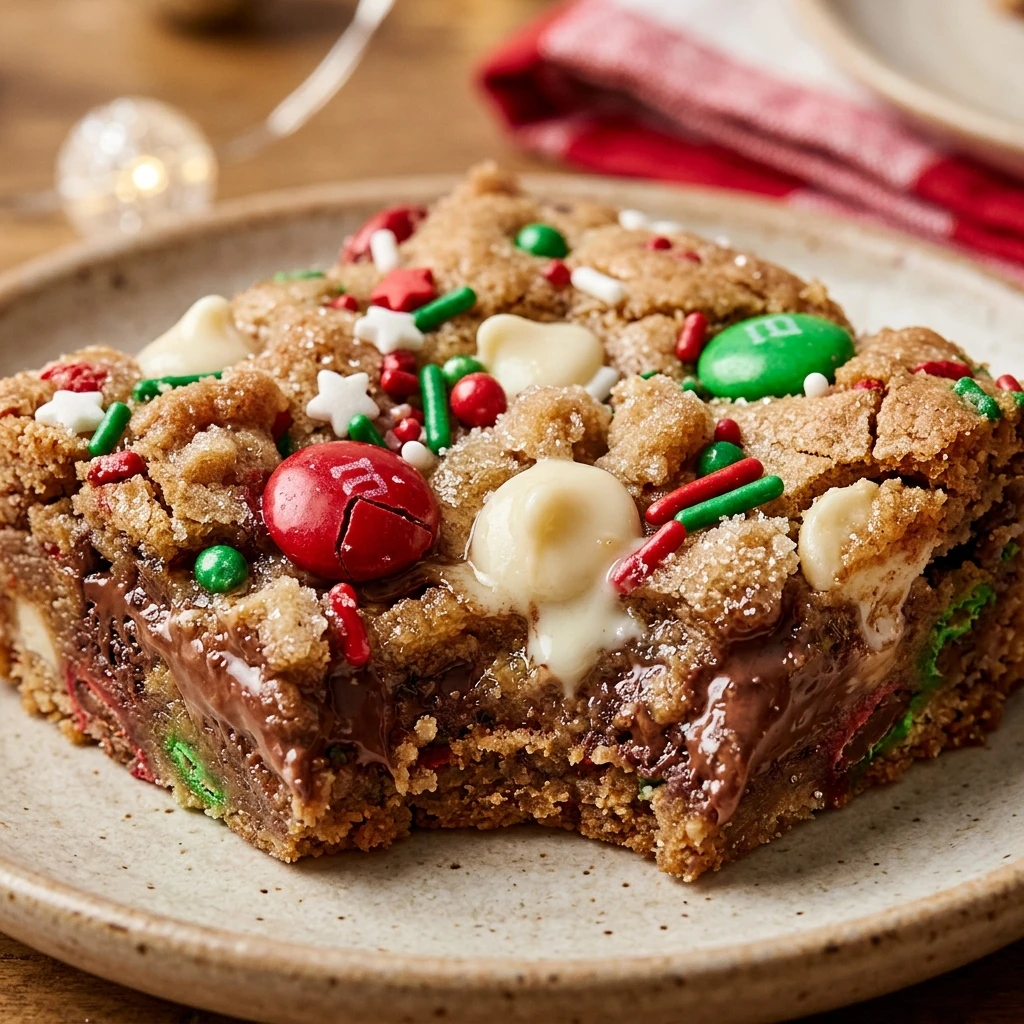
I always look forward to the holiday season when my kitchen fills with the scent of fresh baking and festive spices. These Christmas Cookie Bars are my absolute favorite way to share the holiday spirit without the hassle of chilling and rolling individual dough balls. I find that these thick, chewy treats are much easier to transport to parties than delicate cookies, making them a staple in my yearly holiday routine.
Recipe Details
Recipe Information
- Prep Time: 15 minutes
- Cook Time: 25 minutes
- Total Time: 40 minutes
- Servings: 24 bars
- Difficulty: Easy
Nutrition Information (Per Serving)
- Calories: 195 kcal
- Protein: 2g
- Carbs: 26g
- Fat: 9g
Why You’ll Love This Christmas Cookie Bars
These bars are the perfect solution for busy holiday schedules because they combine the classic taste of a chocolate chip cookie with the soft texture of a blondie. You will love how the red and green chocolate candies pop against the golden dough, creating an instant festive look for any dessert table. Because they are baked in a single pan, you save significant time compared to traditional cookie recipes, giving you more moments to spend with your family. The texture is perfectly balanced with crispy edges and a soft, buttery center that melts in your mouth with every bite.
Christmas Cookie Bars Ingredients & Substitutions
- 1 cup unsalted butter, softened at room temperature
- 1 cup light brown sugar, packed
- 1/2 cup granulated white sugar
- 2 large eggs, room temperature
- 2 teaspoons alcohol-free vanilla extract
- 2 1/2 cups all-purpose flour
- 1 teaspoon baking soda
- 1/2 teaspoon salt
- 1 1/2 cups red and green candy-coated chocolate pieces
- 1/2 cup semi-sweet chocolate chips
If you prefer a deeper flavor, you can substitute dark brown sugar for the light brown sugar, which adds a lovely caramel note. For those who enjoy a bit of crunch, try replacing half of the chocolate chips with chopped walnuts or pecans. If all-purpose flour is not available, a standard one-to-one gluten-free baking flour blend works well here, though the texture may be slightly more crumbly.
Step-by-Step Instructions to Make Christmas Cookie Bars
Step 1: Preparation
Preheat your oven to 350 degrees Fahrenheit. Line a 9 by 13 inch baking pan with parchment paper, leaving a little overhang on the sides so you can easily lift the bars out later. Lightly grease the parchment paper with a small amount of butter or cooking spray to ensure nothing sticks.
Step 2: Cream the Butter and Sugars
In a large mixing bowl, beat the softened butter, brown sugar, and granulated sugar together using an electric hand mixer or a stand mixer. Continue mixing for about two to three minutes until the mixture is light, fluffy, and well combined. This step is crucial for creating the right texture in your Christmas Cookie Bars.
Step 3: Add Wet Ingredients
Add the eggs one at a time, beating well after each addition to ensure they are fully incorporated. Stir in the alcohol-free vanilla extract. Scrape down the sides of the bowl with a spatula to make sure every bit of the butter mixture is included in the batter.
Step 4: Combine Dry Ingredients
In a separate medium bowl, whisk together the all-purpose flour, baking soda, and salt. Gradually add these dry ingredients to the wet mixture while mixing on a low speed. Be careful not to overmix the dough, stop as soon as you no longer see streaks of white flour.
Step 5: Fold in Festive Candies
Using a sturdy spatula, gently fold in one cup of the red and green chocolate candies and the semi-sweet chocolate chips. Save the remaining half cup of candies to press into the top of the dough for a beautiful presentation.
Step 6: Bake and Cool
Spread the dough evenly into the prepared baking pan using the back of a spoon or your clean fingers. Press the remaining candies into the surface. Bake for 25 to 30 minutes, or until the edges are a light golden brown and the center is set. Let the bars cool completely in the pan before lifting them out and slicing into squares.
Tips for Success
To get the best results, make sure your butter is truly at room temperature. It should be soft enough to leave an indentation when pressed, but not oily or melted. Another great tip is to use a very sharp knife when cutting the bars, and wipe the blade clean between each cut to get those perfectly straight edges. If you find the dough is too sticky to spread, you can lightly flour your hands or use a piece of plastic wrap to press it down into the pan evenly. Always wait for the bars to cool entirely, as cutting them while warm can cause them to fall apart.
Variations of Christmas Cookie Bars
You can easily customize this recipe by adding white chocolate chips for a snowy look or using peppermint-flavored chocolate pieces for a minty twist. For a more decadent version, drizzle the finished and cooled bars with melted white chocolate or a simple glaze made from powdered sugar and a splash of milk. If you love a salty and sweet combination, sprinkle a tiny pinch of sea salt over the top immediately after taking them out of the oven. You can also swap the candies for dried cranberries and white chocolate chips for a more sophisticated holiday flavor profile.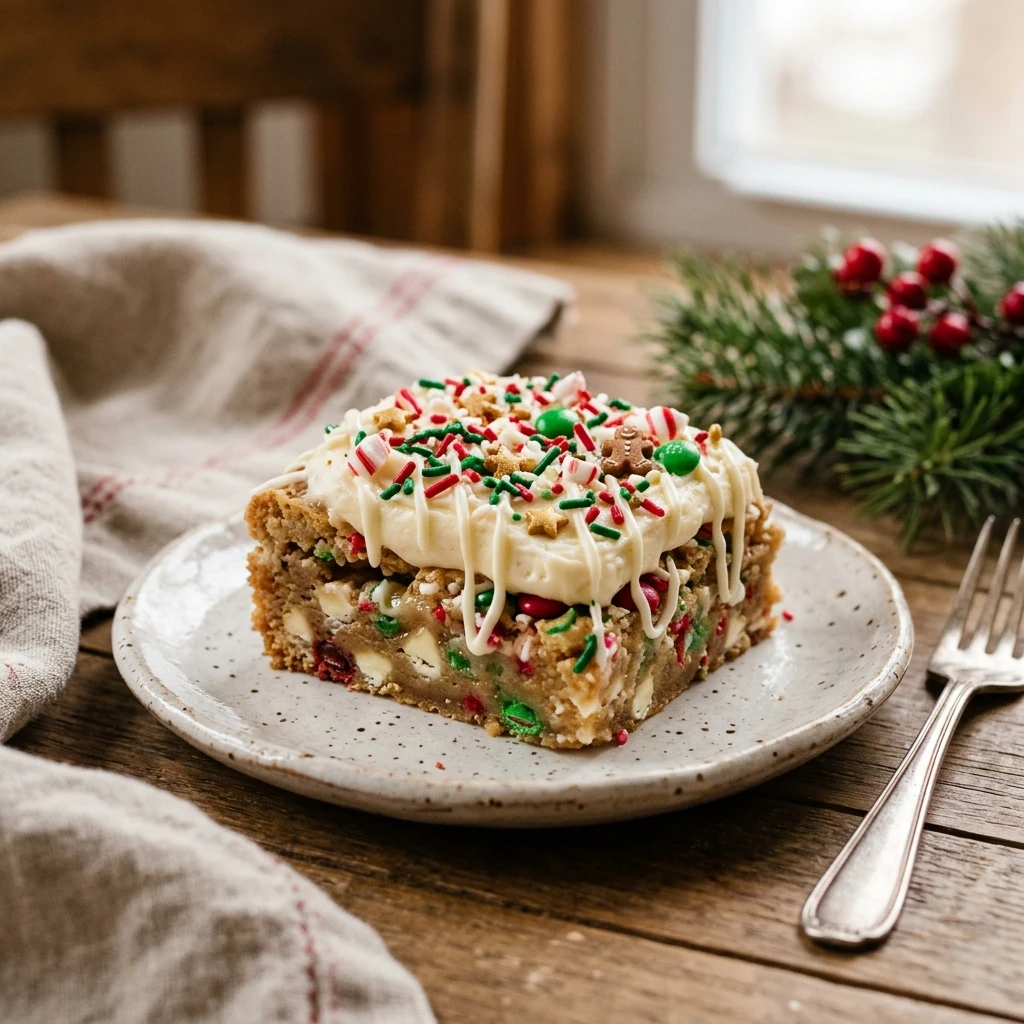
Serving Suggestions: What to Pair with Christmas Cookie Bars
These festive bars are delightful when served alongside a warm mug of cocoa or a steaming cup of coffee. For a holiday party, I like to arrange them on a large wooden platter with sprigs of fresh rosemary and a few cinnamon sticks for a rustic, cozy look. They also pair wonderfully with a cold glass of milk or even a scoop of premium vanilla bean ice cream if you are serving them as a plated dessert. If you are gifting them, place a few bars in a clear cellophane bag tied with a red ribbon for a simple and heartfelt homemade present.
Storage & Reheating Instructions
Store your Christmas Cookie Bars in an airtight container at room temperature for up to five days. To keep them extra soft, you can place a slice of white bread in the container with them, as the cookies will absorb the moisture from the bread. If you want to keep them longer, these bars freeze beautifully. Wrap individual squares in plastic wrap and place them in a freezer-safe bag for up to three months. When you are ready to enjoy one, simply let it thaw at room temperature for about an hour or warm it in the microwave for ten seconds for that fresh-from-the-oven feel.
Memories Made Around the Table
Some of my favorite holiday memories involve standing in the kitchen with my family, laughing as we decorated these very bars. I remember how my younger siblings used to try and pick out all the red candies before the dough even made it into the oven. Now, whenever I bake a batch of these Christmas Cookie Bars, I am reminded of those cozy afternoons spent together. It is not just about the dessert, it is about the tradition and the joy of sharing something sweet with the people you love most during the most wonderful time of the year.
FAQs
Can I make the dough in advance?
Yes, you can prepare the dough and store it in the refrigerator for up to 48 hours before baking. Just make sure to cover it tightly with plastic wrap so it does not dry out. When you are ready to bake, let the dough sit at room temperature for about 20 minutes so it is easier to spread into the pan.
Why are my cookie bars too dry?
The most common reason for dry bars is overbaking. Every oven is different, so start checking your bars about five minutes before the timer goes off. They should look slightly soft in the center when you pull them out, as they will continue to firm up while they cool in the hot pan.
Can I use salted butter instead of unsalted?
You can definitely use salted butter if that is what you have on hand. If you do, simply reduce the added salt in the recipe to a small pinch to ensure the bars do not end up too salty. The flavor will still be delicious and buttery.
How do I get the bars to look like the pictures?
The secret to that professional look is saving some of the candies and chocolate chips to press into the top of the dough right before it goes into the oven. This ensures that the colorful pieces are visible on the surface rather than being hidden inside the dough.
Can I use a different sized pan?
While a 9 by 13 inch pan is ideal for the thickness shown, you can use an 8 by 8 inch pan for extra thick bars. Note that if you use a smaller pan, you will need to increase the baking time by about 10 to 15 minutes and keep a close eye on the center to ensure it cooks through.
Final Thoughts
These Christmas Cookie Bars are the ultimate holiday treat for anyone who loves a classic cookie but wants to save time in the kitchen. They are festive, delicious, and incredibly easy to customize based on your favorite flavors. Whether you are bringing them to a gift exchange or enjoying them by the fireplace, they are sure to bring a bit of extra magic to your celebrations. I hope these bars become a new favorite tradition in your home just as they have in mine.
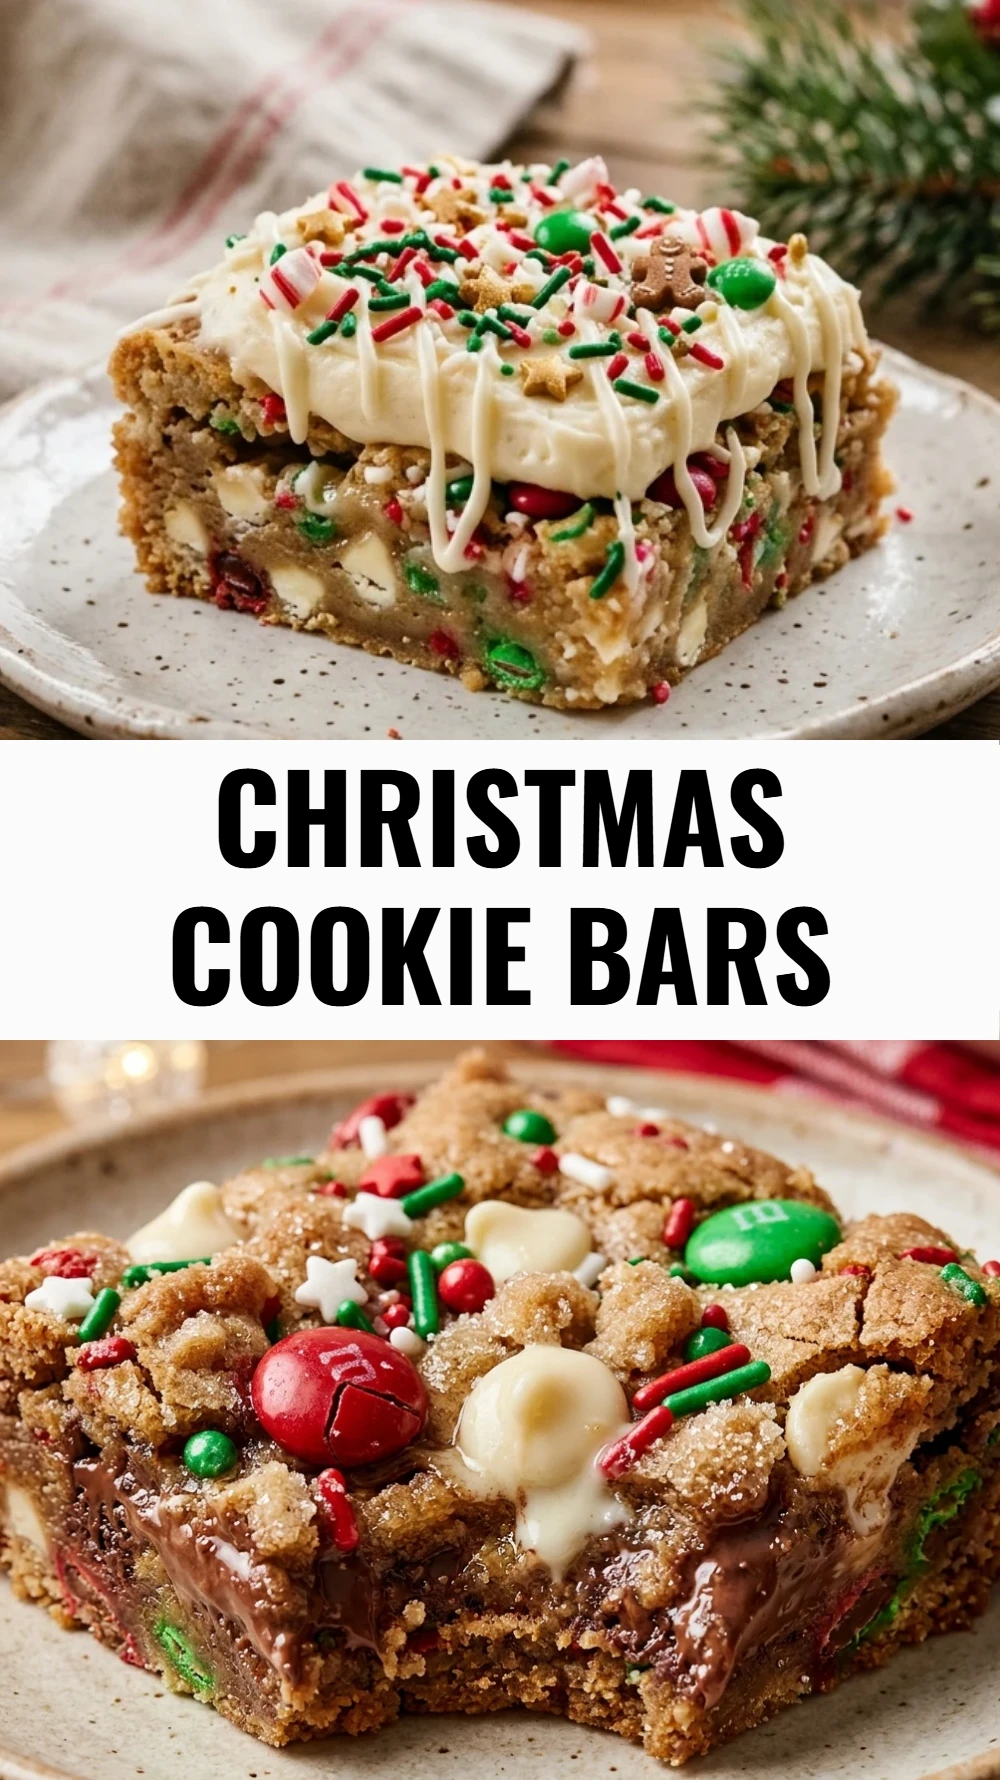
Christmas Cookie Bars
- Total Time: 40 minutes
Ingredients
- 1 cup unsalted butter, softened at room temperature
- 1 cup light brown sugar, packed
- 1/2 cup granulated white sugar
- 2 large eggs, room temperature
- 2 teaspoons alcohol-free vanilla extract
- 2 1/2 cups all-purpose flour
- 1 teaspoon baking soda
- 1/2 teaspoon salt
- 1 1/2 cups red and green candy-coated chocolate pieces
- 1/2 cup semi-sweet chocolate chips
Instructions
- Preheat your oven to 350 degrees Fahrenheit. Line a 9 by 13 inch baking pan with parchment paper, leaving a little overhang on the sides so you can easily lift the bars out later. Lightly grease the parchment paper with a small amount of butter or cooking spray to ensure nothing sticks.
- In a large mixing bowl, beat the softened butter, brown sugar, and granulated sugar together using an electric hand mixer or a stand mixer. Continue mixing for about two to three minutes until the mixture is light, fluffy, and well combined. This step is crucial for creating the right texture in your Christmas Cookie Bars.
- Add the eggs one at a time, beating well after each addition to ensure they are fully incorporated. Stir in the alcohol-free vanilla extract. Scrape down the sides of the bowl with a spatula to make sure every bit of the butter mixture is included in the batter.
- In a separate medium bowl, whisk together the all-purpose flour, baking soda, and salt. Gradually add these dry ingredients to the wet mixture while mixing on a low speed. Be careful not to overmix the dough, stop as soon as you no longer see streaks of white flour.
- Using a sturdy spatula, gently fold in one cup of the red and green chocolate candies and the semi-sweet chocolate chips. Save the remaining half cup of candies to press into the top of the dough for a beautiful presentation.
- Spread the dough evenly into the prepared baking pan using the back of a spoon or your clean fingers. Press the remaining candies into the surface. Bake for 25 to 30 minutes, or until the edges are a light golden brown and the center is set. Let the bars cool completely in the pan before lifting them out and slicing into squares.
- Cook Time: 40 minutes
- Diet: Vegetarian