
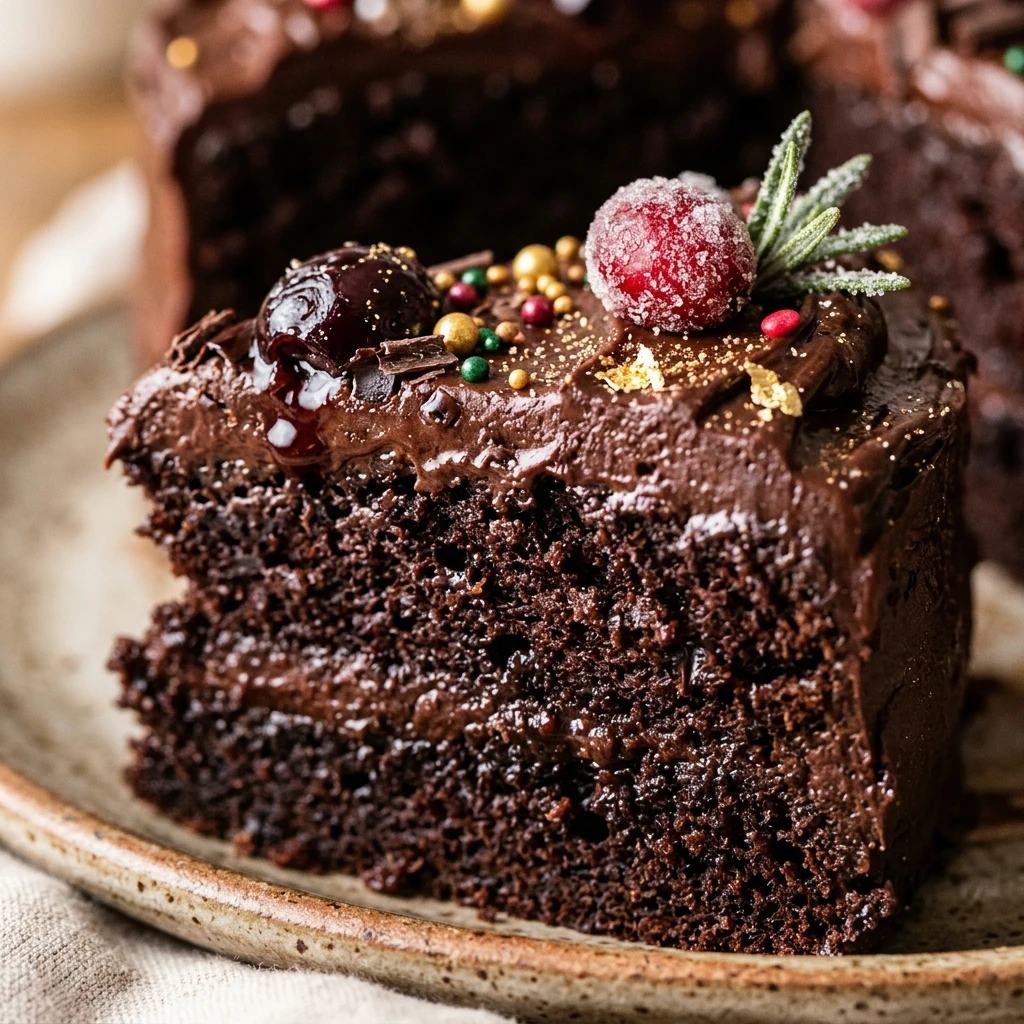
Every year when the first snow falls, I find myself reaching for my favorite cocoa powder and mixing bowls. This Christmas Chocolate Cake has become the centerpiece of my holiday table because it captures the cozy essence of the season in every rich, moist bite. I love how the deep chocolate aroma fills my kitchen and makes the whole house feel like a festive sanctuary while the oven does its magic.
Recipe Details
Recipe Information
- Prep Time: 20 minutes
- Cook Time: 35 minutes
- Total Time: 55 minutes
- Servings: 12
- Difficulty: Easy
Nutrition Information (Per Serving)
- Calories: 385
- Protein: 5g
- Carbs: 54g
- Fat: 19g
Why You’ll Love This Christmas Chocolate Cake
This cake is a holiday miracle because it manages to be incredibly decadent while remaining surprisingly simple to put together. The texture is velvety and light, thanks to a specific mixing method that ensures every slice is moist. It provides the perfect canvas for holiday decorations, whether you prefer a dusting of snowy powdered sugar or a crown of bright red berries. Most importantly, it is a crowd-pleaser that appeals to both children and adults during your festive gatherings.
Christmas Chocolate Cake Ingredients & Substitutions
- 2 cups all-purpose flour
- 2 cups granulated sugar
- 3/4 cup unsweetened cocoa powder
- 2 teaspoons baking soda
- 1 teaspoon baking powder
- 1 teaspoon salt
- 1 cup buttermilk
- 1/2 cup vegetable oil
- 2 large eggs (at room temperature)
- 2 teaspoons alcohol-free vanilla
- 1 cup boiling water
For a quick alternative to buttermilk, you can mix one cup of whole milk with one tablespoon of lemon juice and let it sit for five minutes. If you prefer a different fat source, melted coconut oil works beautifully in place of vegetable oil. You can also substitute the granulated sugar with cane sugar or a brown sugar blend if you desire a deeper, slightly molasses-like undertone in your chocolate layers.
Step-by-Step Instructions to Make Christmas Chocolate Cake
Step 1: Preparation
Preheat your oven to 350 degrees Fahrenheit. Lightly grease two nine-inch round cake pans with butter or oil and dust them with a little cocoa powder to prevent sticking. This ensures your cake releases perfectly after baking.
Step 2: Whisk the Dry Components
In a large mixing bowl, sift together the all-purpose flour, sugar, cocoa powder, baking soda, baking powder, and salt. Use a wire whisk to combine everything thoroughly, ensuring there are no large clumps of cocoa or flour left in the mixture.
Step 3: Mix the Wet Ingredients
Add the buttermilk, vegetable oil, eggs, and alcohol-free vanilla to the dry ingredients. Use an electric mixer on medium speed or a sturdy whisk to beat the mixture for about two minutes. The batter will be quite thick at this stage, which is perfectly normal.
Step 4: Combine and Bloom
Lower the mixer speed and carefully pour in the boiling water. Stir by hand or on the lowest setting until the water is fully incorporated. This process blooms the cocoa, intensifying the chocolate flavor. The batter will be very thin, but do not worry, it will bake into a beautiful sponge.
Step 5: Bake to Perfection
Distribute the batter evenly between the two prepared cake pans. Place them in the center of the oven and bake for 30 to 35 minutes. You will know they are done when a wooden skewer inserted into the center comes out clean or with just a few moist crumbs attached.
Step 6: Cool and Frost
Allow the cakes to cool in their pans for about ten minutes before transferring them to a wire rack to cool completely. Once they are cold to the touch, you can frost them with your favorite chocolate ganache or buttercream and decorate with festive sprigs of rosemary or pomegranate seeds.
Tips for Success
Always ensure your eggs and buttermilk are at room temperature before you start mixing, as this helps the batter emulsify more effectively. Using boiling water is the secret to a deep chocolate taste, so do not skip that step even though the thin batter might look intimidating. If you want a perfectly flat top for layering, you can wrap the outside of your pans with damp bake-even strips before putting them in the oven.
Variations of Christmas Chocolate Cake
To give this cake a minty holiday twist, add a half teaspoon of peppermint extract to the wet ingredients. For those who love the combination of fruit and chocolate, try folding in a cup of fresh raspberries before baking. You can also create a mocha version by substituting the boiling water with a cup of hot brewed coffee, which further enhances the richness of the cocoa without leaving a strong coffee taste.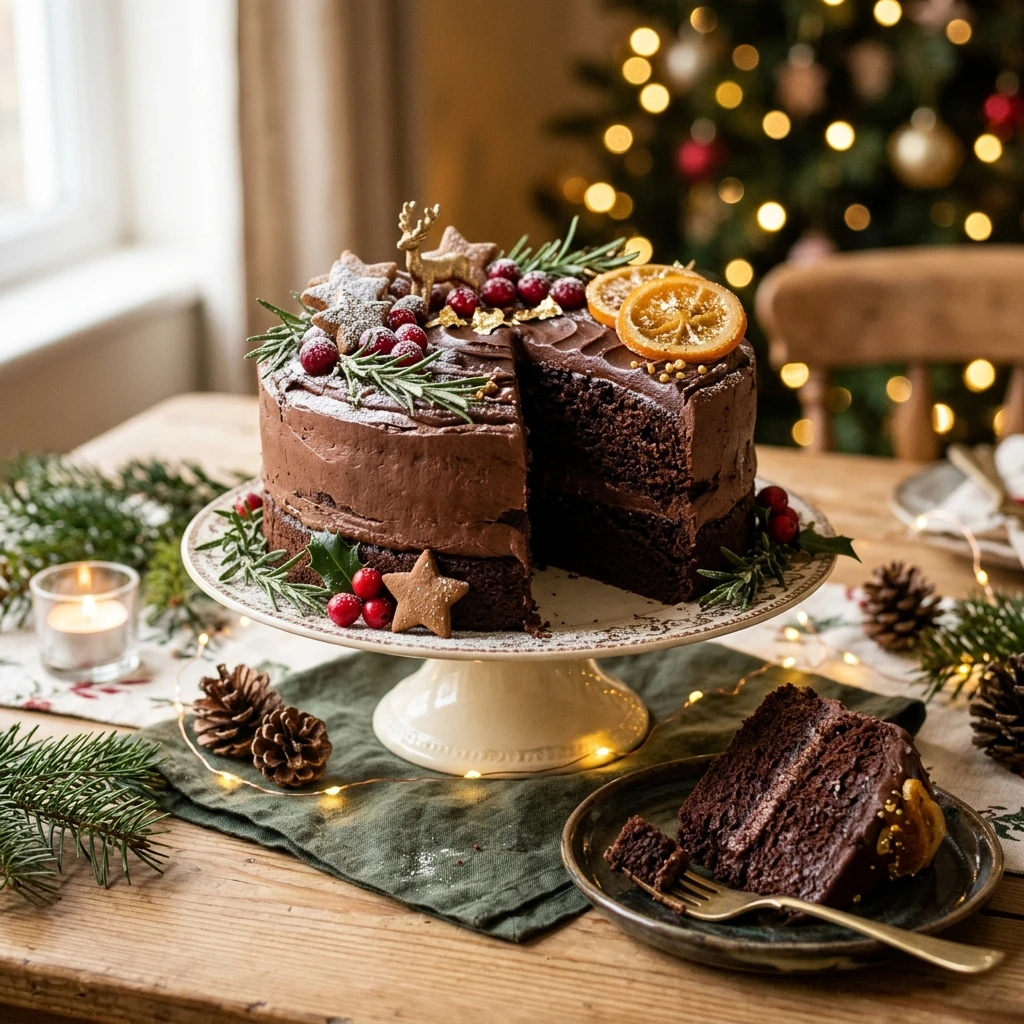
Serving Suggestions: What to Pair with Christmas Chocolate Cake
This cake is spectacular when served with a side of lightly sweetened whipped cream or a scoop of premium vanilla bean gelato. For a festive touch, garnish each plate with a few sugared cranberries and a sprig of fresh mint. It also pairs wonderfully with a warm cup of peppermint tea or a spiced apple cider to cut through the richness of the chocolate.
Storage & Reheating Instructions
Store any leftover cake in an airtight container at room temperature for up to three days. If you live in a warm climate or have used a perishable frosting, keep it in the refrigerator for up to five days. To enjoy a slice later, you can microwave it for about ten seconds to restore that just-baked softness and make the chocolate flavor pop.
Memories Made Around the Table
I still remember the Christmas when my daughter decided she was the head pastry chef and insisted on decorating the entire cake herself. She used so many silver sprinkles that the cake sparkled like a disco ball, and honestly, it was the most beautiful dessert I had ever seen. We sat around the glowing tree that night, eating oversized slices and laughing until our sides ached, creating a tradition that we carry on every single December.
FAQs
Can I make this cake in a 9×13 inch rectangular pan?
Yes, you can certainly bake this as a single layer sheet cake. You will likely need to increase the baking time by five to ten minutes, so keep a close eye on it and use the toothpick test to ensure the center is fully baked through.
How do I make the cake look snowy for Christmas?
The easiest way to achieve a snowy look is to wait until the cake is completely cool and then use a fine-mesh sieve to dust a generous layer of powdered sugar over the top. Adding some rosemary sprigs and red currants on top will complete the winter wonderland aesthetic.
Can I freeze the cake layers before frosting?
Absolutely. Wrap the cooled cake layers tightly in plastic wrap and then a layer of aluminum foil. They will stay fresh in the freezer for up to two months. Just thaw them at room temperature for a few hours before you plan to frost and serve.
What if I do not have alcohol free vanilla?
If you do not have alcohol-free vanilla on hand, you can use the seeds from a fresh vanilla bean or a small amount of vanilla bean paste. Alternatively, a pinch of cinnamon can provide a lovely warm aroma that complements the chocolate beautifully.
Why is the batter so thin before baking?
The thin consistency is due to the boiling water and the buttermilk. This is a classic characteristic of a moist chocolate cake. The hot water dissolves the cocoa and sugar quickly, leading to a very smooth, liquid batter that rises perfectly into a tender crumb in the oven.
Final Thoughts
Baking this Christmas Chocolate Cake is more than just following a recipe, it is about creating a moment of joy for the people you love. Whether you serve it at a large party or enjoy it quietly by the fireplace, its reliable texture and deep flavor make it a true holiday staple. I hope this cake brings as much warmth and sweetness to your home as it does to mine every holiday season.
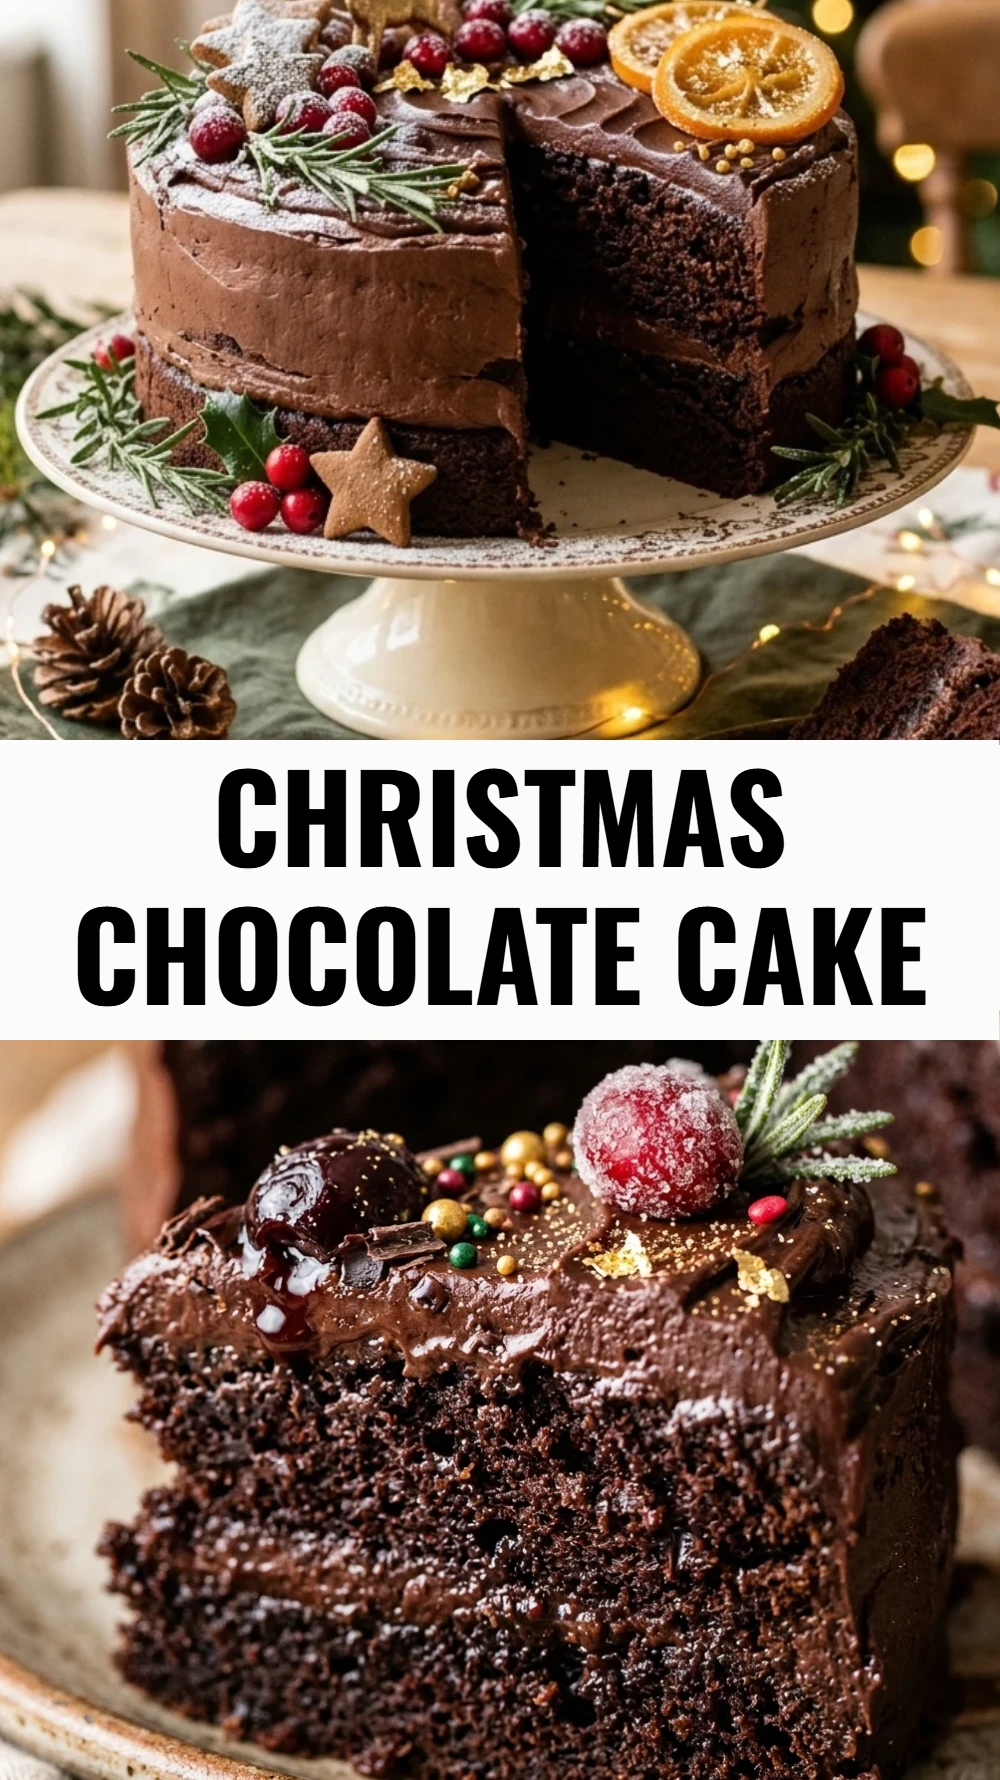
Christmas Chocolate Cake
- Total Time: 55 minutes
Ingredients
- 2 cups all-purpose flour
- 2 cups granulated sugar
- 3/4 cup unsweetened cocoa powder
- 2 teaspoons baking soda
- 1 teaspoon baking powder
- 1 teaspoon salt
- 1 cup buttermilk
- 1/2 cup vegetable oil
- 2 large eggs (at room temperature)
- 2 teaspoons alcohol-free vanilla
- 1 cup boiling water
Instructions
- Preheat your oven to 350 degrees Fahrenheit. Lightly grease two nine-inch round cake pans with butter or oil and dust them with a little cocoa powder to prevent sticking. This ensures your cake releases perfectly after baking.
- In a large mixing bowl, sift together the all-purpose flour, sugar, cocoa powder, baking soda, baking powder, and salt. Use a wire whisk to combine everything thoroughly, ensuring there are no large clumps of cocoa or flour left in the mixture.
- Add the buttermilk, vegetable oil, eggs, and alcohol-free vanilla to the dry ingredients. Use an electric mixer on medium speed or a sturdy whisk to beat the mixture for about two minutes. The batter will be quite thick at this stage, which is perfectly normal.
- Lower the mixer speed and carefully pour in the boiling water. Stir by hand or on the lowest setting until the water is fully incorporated. This process blooms the cocoa, intensifying the chocolate flavor. The batter will be very thin, but do not worry, it will bake into a beautiful sponge.
- Distribute the batter evenly between the two prepared cake pans. Place them in the center of the oven and bake for 30 to 35 minutes. You will know they are done when a wooden skewer inserted into the center comes out clean or with just a few moist crumbs attached.
- Allow the cakes to cool in their pans for about ten minutes before transferring them to a wire rack to cool completely. Once they are cold to the touch, you can frost them with your favorite chocolate ganache or buttercream and decorate with festive sprigs of rosemary or pomegranate seeds.
- Cook Time: 55 minutes
- Diet: Vegetarian