
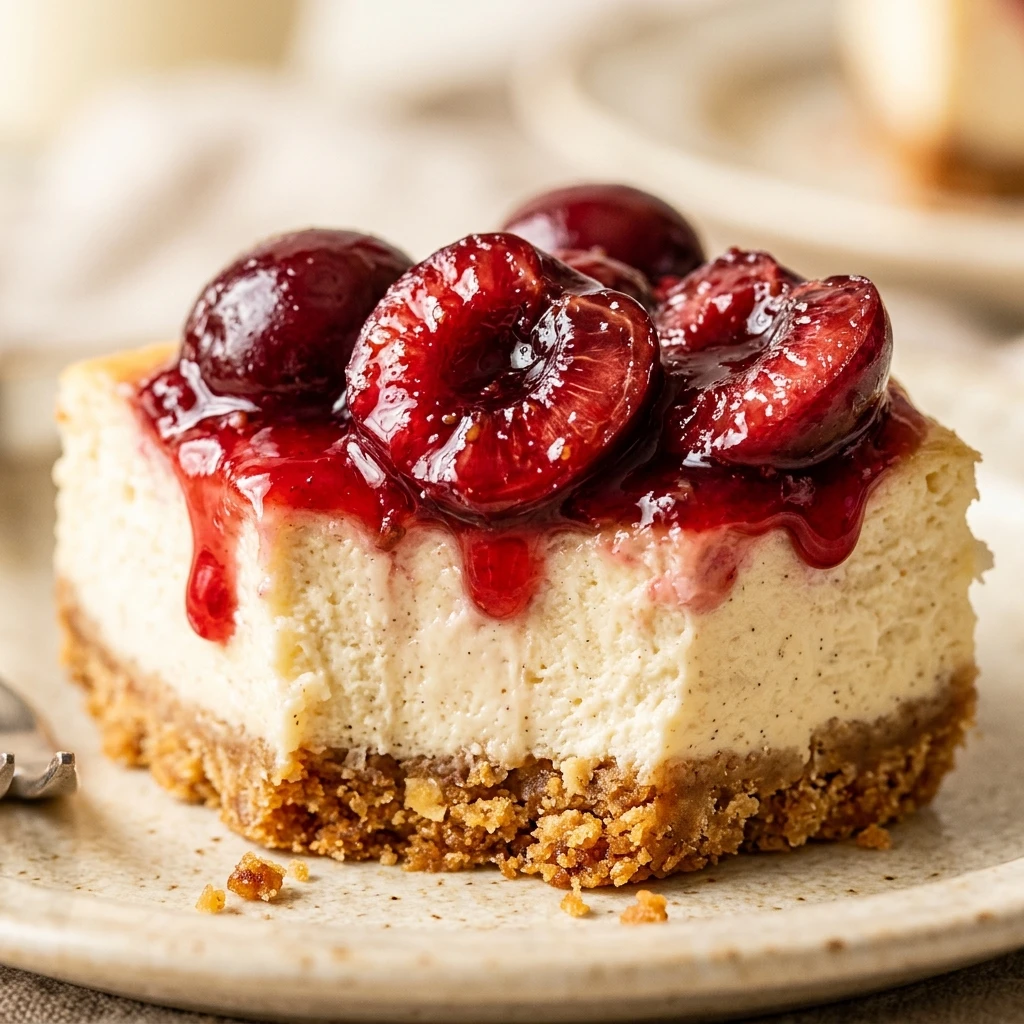
I always feel like the holiday season truly begins when the smell of baking fills my kitchen and the festive decorations come out of storage. These Cherry Cheesecake Bars are my go-to recipe for Christmas parties because they look so incredibly vibrant and taste like a dream. I love how the tartness of the cherries cuts through the rich, creamy cheesecake layer, making it the perfect follow-up to a heavy holiday meal.
Recipe Details
Recipe Information
- Prep Time: 20 minutes
- Cook Time: 40 minutes
- Total Time: 60 minutes
- Servings: 16 bars
- Difficulty: Easy
Nutrition Information (Per Serving)
- Calories: 315
- Protein: 4g
- Carbs: 34g
- Fat: 18g
Why You’ll Love This Cherry Cheesecake Bars
These bars are the ultimate crowd-pleaser for any Christmas gathering. They offer the decadent taste of a traditional cheesecake but in an easy-to-handle bar format that is perfect for holiday dessert tables. The bright red cherry topping provides a festive look without requiring hours of decorating, and the balance between the buttery graham cracker crust and the silky smooth filling is simply irresistible. Plus, they are much more forgiving to bake than a full-sized cheesecake, so you can spend less time worrying about cracks and more time enjoying the holiday spirit.
Cherry Cheesecake Bars Ingredients & Substitutions
- 1 1/2 cups graham cracker crumbs
- 1/3 cup unsalted butter, melted
- 1/4 cup granulated sugar (for crust)
- 16 ounces cream cheese, softened to room temperature
- 1/2 cup granulated sugar (for filling)
- 2 large eggs, room temperature
- 1 teaspoon alcohol-free vanilla extract
- 1/2 cup sour cream
- 21 ounces cherry pie filling
If you do not have graham crackers, you can use crushed digestive biscuits or even vanilla wafers for the base. For a slightly different flavor profile, Greek yogurt can be used in place of sour cream, though it may result in a tangier bar. If you prefer a less sweet topping, you can make a quick cherry compote using frozen cherries and a bit of cornstarch instead of the canned pie filling.
Step-by-Step Instructions to Make Cherry Cheesecake Bars
Step 1: Preparation
Preheat your oven to 350 degrees F. Line an 8×8 inch baking pan with parchment paper, leaving a bit of an overhang on the sides. This makes it much easier to lift the bars out once they are cooled and ready to slice.
Step 2: Create the Crust
In a medium bowl, combine the graham cracker crumbs, melted butter, and the first portion of sugar. Stir until the mixture looks like wet sand. Press the mixture firmly into the bottom of your prepared baking pan in an even layer. Bake the crust for 8 to 10 minutes, then remove it from the oven and let it cool slightly while you prepare the filling.
Step 3: Mix the Cheesecake Filling
In a large mixing bowl, beat the softened cream cheese and the remaining sugar together until the mixture is completely smooth and creamy. Add the eggs one at a time, beating on low speed just until combined. Stir in the alcohol-free vanilla extract and the sour cream, being careful not to overmix the batter, as too much air can cause the cheesecake to puff up and then sink.
Step 4: Bake the Bars
Pour the cream cheese mixture over the pre-baked crust and spread it evenly with a spatula. Place the pan back in the oven and bake for 30 to 35 minutes, or until the edges are set and the center still has a slight jiggle. Remove the pan from the oven and let it cool completely at room temperature.
Step 5: Add Topping and Chill
Once the cheesecake has reached room temperature, spread the cherry pie filling evenly over the top. Cover the pan and refrigerate for at least 4 hours, or ideally overnight. This allows the cheesecake to firm up so you can get clean, beautiful slices.
Tips for Success
Always ensure your cream cheese and eggs are at room temperature before you start mixing. This is the secret to a perfectly smooth, lump-free cheesecake filling. When it comes to slicing, use a sharp knife and wipe it clean with a warm, damp cloth between every single cut. This prevents the red cherry filling from smearing into the white cheesecake layer, keeping your Christmas dessert looking professional and sharp.
Variations of Cherry Cheesecake Bars
For a chocolatey twist, use chocolate graham cracker crumbs or crushed chocolate sandwich cookies for the base. If you want to lean even further into the Christmas theme, you can add a pinch of cinnamon or nutmeg to the crust mixture. Another fun variation is to swap the cherry filling for a cranberry topping, which adds a lovely festive tartness that pairs beautifully with the sweet cream cheese.
Serving Suggestions: What to Pair with Cherry Cheesecake Bars
These bars are wonderful when served alongside a steaming mug of hot cocoa or a glass of alcohol-free spiced apple cider. For a more formal Christmas dinner dessert, serve them with a dollop of fresh whipped cream and a sprig of mint for a touch of green. They also pair excellently with a simple platter of roasted nuts or a selection of dark chocolates to balance the sweetness.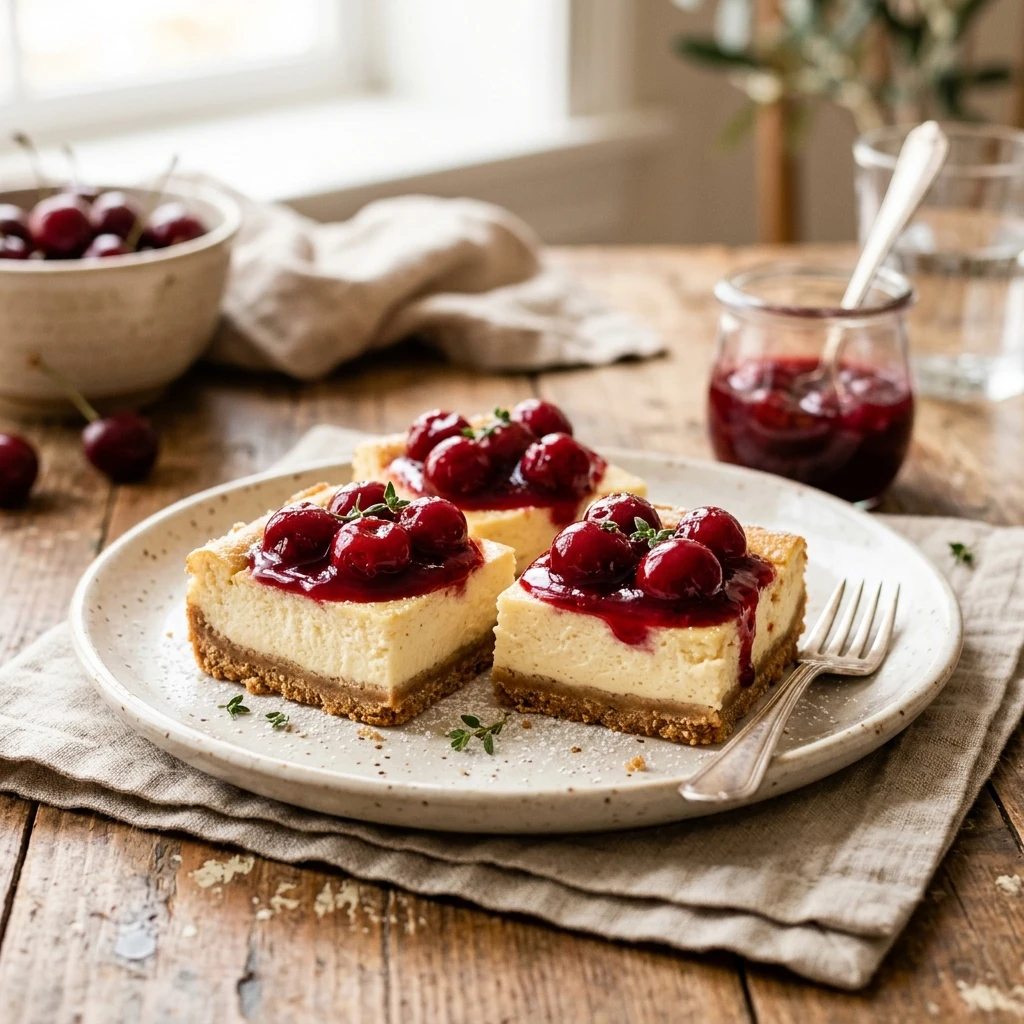
Storage & Reheating Instructions
Store any leftover bars in an airtight container in the refrigerator for up to 5 days. Because of the dairy content, they should not be left out at room temperature for more than two hours. If you want to make these well in advance of Christmas, you can freeze the baked and cooled cheesecake layer (without the topping) for up to 3 months. Thaw it in the fridge overnight and add the cherry topping just before serving. These bars are best enjoyed cold, so reheating is not recommended.
Memories Made Around the Table
I remember one specific Christmas Eve where the snow was falling heavily outside and my entire family was gathered in the living room. I brought out a tray of these bars, and within minutes, the room went silent as everyone took their first bite. It has become a tradition now, where my nieces and nephews help me spread the cherries on top, often sneaking a few tastes along the way. Those quiet moments of shared sweetness are what the holidays are really about for me.
FAQs
Can I use low-fat cream cheese for this recipe?
While you can use low-fat cream cheese, the texture will not be as rich or creamy. Full-fat cream cheese provides the best structural integrity and flavor for cheesecake bars, especially when you want them to hold up well on a dessert platter.
How do I prevent the cheesecake from cracking?
Cracks usually happen from overbeating the eggs or overbaking the bars. Mix the eggs on the lowest speed possible and remove the pan from the oven while the center is still slightly wobbly. The residual heat will finish the cooking process as it cools.
Do I have to use a parchment paper lining?
It is highly recommended. Because the crust and filling can be sticky, the parchment paper allows you to lift the entire block out of the pan. This makes it much easier to slice the bars into perfect squares without damaging the crust.
Can I use fresh cherries instead of pie filling?
Yes, but you will need to cook them down first with a bit of sugar and cornstarch to create a thickened sauce. Fresh cherries on their own will release too much juice and make the top of the cheesecake soggy.
How long do these need to chill before serving?
You should chill them for at least 4 hours, but overnight is best. Chilling is essential for the fats in the cream cheese to solidify, which gives the bars their signature texture and makes them easy to slice.
Final Thoughts
These Cherry Cheesecake Bars are a beautiful, delicious, and stress-free addition to any Christmas menu. Whether you are hosting a large party or just looking for a special treat to enjoy by the fireplace, this recipe delivers consistent results every time. I hope these bars bring as much joy and sweetness to your holiday celebrations as they do to mine. Happy baking and Merry Christmas!
Cherry Cheesecake Bars
- Total Time: 1 hour
Ingredients
- 1 1/2 cups graham cracker crumbs
- 1/3 cup unsalted butter, melted
- 1/4 cup granulated sugar (for crust)
- 16 ounces cream cheese, softened to room temperature
- 1/2 cup granulated sugar (for filling)
- 2 large eggs, room temperature
- 1 teaspoon alcohol-free vanilla extract
- 1/2 cup sour cream
- 21 ounces cherry pie filling
Instructions
- Preheat your oven to 350 degrees F. Line an 8×8 inch baking pan with parchment paper, leaving a bit of an overhang on the sides. This makes it much easier to lift the bars out once they are cooled and ready to slice.
- In a medium bowl, combine the graham cracker crumbs, melted butter, and the first portion of sugar. Stir until the mixture looks like wet sand. Press the mixture firmly into the bottom of your prepared baking pan in an even layer. Bake the crust for 8 to 10 minutes, then remove it from the oven and let it cool slightly while you prepare the filling.
- In a large mixing bowl, beat the softened cream cheese and the remaining sugar together until the mixture is completely smooth and creamy. Add the eggs one at a time, beating on low speed just until combined. Stir in the alcohol-free vanilla extract and the sour cream, being careful not to overmix the batter, as too much air can cause the cheesecake to puff up and then sink.
- Pour the cream cheese mixture over the pre-baked crust and spread it evenly with a spatula. Place the pan back in the oven and bake for 30 to 35 minutes, or until the edges are set and the center still has a slight jiggle. Remove the pan from the oven and let it cool completely at room temperature.
- Once the cheesecake has reached room temperature, spread the cherry pie filling evenly over the top. Cover the pan and refrigerate for at least 4 hours, or ideally overnight. This allows the cheesecake to firm up so you can get clean, beautiful slices.
- Cook Time: 60 minutes
- Diet: Vegetarian