
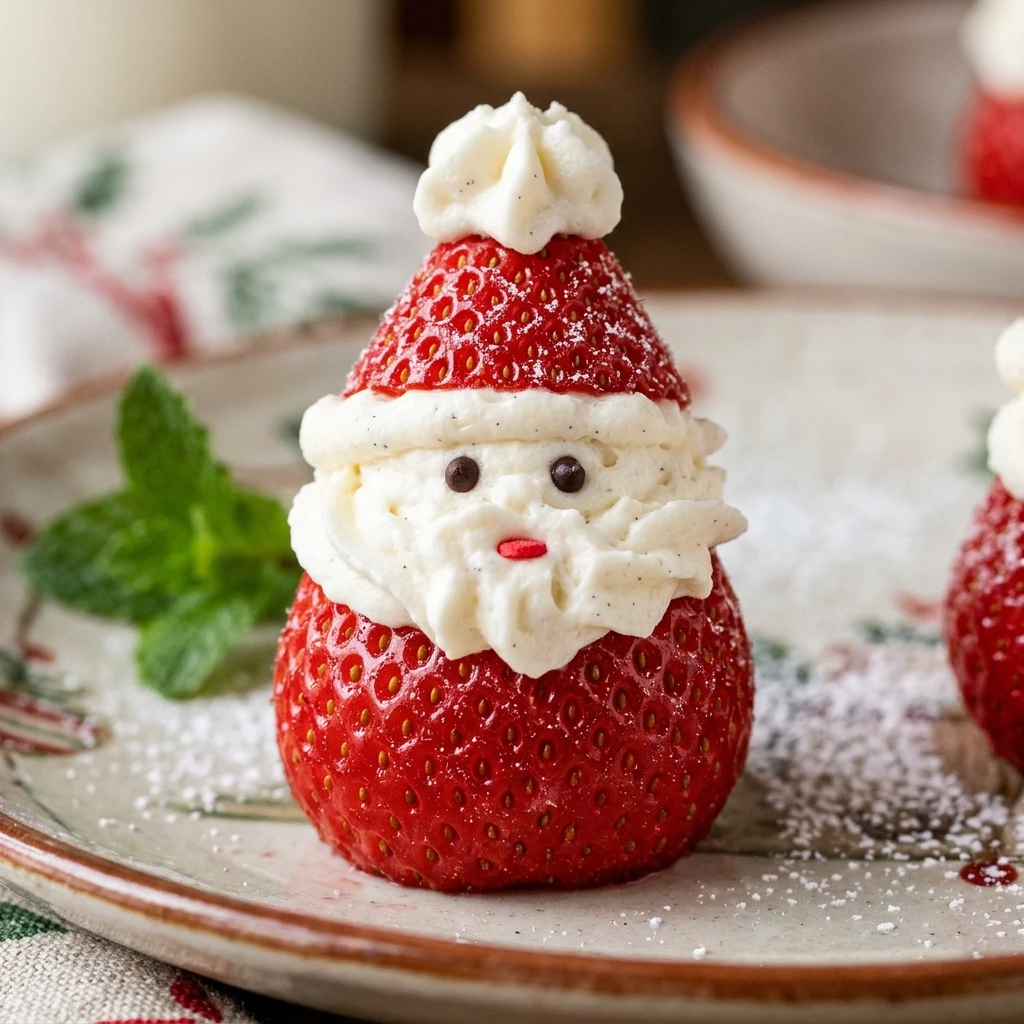
I always look forward to the holiday season because it means I get to bring out my favorite festive snacks that the whole family loves. These Strawberry Santa Treats are a staple in my kitchen every December because they are incredibly adorable and take almost no time to assemble. I love how they brighten up a dessert platter and bring a smile to everyone’s face, from the little kids to the grandparents who appreciate a lighter sweet option after a heavy meal.
Recipe Details
Recipe Information
- Prep Time: 20 minutes
- Cook Time: 0 minutes
- Total Time: 20 minutes
- Servings: 12 treats
- Difficulty: Easy
Nutrition Information (Per Serving)
- Calories: 45
- Protein: 1g
- Carbs: 5g
- Fat: 2g
Why You’ll Love This Strawberry Santa Treats
These festive little bites are the perfect combination of fresh fruit and creamy sweetness. You will love how they require absolutely no baking, making them a stress free addition to your holiday party planning. They are naturally bright and colorful, which means they double as a beautiful table decoration before they are eaten. Plus, since they are bite sized, they are easy for guests to grab and enjoy while mingling during a Christmas gathering.
Strawberry Santa Treats Ingredients & Substitutions
- 12 large fresh strawberries
- 4 ounces cream cheese, softened to room temperature
- 2 tablespoons powdered sugar
- 1/2 teaspoon alcohol-free vanilla extract
- 24 mini chocolate chips
If you prefer a lighter version, you can use Greek yogurt thickened with a bit of honey instead of the cream cheese mixture. For a dairy free option, chilled coconut cream whipped until stiff works beautifully. If you do not have mini chocolate chips on hand, small dots of dark icing or even black sesame seeds can serve as the eyes for your little Santas. Make sure your strawberries are firm and ripe so they hold their shape throughout the assembly process.
Step-by-Step Instructions to Make Strawberry Santa Treats
Step 1: Prepare the Strawberries
Start by washing the strawberries thoroughly and patting them completely dry with a paper towel. Remove the green leafy tops by cutting a flat slice across the stem end so the strawberries can stand upright on a plate. Then, cut off the top third of each strawberry to create the hat piece and set these small triangles aside.
Step 2: Create the Cream Filling
In a small mixing bowl, beat the softened cream cheese, powdered sugar, and alcohol-free vanilla extract until the mixture is smooth and fluffy. You can use a hand mixer for the best results or simply whisk it vigorously by hand until no lumps remain. Transfer this mixture into a piping bag fitted with a medium round tip or a plastic storage bag with the corner snipped off.
Step 3: Assemble the Santa Bodies
Pipe a generous mound of the cream cheese mixture onto the flat top of the large strawberry bases. This will serve as Santa’s face and the base of his hat. Be careful not to pipe too much or the hat might slide off, but ensure there is enough white showing to create a clear face area.
Step 4: Add the Hats and Details
Gently place the reserved strawberry tops back onto the cream cheese mounds to form the hats. Pipe a tiny dot of the cream mixture onto the very tip of each hat to create a pom-pom. You can also pipe two small dots on the front of the strawberry base to look like buttons on Santa’s coat.
Step 5: Finish the Faces
Carefully press two mini chocolate chips into the cream cheese face to create the eyes. If you find this tricky, you can use a pair of clean tweezers to place them precisely. Once finished, place the treats on a serving platter and keep them chilled until you are ready to serve them to your guests.
Tips for Success
Always ensure your strawberries are completely dry before you start piping the cream cheese. Any moisture on the surface of the fruit will cause the filling to slide right off. It is also helpful to keep the cream cheese filling slightly chilled if your kitchen is warm. If the Santa hats seem unstable, you can insert a toothpick through the center of the treat to hold everything together, just be sure to warn your guests before they take a bite.
Variations of Strawberry Santa Treats
For a different flavor profile, you can mix a little cocoa powder into the cream cheese for a chocolatey beard. You can also use mascarpone cheese instead of cream cheese for a richer, more buttery flavor. If you want a more elaborate look, try using a small star piping tip for the beard to give it a textured, fluffy appearance. Some people also like to dip the bottom of the strawberries in melted white chocolate and sprinkles before assembly for extra festive flair.
Serving Suggestions: What to Pair with Strawberry Santa Treats
These treats look wonderful when served on a platter alongside other Christmas favorites like ginger cookies or peppermint bark. They pair perfectly with a warm cup of hot cocoa or a festive spiced apple cider. If you are hosting a brunch, these make a lovely garnish for a stack of pancakes or French toast. They also sit well on a larger fruit platter, adding a whimsical touch to a spread of grapes, melon, and pineapple.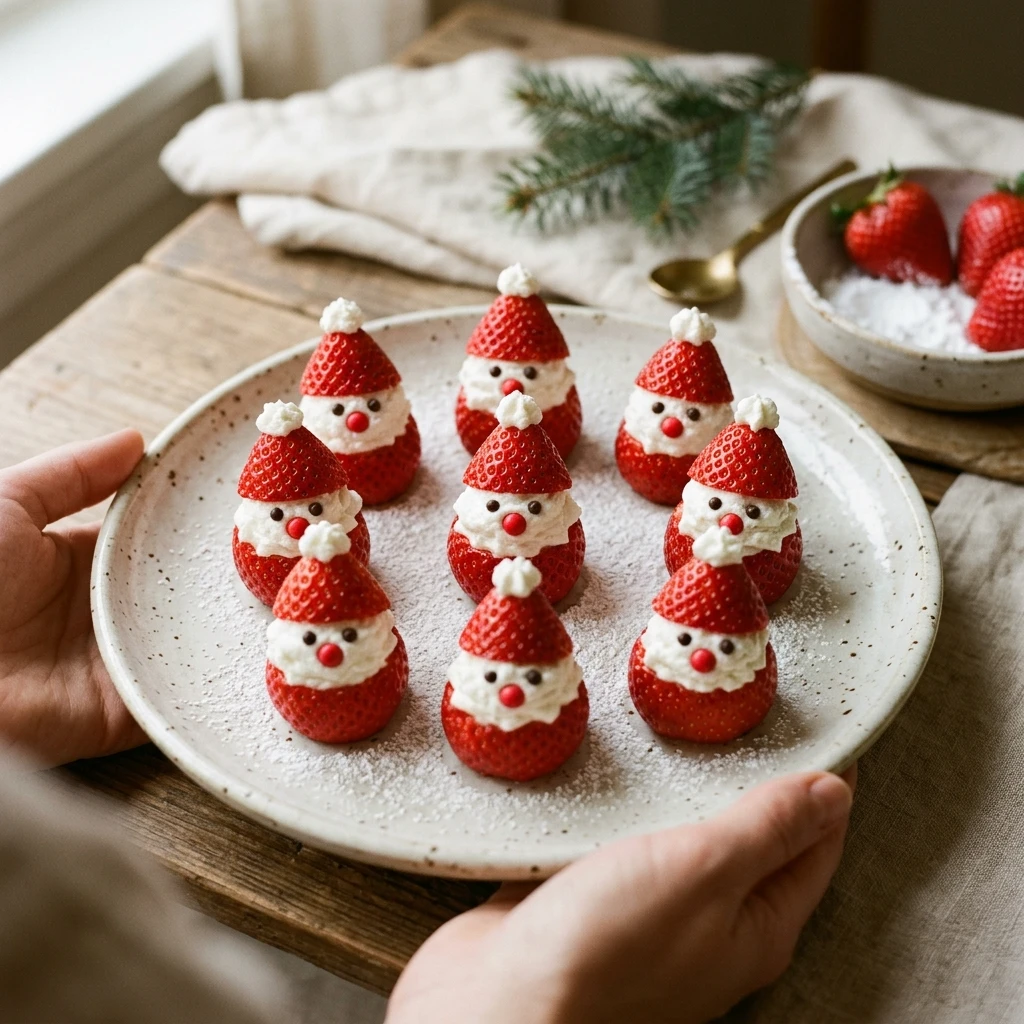
Storage & Reheating Instructions
Because these treats involve fresh fruit and dairy, they are best enjoyed within a few hours of assembly. You can store them in an airtight container in the refrigerator for up to four hours. After this time, the strawberries may begin to release moisture and the cream cheese might lose its shape. These treats should not be frozen or reheated, as the texture of the fresh strawberry will change significantly and become mushy.
Memories Made Around the Table
I remember one specific Christmas Eve where my nieces and nephews helped me assemble a whole army of these strawberry Santas. We had cream cheese everywhere, but the joy on their faces as they placed the tiny chocolate chip eyes was worth the messy kitchen. It has since become a tradition in our home to make these while we listen to holiday music and wait for the main meal to finish cooking. It is a simple moment, but it is those quiet times of creative fun that stay with me long after the decorations are put away.
FAQs
Can I make these Strawberry Santa Treats a day in advance?
It is not recommended to make these a full day early because the strawberries will start to weep juice and the cream cheese will soften. For the best presentation and taste, assemble them no more than four hours before your event and keep them refrigerated.
What can I use if I do not have a piping bag?
You can easily use a sandwich sized plastic bag. Simply fill the bag with the cream cheese mixture, squeeze it toward one corner, and snip a small hole in the tip. This gives you plenty of control for piping the faces and hat details.
How do I stop the Santas from tipping over?
The key is to slice the stem end of the strawberry perfectly flat. If the strawberry is still a bit wobbly, you can cut a very thin slice off the bottom to create a wider, more stable base for the treat to stand on.
Can I use whipped cream instead of cream cheese?
You can use stabilized whipped cream, but regular whipped cream from a can will deflate almost immediately. The cream cheese and powdered sugar mixture provides the structural integrity needed to hold up the strawberry hat.
What is the best way to clean the strawberries?
Rinse them under cold water and then dry each one individually with a soft cloth or paper towel. Avoid soaking them in water as they can absorb liquid, which makes them go soft faster and prevents the cream from sticking.
Final Thoughts
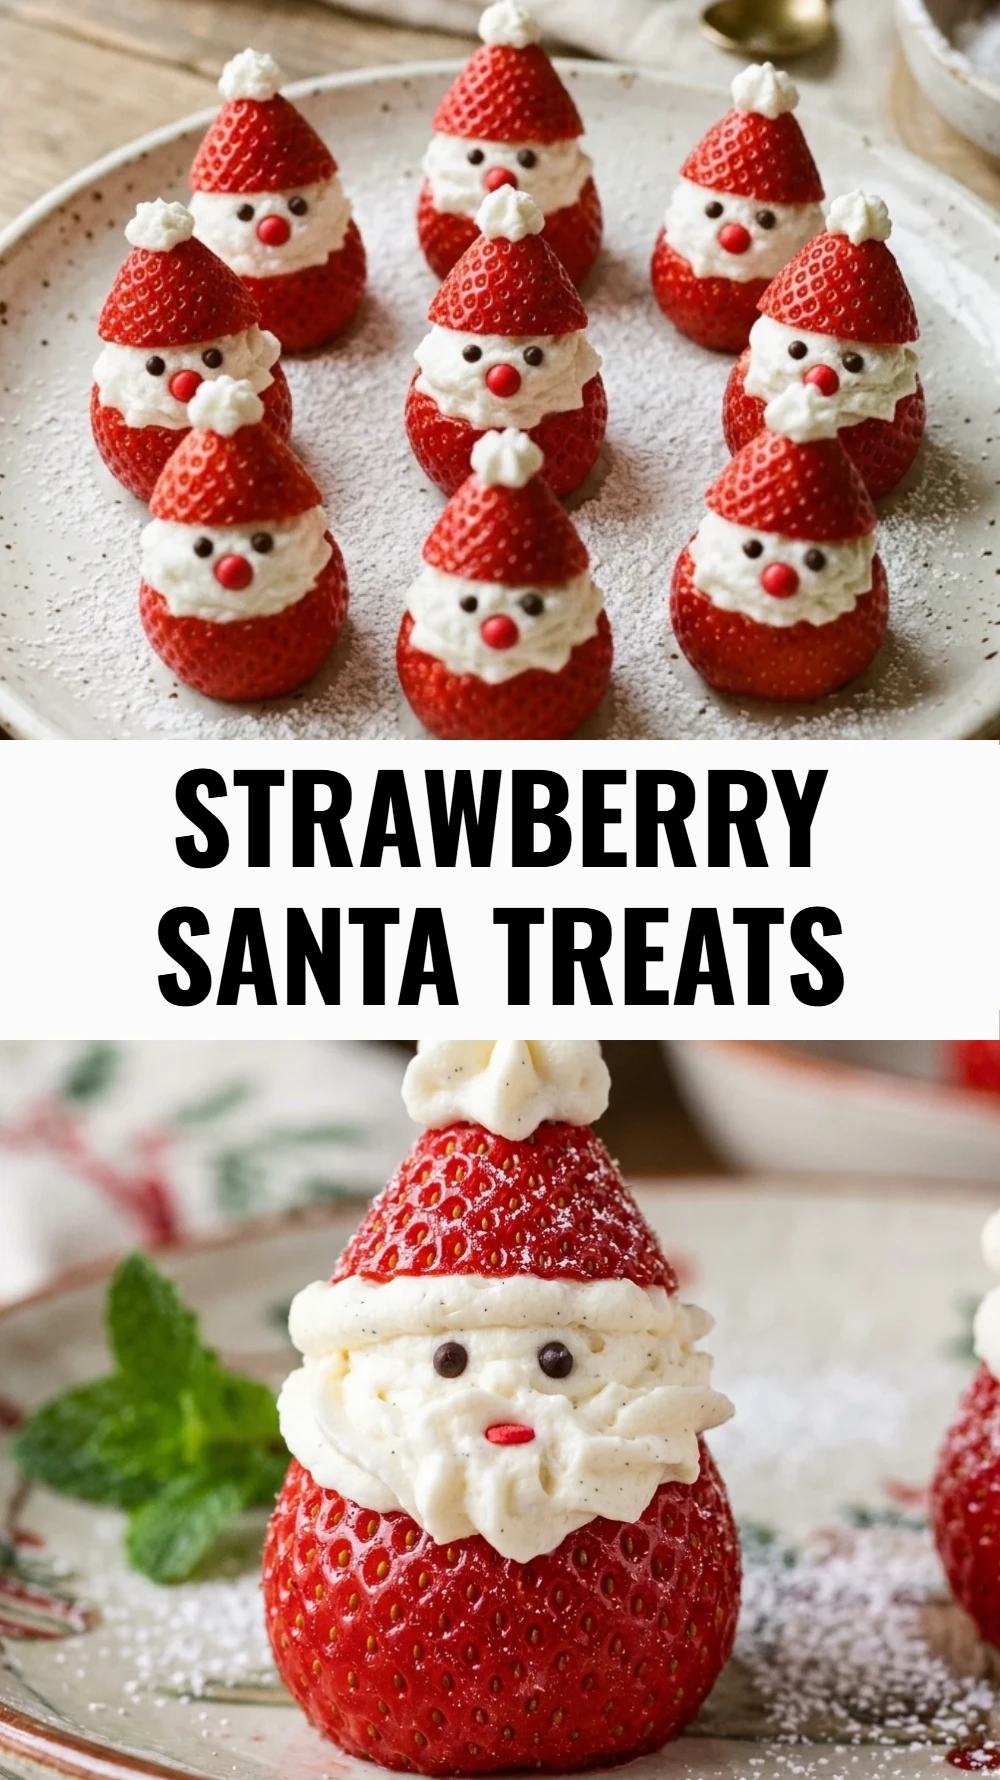
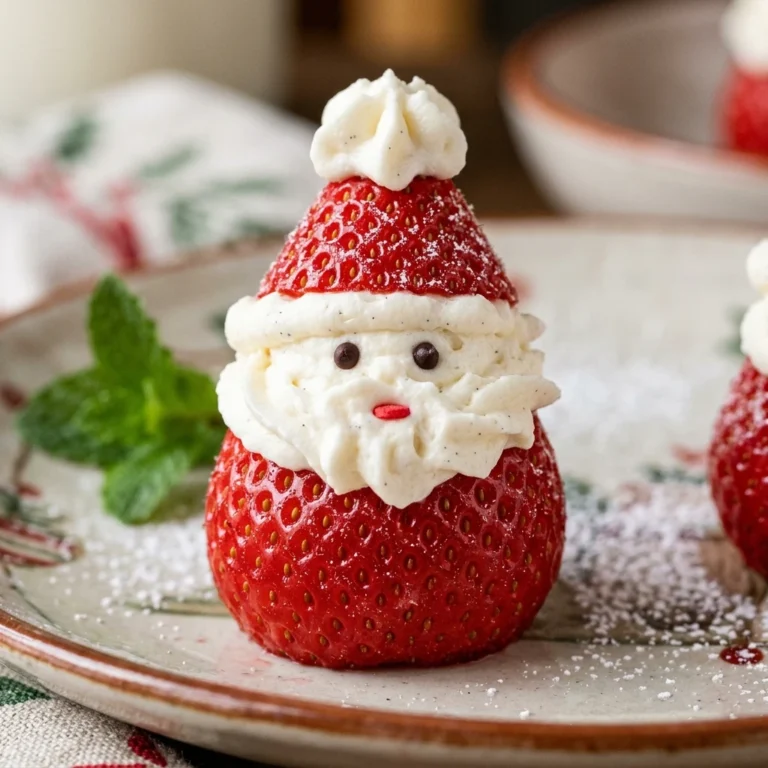
Strawberry Santa Treats are a delightful way to bring a bit of holiday magic to your dessert table without spending hours in the kitchen. They are light, refreshing, and festive enough to impress any guest. Whether you are making them for a school party or a family dinner, they are sure to be the star of the show. I hope you enjoy making these as much as my family does every year.
Strawberry Santa Treats
- Total Time: 20 minutes
Ingredients
- 12 large fresh strawberries
- 4 ounces cream cheese, softened to room temperature
- 2 tablespoons powdered sugar
- 1/2 teaspoon alcohol-free vanilla extract
- 24 mini chocolate chips
Instructions
- Start by washing the strawberries thoroughly and patting them completely dry with a paper towel. Remove the green leafy tops by cutting a flat slice across the stem end so the strawberries can stand upright on a plate. Then, cut off the top third of each strawberry to create the hat piece and set these small triangles aside.
- In a small mixing bowl, beat the softened cream cheese, powdered sugar, and alcohol-free vanilla extract until the mixture is smooth and fluffy. You can use a hand mixer for the best results or simply whisk it vigorously by hand until no lumps remain. Transfer this mixture into a piping bag fitted with a medium round tip or a plastic storage bag with the corner snipped off.
- Pipe a generous mound of the cream cheese mixture onto the flat top of the large strawberry bases. This will serve as Santa’s face and the base of his hat. Be careful not to pipe too much or the hat might slide off, but ensure there is enough white showing to create a clear face area.
- Gently place the reserved strawberry tops back onto the cream cheese mounds to form the hats. Pipe a tiny dot of the cream mixture onto the very tip of each hat to create a pom-pom. You can also pipe two small dots on the front of the strawberry base to look like buttons on Santa’s coat.
- Carefully press two mini chocolate chips into the cream cheese face to create the eyes. If you find this tricky, you can use a pair of clean tweezers to place them precisely. Once finished, place the treats on a serving platter and keep them chilled until you are ready to serve them to your guests.
- Cook Time: 20 minutes
- Diet: Vegetarian