
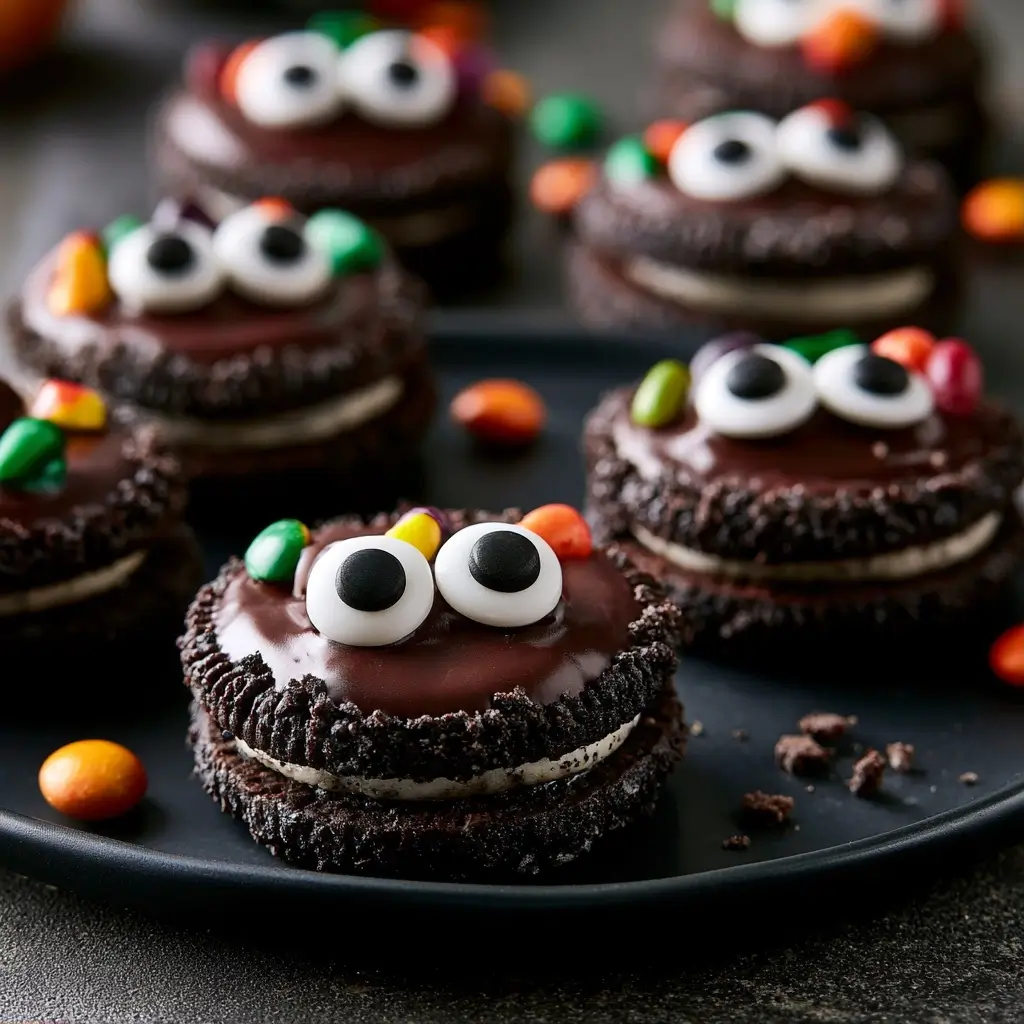
These spooky Oreo cookies with googly eyes are the kind of treat that makes everyone smile before the first bite. They are simple to put together, fun to decorate, and perfect for parties, school events, or a cozy movie night at home.

Spooky Oreo Cookies
Equipment
- 1 Baking Sheet lined with parchment paper
- 1 Microwave-safe Bowl
- 1 Fork or dipping tool
Ingredients
- 24 Oreo cookies classic sandwich cookies
- 12 oz white candy melts or white chocolate for coating
- 48 mini candy eyes for decorating
- orange and black sprinkles optional
- 1 tbsp food-safe gel or melted dark chocolate for details
- 1 tsp neutral oil optional, if needed to thin the coating
Instructions
- Line a baking sheet with parchment paper and gather all of your ingredients before you begin. This makes decorating much easier and helps the coating set without a mess.
- Melt the white candy melts or white chocolate in a microwave-safe bowl, stirring every short burst until smooth. If needed, add a small amount of neutral oil to loosen the texture.
- Use a fork or dipping tool to coat each Oreo in the melted mixture. Let any excess drip off, then place the cookie on the prepared baking sheet.
- While the coating is still soft, press candy eyes onto each cookie. You can place two eyes for a classic look or add more for a silly monster style.
- Use melted dark chocolate or gel to add smiles, frowns, or tiny spooky details. Sprinkle on a little orange or black decoration if you want extra Halloween charm.
- Allow the cookies to sit until the coating is firm. Once set, they are ready to serve, package, or display on a festive tray.
Notes
Why You’ll Love This Spooky Oreo Cookies
These cookies are playful, easy, and no-bake friendly, which makes them great for making with kids. You only need a few ingredients, and the decorating part lets you get creative with different eye sizes, candy colors, and little spooky faces.
Spooky Oreo Cookies Ingredients & Substitutions
- Oreo cookies, classic sandwich cookies work best
- White candy melts or white chocolate, for coating
- Mini candy eyes, for the googly look
- Orange and black sprinkles, optional for extra flair
- Food-safe gel or melted dark chocolate, for adding tiny details
If you cannot find candy eyes, use small dots of melted dark chocolate instead. You can also swap white candy melts for alcohol-free white chocolate or a smooth white coating candy. For extra color, use any sprinkles you like, just keep them simple so the cookie design stays clear.
Step-by-Step Instructions to Make Spooky Oreo Cookies
Step 1: Prepare your station
Line a baking sheet with parchment paper and gather all of your ingredients before you begin. This makes decorating much easier and helps the coating set without a mess.
Step 2: Melt the coating
Melt the white candy melts or white chocolate in a microwave-safe bowl, stirring every short burst until smooth. If needed, add a small amount of neutral oil to loosen the texture.
Step 3: Dip the cookies
Use a fork or dipping tool to coat each Oreo in the melted mixture. Let any excess drip off, then place the cookie on the prepared baking sheet.
Step 4: Add the googly eyes
While the coating is still soft, press candy eyes onto each cookie. You can place two eyes for a classic look or add more for a silly monster style.
Step 5: Finish the decoration
Use melted dark chocolate or gel to add smiles, frowns, or tiny spooky details. Sprinkle on a little orange or black decoration if you want extra Halloween charm.
Step 6: Let them set
Allow the cookies to sit until the coating is firm. Once set, they are ready to serve, package, or display on a festive tray.
Tips for Success
Work in small batches so the coating stays smooth and the candy eyes stick before it sets. If the coating thickens too much, warm it gently and stir again until it is easy to dip. For the neatest finish, tap off excess coating before placing each cookie on the tray.
Variations of Spooky Oreo Cookies
Try using golden sandwich cookies for a lighter look, or add colored candy melts for different monster themes. You can also make a ghost version by drizzling the coating slightly for a draped effect, or keep things extra simple with just eyes and no other decoration.
Serving Suggestions: What to Pair with Spooky Oreo Cookies
These cookies are lovely with a cold glass of milk, hot chocolate, or a warm cup of tea. They also make a fun addition to dessert platters, snack tables, or lunchbox surprises for a festive treat.
Storage & Reheating Instructions
Store the cookies in an airtight container at room temperature for up to 5 days, or in the fridge if your kitchen is warm. Place parchment between layers to protect the decorations. These cookies do not need reheating, but if they have been chilled, let them sit for a few minutes before serving so the coating softens slightly.
Memories Made Around the Table
Some of my favorite recipes are the ones that invite a little laughter, and these cookies always do that. Watching the eyes peek out from the white coating never gets old, especially when everyone starts naming the silly faces they made.
FAQs
Can I make these cookies ahead of time?
Yes, you can make them a day or two in advance. Just store them in a single layer or with parchment between layers so the decorations stay neat.
What can I use instead of candy eyes?
You can pipe tiny dots of melted dark chocolate to make simple eyes. Another option is to use small round candies if you want a colorful look.
How do I keep the coating smooth?
Melt it slowly and stir often. If it becomes too thick, warm it briefly and mix in a tiny bit of neutral oil until it is silky again.
Can kids help make these?
Absolutely. Kids can help dip the cookies, place the eyes, and add sprinkles, while an adult handles the melting step.
Final Thoughts
Spooky Oreo cookies with googly eyes are a simple way to add a little fun to any celebration. They come together quickly, look adorable, and always bring a cheerful touch to the table.