
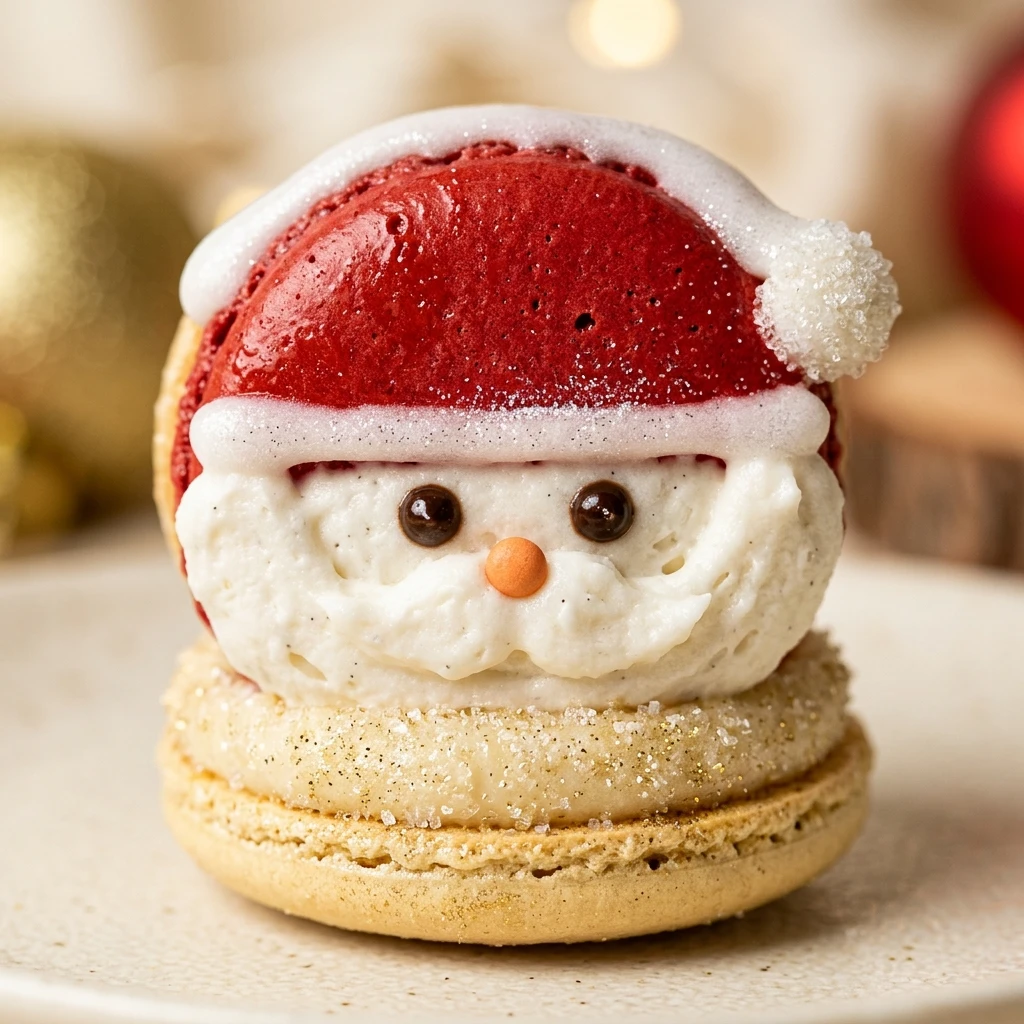
I truly believe that nothing captures the spirit of Christmas quite like a tray of handmade sweets shared with family and friends. My kitchen always smells like sweet almonds and cream when December rolls around, and these Santa Claus Macarons are always the star of the show. I remember the first time I successfully piped a little red hat, it felt like a tiny holiday miracle that I can now share with all of you to make your season a bit brighter.
Recipe Details
Recipe Information
- Prep Time: 60 minutes
- Cook Time: 15 minutes
- Total Time: 75 minutes
- Servings: 24 macarons
- Difficulty: Hard
Nutrition Information (Per Serving)
- Calories: 115
- Protein: 2g
- Carbs: 17g
- Fat: 5g
Why You’ll Love This Santa Claus Macarons
These Santa Claus Macarons are the ultimate holiday treat because they combine the sophisticated texture of a French pastry with the playful joy of Christmas. You will love how the crisp shells melt into a creamy white chocolate center, providing a perfect balance of sweetness. They are naturally eye catching, making them a fantastic conversation starter at holiday parties or a thoughtful homemade gift for neighbors. Plus, the process of decorating Santa’s face is a wonderful way to express your creativity during the festive season.
Santa Claus Macarons Ingredients & Substitutions
- 1 3/4 cups powdered sugar
- 1 cup finely ground almond flour
- 3 large egg whites, room temperature
- 1/4 cup granulated sugar
- 1/2 teaspoon red gel food coloring
- 1/2 teaspoon alcohol-free vanilla extract
- 1/2 cup white chocolate chips
- 1/4 cup heavy cream
- White royal icing or stiff white buttercream for the beard and hat trim
- Black edible ink marker for the eyes
For the best results, ensure your almond flour is extra fine, or pulse it in a food processor to remove any large bits. If you prefer a different flavor, you can substitute the white chocolate ganache with a peppermint buttercream or a dark chocolate filling. If you do not have gel food coloring, please avoid using liquid coloring as it can ruin the delicate consistency of the meringue. For those who need a dairy alternative, use a plant-based heavy cream and dairy-free white chocolate for the filling.
Step-by-Step Instructions to Make Santa Claus Macarons
Step 1: Sift the Dry Ingredients
Begin by sifting the powdered sugar and almond flour together into a large bowl at least twice. This ensures that your macaron shells are perfectly smooth without any bumps. Discard any large almond pieces that remain in the sifter to maintain a delicate texture.
Step 2: Whip the Meringue
In a clean glass or metal bowl, beat the egg whites on medium speed until they become frothy. Gradually add the granulated sugar one tablespoon at a time while increasing the speed to high. Continue beating until stiff, glossy peaks form that stand straight up when the whisk is lifted.
Step 3: The Macaronage Process
Gently fold the dry ingredients into the meringue using a spatula. This is the most critical part. Fold in a circular motion, cutting through the center, until the batter reaches a lava-like consistency. Divide the batter into two bowls, adding the red gel food coloring to one bowl and leaving the other white, then continue folding until the batter flows off the spatula in a slow ribbon.
Step 4: Pipe the Santa Shapes
Fill a piping bag with the red batter and another with the white batter. On a parchment-lined baking sheet, pipe small white circles for the face and then pipe a red triangle shape on the top half of each circle to create the hat. Tap the tray firmly on the counter several times to release any trapped air bubbles.
Step 5: Rest and Bake
Let the piped shells sit at room temperature for about 30 to 45 minutes until a dry skin forms on the surface. When you touch them lightly, they should not stick to your finger. Preheat your oven to 300 degrees Fahrenheit and bake for 15 minutes. Allow the shells to cool completely on the tray before attempting to remove them.
Step 6: Prepare the Filling and Decorate
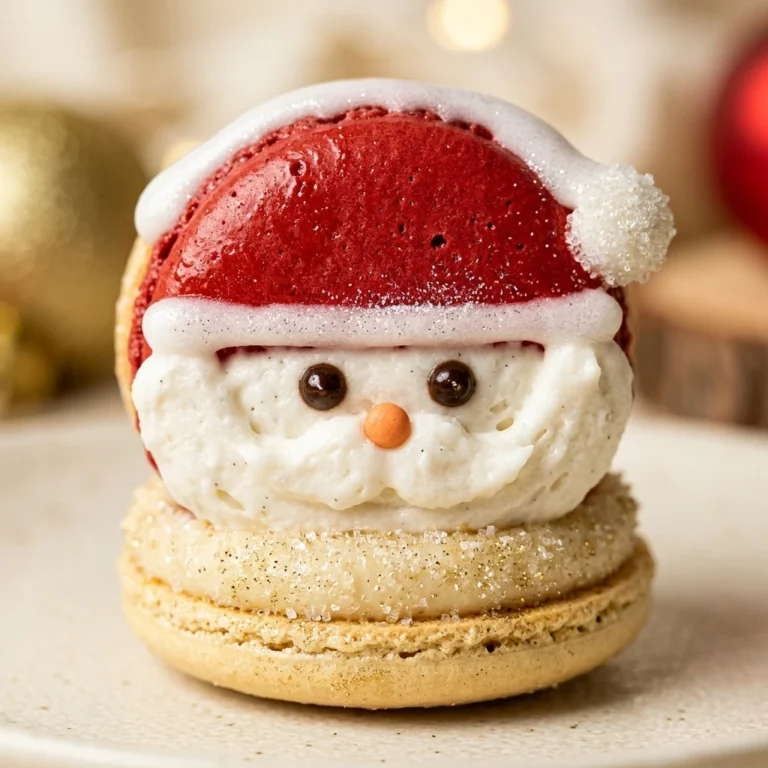
Heat the heavy cream until it just begins to simmer, then pour it over the white chocolate chips and alcohol-free vanilla. Let it sit for two minutes before stirring until smooth, then let it chill until thick. Pipe the filling onto a flat shell and sandwich it with another. Use white icing to pipe a fluffy beard and a pom-pom on the hat, and use the edible marker to draw two small eyes.
Tips for Success
Success with macarons often comes down to the environment, so try to avoid baking on very humid or rainy days. Ensure your mixing bowls are completely grease-free, as even a tiny drop of oil can prevent the egg whites from whipping properly. When piping the Santa shapes, use a template under your parchment paper to keep the sizes consistent so they pair up easily. Finally, be patient during the resting phase, as this is what creates the iconic macaron feet at the bottom of the shells.
Variations of Santa Claus Macarons
While the classic almond and white chocolate version is a holiday staple, you can easily customize these treats. Try adding a pinch of cinnamon or nutmeg to the dry ingredients for a warm, spiced shell. You could also fill them with a tart raspberry jam to mimic the bright red color of Santa’s suit. For a more whimsical look, use pink food coloring for the face area to give Santa a rosy, cold-weather glow, or add a tiny red sprinkle for a nose.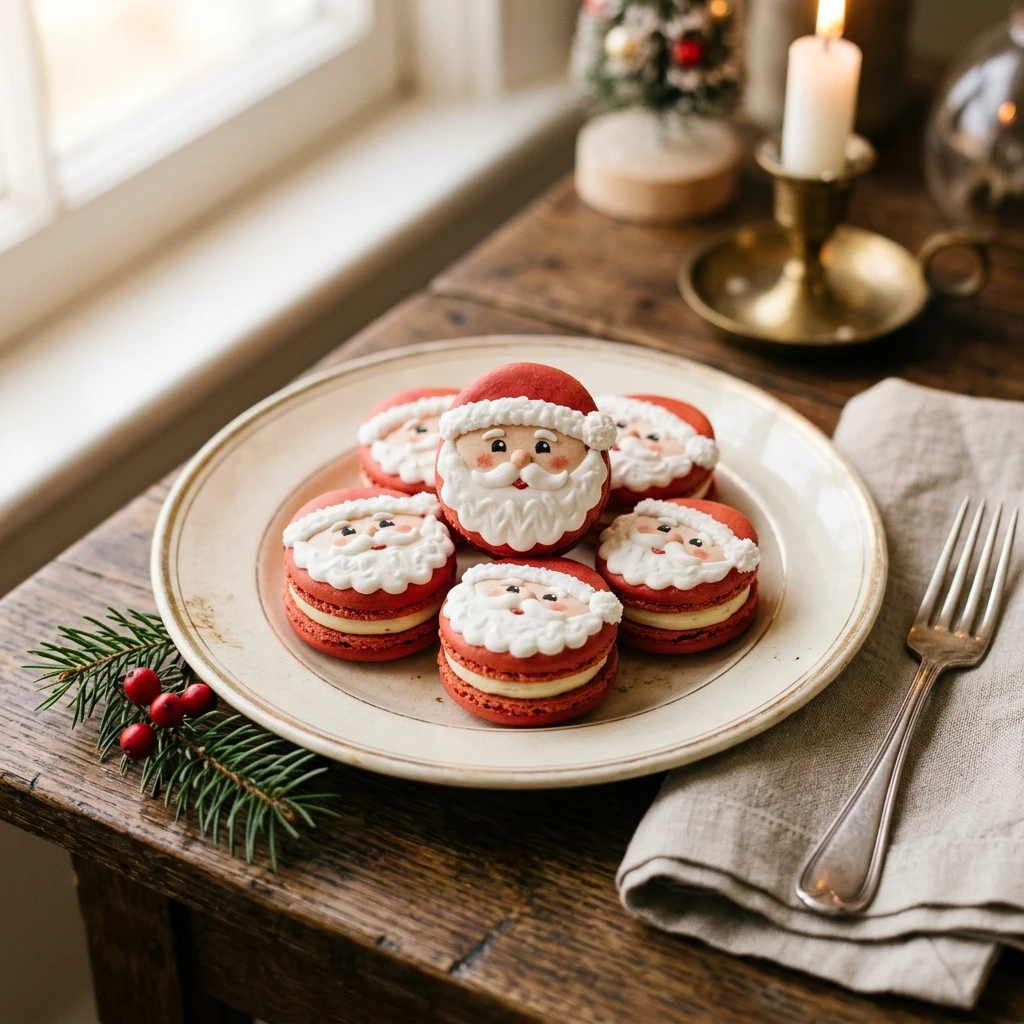
Serving Suggestions: What to Pair with Santa Claus Macarons
These festive macarons pair beautifully with a hot cup of cocoa or a warm spiced cider. If you are hosting a holiday brunch, serve them alongside fresh berries and a selection of herbal teas. They also make a stunning topping for a Christmas cake or a gingerbread trifle. For a sophisticated dessert plate, arrange them with white chocolate-dipped pretzels and sugared cranberries to create a beautiful winter wonderland theme.
Storage & Reheating Instructions
Macarons actually taste better after they have spent a night in the refrigerator, as this allows the flavors to mature and the shells to soften slightly. Store them in an airtight container for up to five days in the fridge. If you want to keep them longer, they can be frozen for up to one month. Simply thaw them in the refrigerator for a few hours before serving. Macarons should never be reheated, as the heat will melt the filling and ruin the delicate texture of the shells.
Memories Made Around the Table
Every year, I look forward to the afternoon I set aside for macaron making. It is a slow, methodical process that forces me to pause and enjoy the holiday season. I love seeing the look on my friends’ faces when I pull out a box of these little Santas. They always ask how I got the beards so fluffy, and I just laugh and tell them it is all in the Christmas spirit. These cookies have become a symbol of love and patience in our household, marking the official start of our family celebrations.
FAQs
Why did my macaron shells crack?
Cracked shells are usually caused by trapped air bubbles or not letting the shells rest long enough before baking. Make sure to tap your baking sheet firmly on the counter and ensure a dry skin has formed on the macarons so the steam escapes from the bottom to create feet rather than bursting through the top.
Can I use liquid food coloring?
It is best to avoid liquid food coloring because the extra moisture can change the chemistry of the egg whites. This often results in a batter that is too runny or shells that never properly dry. Gel or powder food colorings are much more concentrated and provide vibrant color without altering the texture.
Do I really need to sift the almond flour?
Yes, sifting is essential for a professional look. Almond flour can naturally clump or contain larger bits of almond skin. Sifting ensures that the batter is homogeneous and the final shell is silky smooth and shiny.
How do I know when the macarons are finished baking?
The macarons are done when the shells are set and do not wiggle on their feet when touched lightly. If the top moves independently of the bottom, they need another minute or two. They should easily peel off the parchment paper once they have cooled completely.
What if I do not have an edible ink pen?
If you do not have an edible pen, you can use a tiny toothpick dipped in a mixture of dark cocoa powder and a drop of water. Alternatively, a tiny bit of melted dark chocolate can be used to dot on the eyes with a very fine-tipped brush or a toothpick.
Final Thoughts
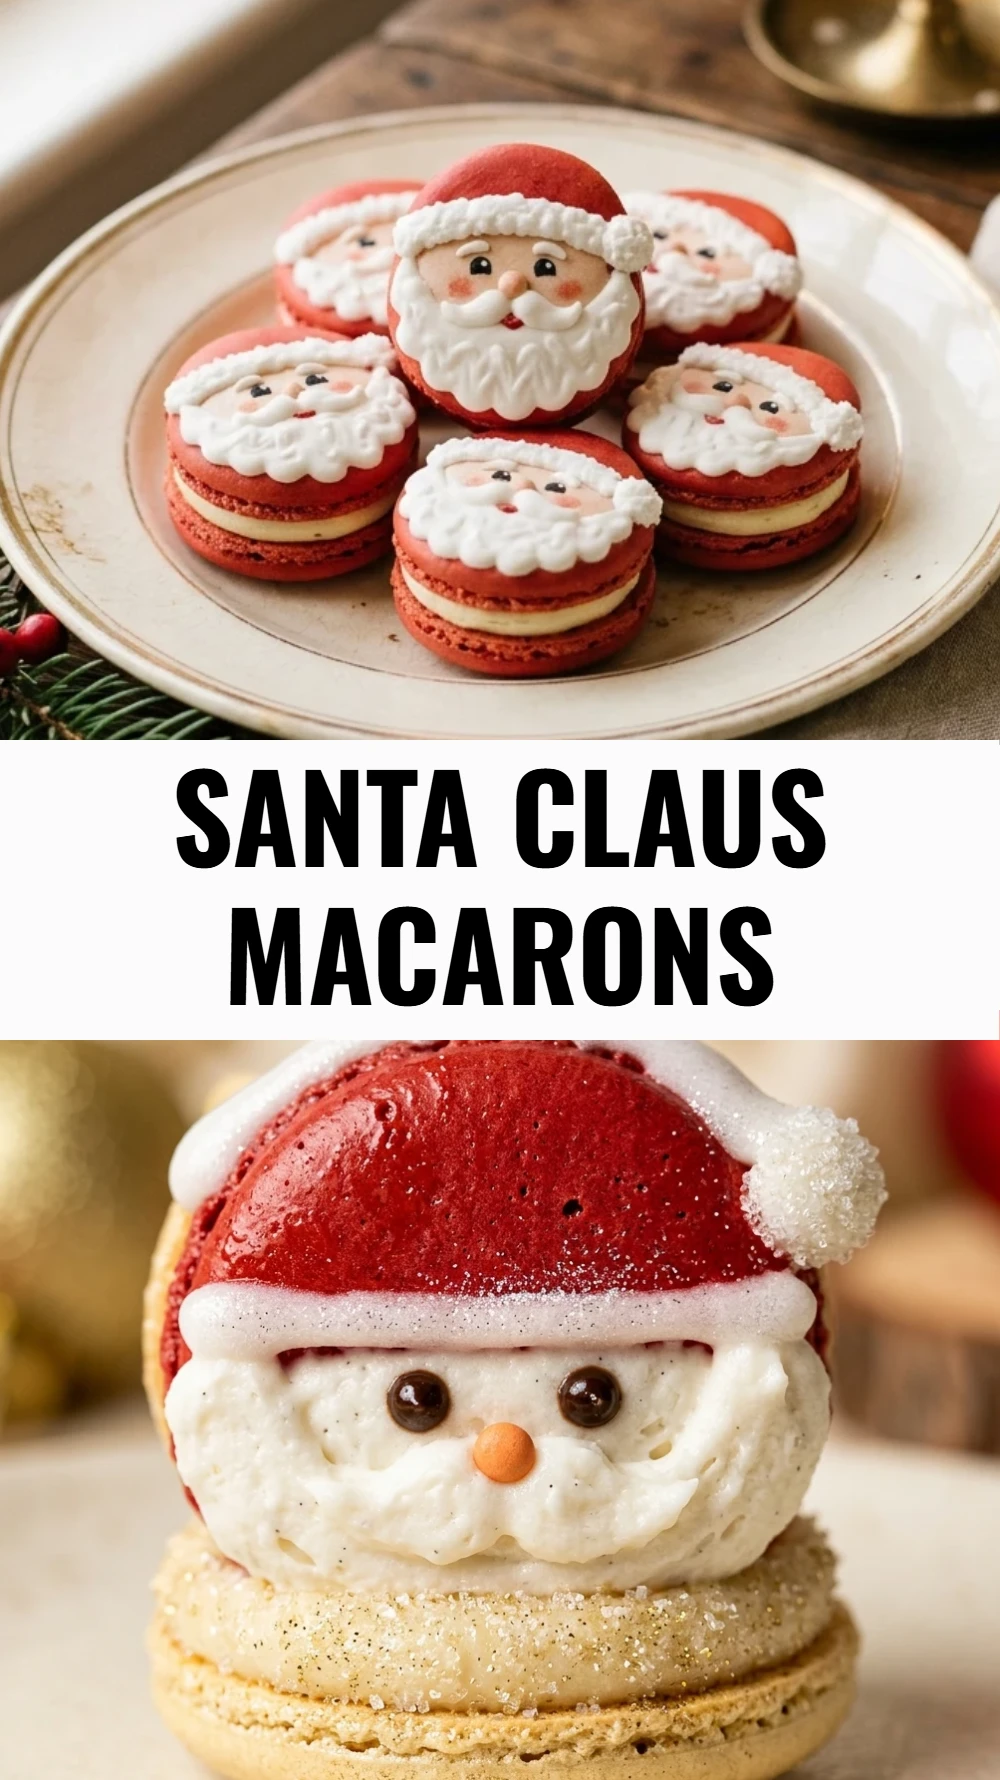
Making Santa Claus Macarons is a labor of love that rewards you with the most charming and delicious results imaginable. While they require a bit of practice and patience, the joy they bring to your holiday table is worth every step. I hope this recipe inspires you to spend a cozy afternoon in the kitchen creating your own festive memories. Happy holiday baking, and may your kitchen be filled with the sweet scent of Christmas cheer!
Santa Claus Macarons
- Total Time: 1 hour 15 minutes
Ingredients
- 1 3/4 cups powdered sugar
- 1 cup finely ground almond flour
- 3 large egg whites, room temperature
- 1/4 cup granulated sugar
- 1/2 teaspoon red gel food coloring
- 1/2 teaspoon alcohol-free vanilla extract
- 1/2 cup white chocolate chips
- 1/4 cup heavy cream
- White royal icing or stiff white buttercream for the beard and hat trim
- Black edible ink marker for the eyes
Instructions
- Begin by sifting the powdered sugar and almond flour together into a large bowl at least twice. This ensures that your macaron shells are perfectly smooth without any bumps. Discard any large almond pieces that remain in the sifter to maintain a delicate texture.
- In a clean glass or metal bowl, beat the egg whites on medium speed until they become frothy. Gradually add the granulated sugar one tablespoon at a time while increasing the speed to high. Continue beating until stiff, glossy peaks form that stand straight up when the whisk is lifted.
- Gently fold the dry ingredients into the meringue using a spatula. This is the most critical part. Fold in a circular motion, cutting through the center, until the batter reaches a lava-like consistency. Divide the batter into two bowls, adding the red gel food coloring to one bowl and leaving the other white, then continue folding until the batter flows off the spatula in a slow ribbon.
- Fill a piping bag with the red batter and another with the white batter. On a parchment-lined baking sheet, pipe small white circles for the face and then pipe a red triangle shape on the top half of each circle to create the hat. Tap the tray firmly on the counter several times to release any trapped air bubbles.
- Let the piped shells sit at room temperature for about 30 to 45 minutes until a dry skin forms on the surface. When you touch them lightly, they should not stick to your finger. Preheat your oven to 300 degrees Fahrenheit and bake for 15 minutes. Allow the shells to cool completely on the tray before attempting to remove them.
- Heat the heavy cream until it just begins to simmer, then pour it over the white chocolate chips and alcohol-free vanilla. Let it sit for two minutes before stirring until smooth, then let it chill until thick. Pipe the filling onto a flat shell and sandwich it with another. Use white icing to pipe a fluffy beard and a pom-pom on the hat, and use the edible marker to draw two small eyes.
- Cook Time: 75 minutes
- Diet: Vegetarian, Gluten-Free