
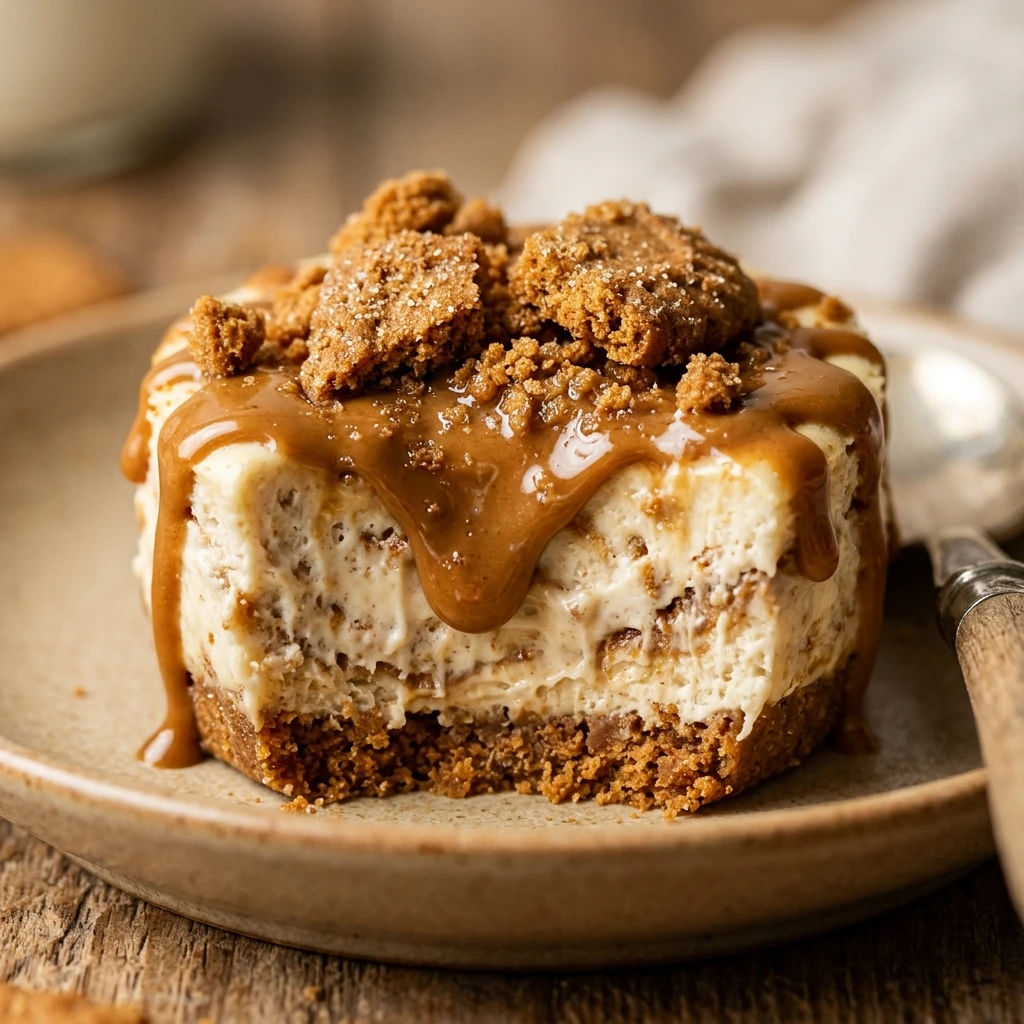
I always find that the Christmas season gets so incredibly busy, so I rely on simple treats that look like I spent hours in the kitchen. These No-Bake Mini Biscoff Cheesecakes have become my favorite holiday shortcut because they combine that warm, spiced cookie flavor with a silky, indulgent texture. I love how these individual portions make serving guests so easy during a festive party, and they look absolutely beautiful on a holiday dessert platter.
Recipe Details
Recipe Information
- Prep Time: 30 minutes
- Cook Time: 0 minutes
- Total Time: 4 hours 30 minutes
- Servings: 12 servings
- Difficulty: Easy
Nutrition Information (Per Serving)
- Calories: 345
- Protein: 4g
- Carbs: 32g
- Fat: 23g
Why You’ll Love This No-Bake Mini Biscoff Cheesecakes
These little treats are the ultimate Christmas hack for any host. Since they require zero oven time, you can keep your oven free for the turkey or roasted vegetables while these set quietly in the fridge. The combination of the crunchy, caramelized biscuit base and the smooth, cookie-infused cream cheese filling is always a crowd-pleaser. They are perfectly portioned, which means no messy slicing at the dinner table, and their deep amber color fits right in with festive gold and red decor.
No-Bake Mini Biscoff Cheesecakes Ingredients & Substitutions
- 200 grams Biscoff biscuits (crushed into fine crumbs)
- 60 grams unsalted butter (melted)
- 400 grams cream cheese (softened to room temperature)
- 250 grams Biscoff spread (plus extra for drizzling)
- 60 grams powdered sugar (sifted)
- 250 milliliters heavy cream (cold)
- 1 teaspoon alcohol-free vanilla
- Optional: 1/2 teaspoon agar-agar (dissolved in a tablespoon of hot water if a firmer set is desired)
If you cannot find Biscoff biscuits, any spiced ginger snap or graham cracker will work as a delicious alternative for the crust. You can replace the Biscoff spread with any creamy cookie butter available at your local grocer. For the heavy cream, a high-fat coconut cream can be used if you prefer a different flavor profile, and if you find the mixture too sweet, feel free to omit the powdered sugar entirely as the spread provides significant sweetness.
Step-by-Step Instructions to Make No-Bake Mini Biscoff Cheesecakes
Step 1: Prepare the Biscuit Base
Line a 12-cup muffin tin with paper liners. In a medium bowl, combine the crushed Biscoff biscuit crumbs with the melted butter. Stir until the mixture resembles wet sand. Divide the mixture evenly among the 12 liners and press down firmly with the back of a spoon or a small glass to create a flat, even base. Place the tin in the refrigerator to chill while you prepare the filling.
Step 2: Beat the Cream Cheese and Spread
In a large mixing bowl, beat the softened cream cheese, Biscoff spread, and powdered sugar together using an electric hand mixer. Continue mixing on medium speed until the texture is completely smooth and no lumps remain. Stir in the alcohol-free vanilla until well incorporated.
Step 3: Whip the Heavy Cream
In a separate chilled bowl, whip the cold heavy cream until stiff peaks form. Be careful not to overbeat it, as you want a light and airy texture. If you are using agar-agar for extra stability, gently fold the dissolved mixture into the cream now.
Step 4: Fold and Assemble
Gently fold the whipped cream into the Biscoff cream cheese mixture using a spatula. Use a slow, circular motion to keep the air in the filling. Once combined, spoon the mixture over the chilled biscuit bases. Smooth the tops with a small spatula or the back of a spoon.
Step 5: Chill and Set
Place the muffin tin back into the refrigerator. Allow the cheesecakes to set for at least 4 hours, though leaving them overnight is even better for the best texture. This patience is key to ensuring they hold their shape when removed from the liners.
Step 6: Decorate and Serve
Once set, carefully remove the cheesecakes from the tin and peel off the paper liners. Melt a tablespoon of Biscoff spread in the microwave for 10 seconds and drizzle it over the tops. Add a small piece of Biscoff biscuit or a sprinkle of crumbs for a final festive touch.
Tips for Success
Always ensure your cream cheese is at true room temperature before mixing to avoid a grainy texture. On the other hand, your heavy cream must be very cold to whip up properly. When pressing the crumbs into the liners, make sure to pack them tightly, otherwise the base might crumble when you peel away the paper. For a very clean look, use a piping bag to fill the liners instead of a spoon.
Variations of No-Bake Mini Biscoff Cheesecakes
For a festive Christmas twist, you can add a pinch of ground cinnamon or ginger to the cheesecake batter to enhance the warm spice notes. If you want a bit of texture, fold in some crushed biscuit pieces directly into the cream cheese filling. For a more decadent version, place a small dollop of melted white chocolate in the center of the biscuit base before adding the cheesecake layer. You can also top these with a few pomegranate seeds for a pop of holiday red color.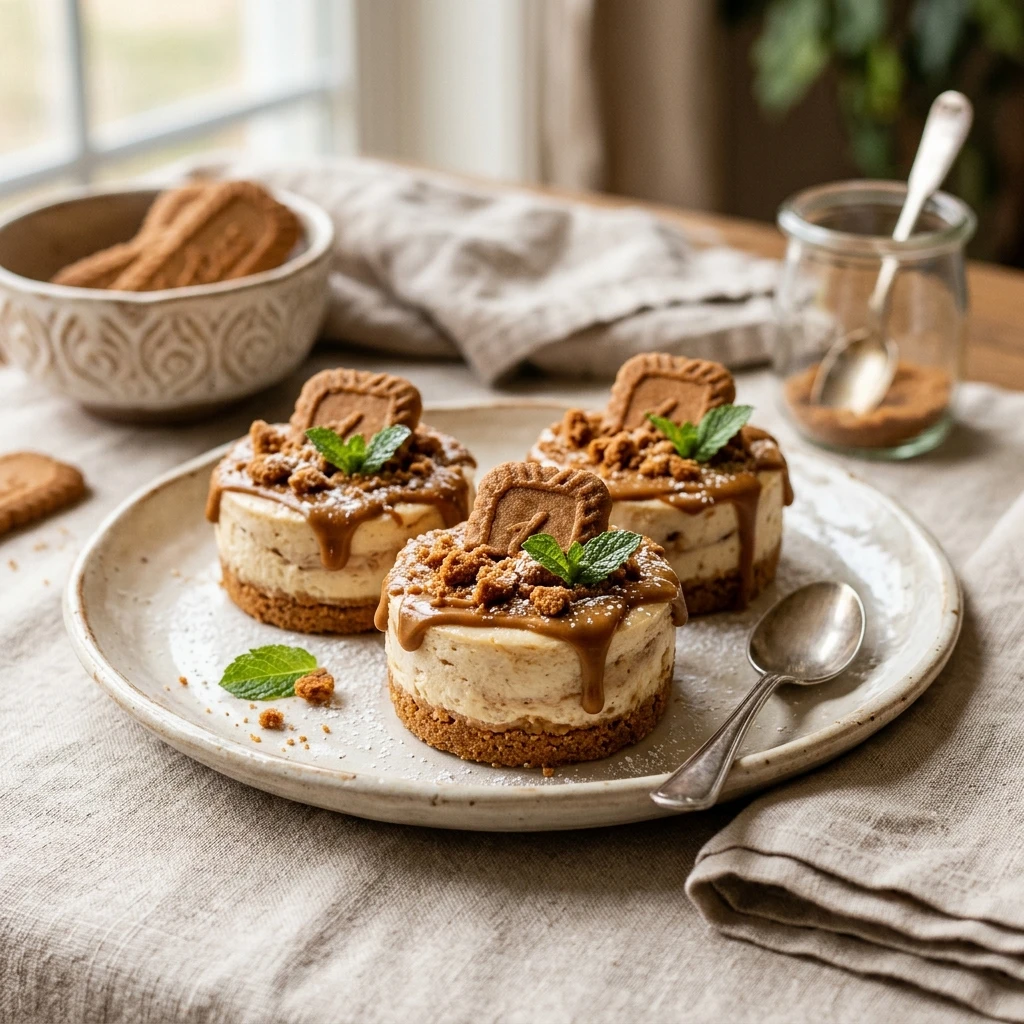
Serving Suggestions: What to Pair with No-Bake Mini Biscoff Cheesecakes
These cheesecakes pair beautifully with a hot cup of spiced apple cider or a steaming mug of cocoa. If you are serving them as part of a Christmas brunch, they go wonderfully alongside a platter of fresh berries. For a formal dinner, serve them with a dollop of whipped cream and a sprinkle of gold edible glitter to make them look extra special for the holiday season.
Storage & Reheating Instructions
These cheesecakes should be stored in an airtight container in the refrigerator for up to 4 days. Because they are a no-bake dessert containing dairy, they should not be left at room temperature for more than two hours. You can also freeze these for up to one month. To freeze, place them on a tray until solid, then transfer to a freezer bag. Thaw them in the refrigerator for a few hours before serving. No reheating is required as these are best enjoyed cold.
Memories Made Around the Table
I remember the first time I brought these to our family Christmas dinner. My aunt actually thought I had bought them from a high-end bakery because they looked so polished with the drizzled cookie butter on top. Now, it has become a little tradition for me to whip up a batch while the main course is in the oven. It is a quiet, peaceful moment of preparation before the joyful chaos of the gift exchange begins.
FAQs
How long do these need to chill before serving?
They need a minimum of 4 hours to set properly in the refrigerator. However, for the absolute best results, I recommend letting them chill overnight. This ensures the base is firm and the filling is perfectly creamy yet stable.
Can I make these cheesecakes ahead of time?
Yes, these are the perfect make-ahead Christmas dessert. You can prepare them up to two days in advance and keep them in the refrigerator. Just wait to add the final drizzle and biscuit garnish until right before you serve them to keep the garnish crunchy.
What if I don’t have a muffin tin?
If you do not have a muffin tin, you can make these in small glass jars or ramekins. You can even make one large cheesecake in a springform pan, though you may need to increase the chilling time to at least 6 to 8 hours to ensure a clean slice.
Do I need to use agar-agar for the filling?
No, agar-agar is optional. The high fat content in the cream cheese and the whipped heavy cream should be enough to hold the shape of these mini cheesecakes. Agar-agar is only necessary if you are serving them in a very warm room or want an extra-firm, professional finish.
How do I remove the paper liners without breaking the cheesecake?
The best way to remove the liners is to ensure the cheesecakes are completely cold. Gently pull the paper away from the sides in a slow motion. If the filling feels too soft, pop them in the freezer for 15 minutes before peeling the paper off.
Final Thoughts
These No-Bake Mini Biscoff Cheesecakes are a testament to the fact that holiday desserts do not have to be stressful to be delicious. They bring all the warm, comforting flavors of Christmas biscuits into a sophisticated, creamy treat that everyone will love. I hope these become a staple in your holiday rotation and bring a little extra sweetness to your festive celebrations this year.
No-Bake Mini Biscoff Cheesecakes
- Total Time: 4 hours 30 minutes
Ingredients
- 200 grams Biscoff biscuits (crushed into fine crumbs)
- 60 grams unsalted butter (melted)
- 400 grams cream cheese (softened to room temperature)
- 250 grams Biscoff spread (plus extra for drizzling)
- 60 grams powdered sugar (sifted)
- 250 milliliters heavy cream (cold)
- 1 teaspoon alcohol-free vanilla
- Optional: 1/2 teaspoon agar-agar (dissolved in a tablespoon of hot water if a firmer set is desired)
Instructions
- Step 1: Prepare the Biscuit Base
Line a 12-cup muffin tin with paper liners. In a medium bowl, combine the crushed Biscoff biscuit crumbs with the melted butter. Stir until the mixture resembles wet sand. Divide the mixture evenly among the 12 liners and press down firmly with the back of a spoon or a small glass to create a flat, even base. Place the tin in the refrigerator to chill while you prepare the filling.
- Step 2: Beat the Cream Cheese and Spread
In a large mixing bowl, beat the softened cream cheese, Biscoff spread, and powdered sugar together using an electric hand mixer. Continue mixing on medium speed until the texture is completely smooth and no lumps remain. Stir in the alcohol-free vanilla until well incorporated.
- Step 3: Whip the Heavy Cream
In a separate chilled bowl, whip the cold heavy cream until stiff peaks form. Be careful not to overbeat it, as you want a light and airy texture. If you are using agar-agar for extra stability, gently fold the dissolved mixture into the cream now.
- Step 4: Fold and Assemble
Gently fold the whipped cream into the Biscoff cream cheese mixture using a spatula. Use a slow, circular motion to keep the air in the filling. Once combined, spoon the mixture over the chilled biscuit bases. Smooth the tops with a small spatula or the back of a spoon.
- Step 5: Chill and Set
Place the muffin tin back into the refrigerator. Allow the cheesecakes to set for at least 4 hours, though leaving them overnight is even better for the best texture. This patience is key to ensuring they hold their shape when removed from the liners.
- Step 6: Decorate and Serve
Once set, carefully remove the cheesecakes from the tin and peel off the paper liners. Melt a tablespoon of Biscoff spread in the microwave for 10 seconds and drizzle it over the tops. Add a small piece of Biscoff biscuit or a sprinkle of crumbs for a final festive touch.
- Cook Time: 4 hours 30 minutes
- Diet: Vegetarian