
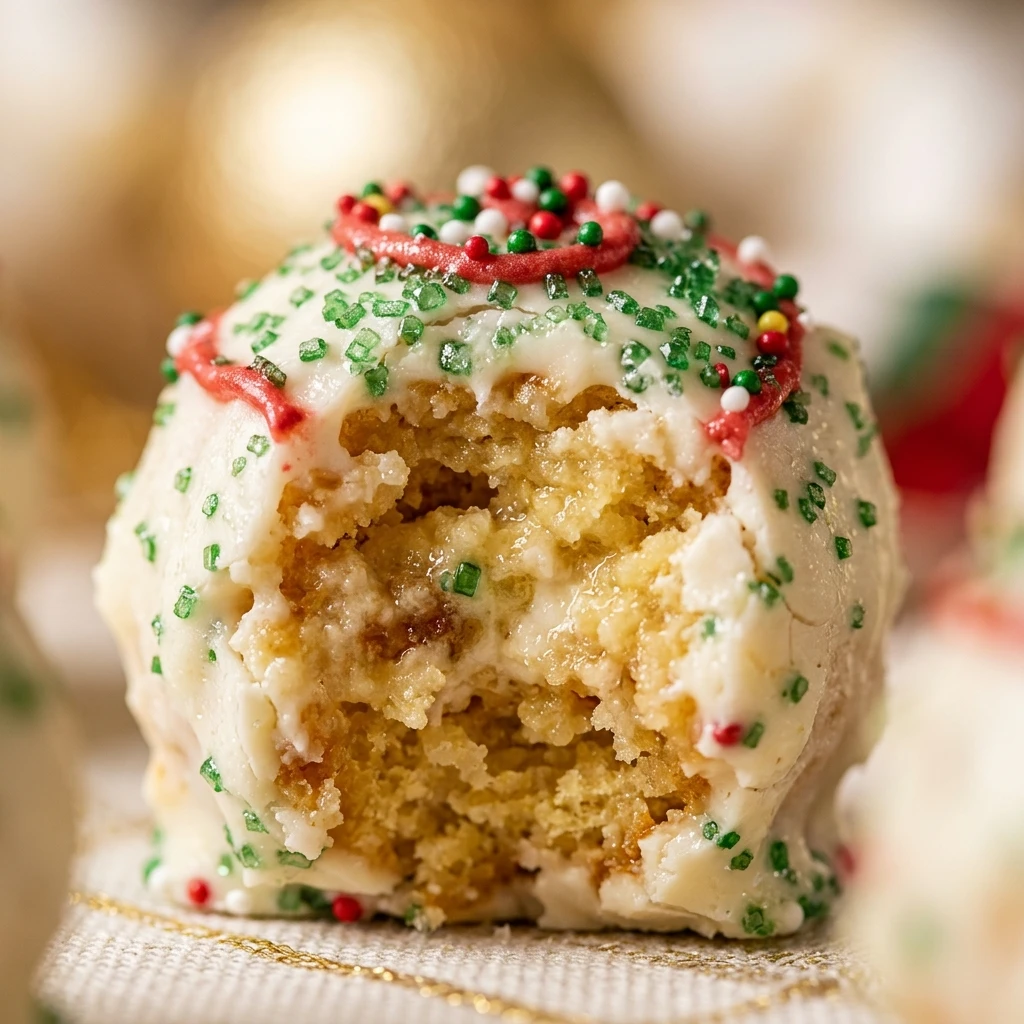
I always get so excited when I see those iconic snack cakes hit the grocery store shelves because it truly marks the start of the holiday season. Making these Christmas truffles has become my favorite way to transform a childhood staple into a decadent treat that looks beautiful on any dessert platter. I love how the creamy center captures all the nostalgic flavor of the snack cakes while the crisp chocolate shell adds the perfect crunch for your holiday guests.
Recipe Details
Recipe Information
- Prep Time: 30 minutes
- Cook Time: 0 minutes
- Total Time: 1 hour 30 minutes
- Servings: 24 truffles
- Difficulty: Easy
Nutrition Information (Per Serving)
- Calories: 175 kcal
- Protein: 2g
- Carbs: 22g
- Fat: 10g
Why You’ll Love This Dessert
This Dessert is a total game changer for holiday hosting because it requires absolutely no baking and uses only a handful of ingredients. The combination of the festive snack cakes and tangy cream cheese creates a filling that tastes like a gourmet cake pop but with a much more complex, nostalgic flavor profile. It is the perfect project for little helpers in the kitchen since the steps are simple, forgiving, and incredibly fun to decorate with bright holiday colors.
This Dessert Ingredients & Substitutions
- 10 Little Debbie Christmas Tree Cakes (standard vanilla variety)
- 4 ounces cream cheese, softened to room temperature
- 1 teaspoon alcohol-free vanilla extract
- 12 ounces white chocolate melting wafers or high-quality almond bark
- 2 teaspoons vegetable oil or coconut oil (optional, for smoother melting)
- Red and green sanding sugar, sprinkles, or festive nonpareils
If you cannot find the specific snack cakes, any cream-filled holiday snack cake will work perfectly as the base for this recipe. You can substitute the white chocolate coating for milk or dark chocolate if you prefer a less sweet finish, or use a dairy-free cream cheese alternative for a slightly different texture. For those who want a bit of a flavor twist, adding a tiny drop of peppermint extract to the cake mixture can give these truffles a refreshing winter mint profile.
Step-by-Step Instructions to Make This Dessert
Step 1: Crumble the Snack Cakes
Place the Christmas Tree cakes into a large mixing bowl. Using your clean hands or a sturdy fork, break the cakes apart until they are reduced to fine crumbs. Make sure to break down the outer frosting layers well so the texture of the truffle filling remains smooth and consistent throughout.
Step 2: Combine with Creamy Ingredients
Add the softened cream cheese and the alcohol-free vanilla extract to the bowl with the cake crumbs. Use a hand mixer on low speed or a stiff spatula to blend the ingredients together until a thick, cohesive dough forms. The mixture should be moist enough to hold its shape when pressed together but not overly sticky.
Step 3: Shape the Truffles
Line a large baking sheet with parchment paper or a silicone mat. Using a small cookie scoop or a tablespoon, portion out the mixture and roll it between your palms to form smooth balls about one inch in diameter. Place each ball onto the prepared baking sheet, leaving a little space between them.
Step 4: Chill for Stability
Place the baking sheet in the refrigerator for at least 45 to 60 minutes, or in the freezer for 20 minutes. This step is crucial because it firms up the dough, making the truffles much easier to dip in the warm chocolate without falling apart or losing their shape.
Step 5: Prepare the Chocolate Coating
In a microwave-safe bowl, melt the white chocolate wafers in 30-second intervals, stirring thoroughly between each session until the chocolate is completely smooth. If the chocolate seems too thick, stir in a teaspoon of vegetable oil or coconut oil to achieve a thinner, more pourable consistency that will coat the truffles evenly.
Step 6: Dip and Decorate
Remove the chilled truffles from the refrigerator. Using a fork or a dipping tool, submerge each ball into the melted chocolate, let the excess drip off, and return it to the parchment paper. Immediately top with the red and green sprinkles or sanding sugar before the chocolate sets, then allow them to rest until the shells are completely firm.
Tips for Success
For the best results, ensure your cream cheese is truly at room temperature before mixing, as cold cream cheese can leave small lumps in your truffle filling. When dipping the truffles, work in small batches and keep the remaining balls in the fridge so they stay cold and firm. If your melted chocolate starts to thicken as you work, simply pop it back in the microwave for ten seconds and give it a good stir to regain that silky texture.
Variations of This Dessert
You can easily customize these treats by using the chocolate version of the Christmas Tree cakes for a double-chocolate experience. Another fun variation is to drizzle thin lines of melted red and green chocolate over the white shells instead of using sprinkles, giving them a professional bakery look. For a bit of crunch, try mixing in a tablespoon of finely crushed candy canes or toasted pecans into the cake mixture before rolling them into balls.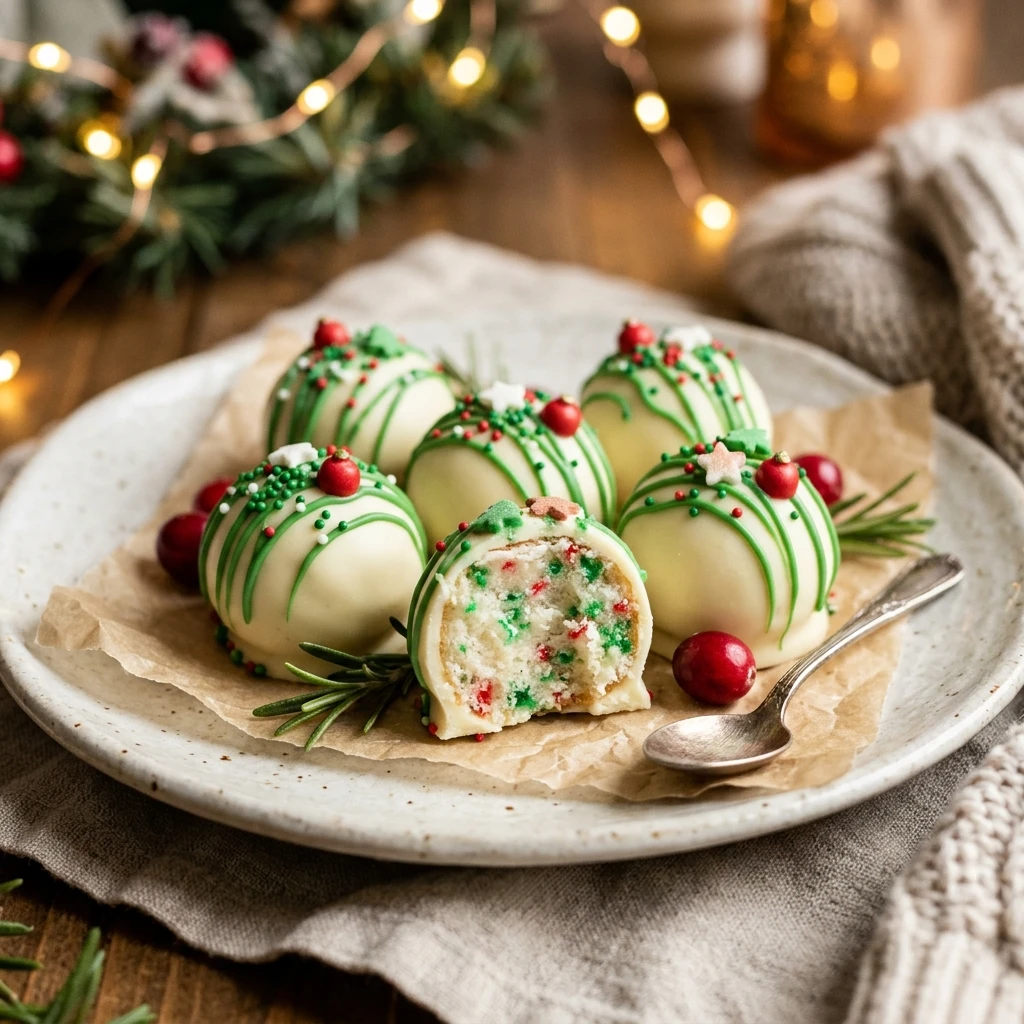
Serving Suggestions: What to Pair with This Dessert
These festive truffles look stunning when served on a silver platter alongside other holiday classics like gingerbread cookies or peppermint bark. They pair wonderfully with a warm mug of hot cocoa topped with marshmallows or a steaming cup of dark roast coffee to balance out the sweetness of the white chocolate. If you are hosting a holiday party, consider placing each truffle in a small metallic cupcake liner for an elegant and easy-to-grab presentation.
Storage & Reheating Instructions
Because these truffles contain cream cheese, they should be stored in an airtight container in the refrigerator, where they will stay fresh for up to one week. If you need to make them further in advance, you can freeze the finished truffles for up to two months, just be sure to thaw them in the fridge overnight before serving. These treats are meant to be served chilled or at room temperature, so there is no need for reheating.
Memories Made Around the Table
I remember the first time I brought a batch of these to our family Christmas Eve gathering and everyone was convinced I had spent hours in a professional kitchen. My grandmother, who usually sticks to her traditional fruitcake, couldn’t stop reaching for these little white gems and laughing when I told her they were made from snack cakes. Now, it has become a yearly ritual for us to sit around the kitchen island, sticky-handed and smiling, as we roll the dough and argue over who gets to add the most sprinkles.
FAQs
Do these truffles need to be kept in the refrigerator?
Yes, because the recipe uses real cream cheese, it is important to store the truffles in the refrigerator when you are not serving them. They can sit out at room temperature for a few hours during a party, but for long-term freshness and food safety, the fridge is the best place for them.
Can I use white chocolate chips instead of melting wafers?
You can use white chocolate chips, but they tend to be thicker and more difficult to work with than melting wafers. If you choose chips, I highly recommend adding a small amount of coconut oil or shortening during the melting process to help the chocolate flow more smoothly and create a thinner shell.
Why did my truffles fall apart when I dipped them?
This usually happens if the truffle centers are not cold enough or if the melted chocolate is too hot. Make sure you give the rolled balls plenty of time in the fridge to firm up, and let your melted chocolate sit for a minute or two to cool slightly before you begin the dipping process.
How can I get the sprinkles to stick perfectly?
The key is to add the sprinkles immediately after dipping each individual truffle. The chocolate shell sets quite quickly because the centers are cold, so if you wait until you have dipped the whole batch, the first ones will already be dry and the decorations will just slide right off.
Can I make these ahead of time for a holiday party?
Absolutely, these are a fantastic make-ahead dessert option. You can prepare the truffles up to three days in advance and keep them in the refrigerator, which actually allows the flavors to meld together even better before your guests arrive.
Final Thoughts
These Christmas truffles are proof that you do not need complicated techniques or expensive ingredients to create something truly magical for the holidays. They capture the spirit of the season with their bright colors and nostalgic taste, making them a hit with both children and adults alike. I hope this recipe brings a little extra joy and sweetness to your home this December as you share these treats with the people you love most.

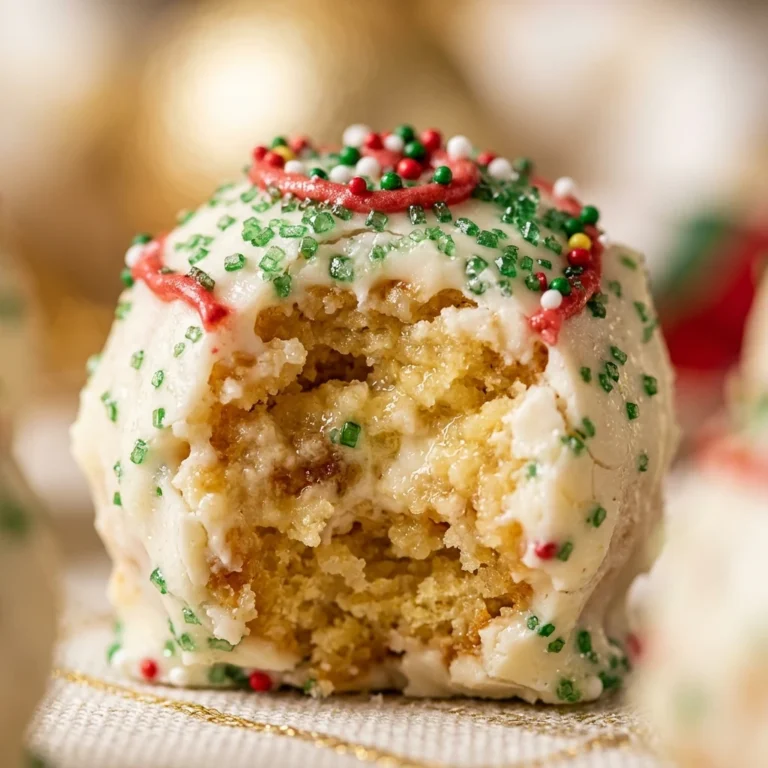
Little Debbie Christmas Tree Cake Truffles
- Total Time: 1 hour 30 minutes
Ingredients
- 10 Little Debbie Christmas Tree Cakes (standard vanilla variety)
- 4 ounces cream cheese, softened to room temperature
- 1 teaspoon alcohol-free vanilla extract
- 12 ounces white chocolate melting wafers or high-quality almond bark
- 2 teaspoons vegetable oil or coconut oil (optional, for smoother melting)
- Red and green sanding sugar, sprinkles, or festive nonpareils
Instructions
- Step 1: Crumble the Snack Cakes: Place the Christmas Tree cakes into a large mixing bowl. Using your clean hands or a sturdy fork, break the cakes apart until they are reduced to fine crumbs. Make sure to break down the outer frosting layers well so the texture of the truffle filling remains smooth and consistent throughout.
- Step 2: Combine with Creamy Ingredients: Add the softened cream cheese and the alcohol-free vanilla extract to the bowl with the cake crumbs. Use a hand mixer on low speed or a stiff spatula to blend the ingredients together until a thick, cohesive dough forms. The mixture should be moist enough to hold its shape when pressed together but not overly sticky.
- Step 3: Shape the Truffles: Line a large baking sheet with parchment paper or a silicone mat. Using a small cookie scoop or a tablespoon, portion out the mixture and roll it between your palms to form smooth balls about one inch in diameter. Place each ball onto the prepared baking sheet, leaving a little space between them.
- Step 4: Chill for Stability: Place the baking sheet in the refrigerator for at least 45 to 60 minutes, or in the freezer for 20 minutes. This step is crucial because it firms up the dough, making the truffles much easier to dip in the warm chocolate without falling apart or losing their shape.
- Step 5: Prepare the Chocolate Coating: In a microwave-safe bowl, melt the white chocolate wafers in 30-second intervals, stirring thoroughly between each session until the chocolate is completely smooth. If the chocolate seems too thick, stir in a teaspoon of vegetable oil or coconut oil to achieve a thinner, more pourable consistency that will coat the truffles evenly.
- Step 6: Dip and Decorate: Remove the chilled truffles from the refrigerator. Using a fork or a dipping tool, submerge each ball into the melted chocolate, let the excess drip off, and return it to the parchment paper. Immediately top with the red and green sprinkles or sanding sugar before the chocolate sets, then allow them to rest until the shells are completely firm.
- Cook Time: 1 hour 30 minutes
- Diet: Vegetarian