
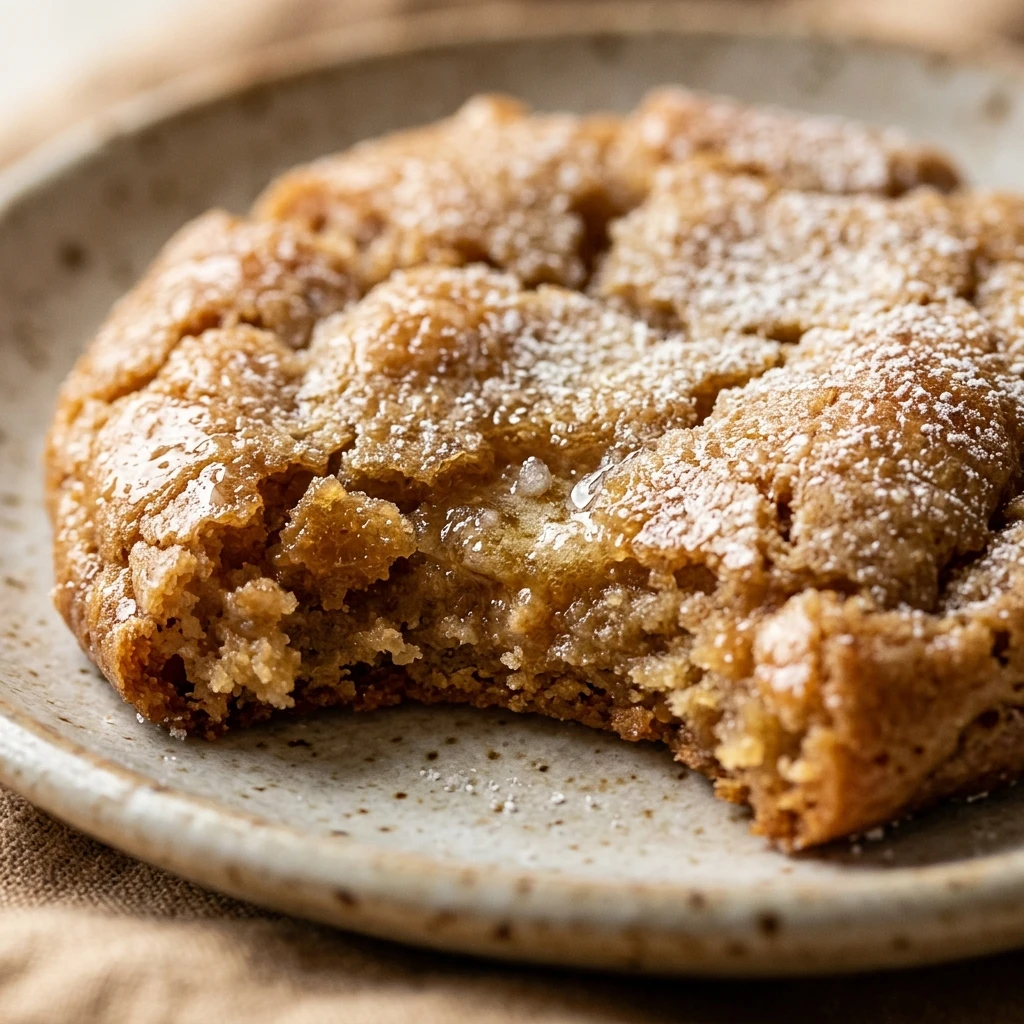
Every year when the air gets crisp and the Christmas lights start twinkling, I find myself reaching for my favorite mixing bowl. These Gluten-Free Gooey Butter Cookies have become a staple in my holiday baking tradition because they are incredibly soft and melt in your mouth. I love how the powdered sugar coating looks like a fresh dusting of snow, making them the perfect addition to any festive dessert platter.
Recipe Details
Recipe Information
- Prep Time: 15 minutes
- Cook Time: 10 minutes
- Total Time: 25 minutes
- Servings: 24 cookies
- Difficulty: Easy
Nutrition Information (Per Serving)
- Calories: 145 kcal
- Protein: 1.5 g
- Carbs: 21 g
- Fat: 6.5 g
Why You’ll Love This Gluten-Free Gooey Butter Cookies
These cookies are the ultimate crowd-pleaser during the Christmas season because they combine the tanginess of cream cheese with the rich sweetness of a classic butter cake. They have a unique texture that is slightly crisp on the outside while remaining incredibly soft and fudgy on the inside. Since they start with a cake mix base, they are incredibly easy to whip up for last minute guests or cookie exchanges. Plus, they look beautiful on a holiday table with their crackled, snowy appearance.
Gluten-Free Gooey Butter Cookies Ingredients & Substitutions
- 8 ounces cream cheese, softened
- 1/2 cup unsalted butter, softened
- 1 large egg, room temperature
- 1 teaspoon alcohol-free vanilla extract
- 1 package (approximately 15 ounces) gluten-free yellow cake mix
- 1/2 cup powdered sugar for rolling
If you prefer a different flavor profile, you can swap the yellow cake mix for a gluten-free chocolate or funfetti mix. For those who need a dairy alternative, a firm plant-based cream cheese and vegan butter sticks can be used, though the cookies may spread a bit more. If you do not have alcohol-free vanilla extract, you can use the seeds from half of a vanilla bean or a teaspoon of vanilla bean paste for an even richer flavor.
Step-by-Step Instructions to Make Gluten-Free Gooey Butter Cookies
Step 1: Preparation
Preheat your oven to 350 degrees Fahrenheit. Line two large baking sheets with parchment paper or silicone baking mats to prevent the cookies from sticking and to ensure an even bake.
Step 2: Cream the Base
In a large mixing bowl, beat the softened cream cheese and softened butter together using a hand mixer or stand mixer. Continue mixing on medium speed until the mixture is completely smooth and fluffy, which usually takes about two to three minutes.
Step 3: Add Wet Ingredients
Add the egg and the alcohol-free vanilla extract to the cream cheese mixture. Beat again until the egg is fully incorporated, scraping down the sides of the bowl with a spatula as needed to ensure everything is well combined.
Step 4: Incorporate the Cake Mix
Turn the mixer to low speed and gradually pour in the gluten-free yellow cake mix. Mix just until the flour disappears and a thick, sticky dough forms. Be careful not to overmix, as this can affect the final texture of the cookies.
Step 5: Chill the Dough
Because the dough is quite sticky, it is helpful to chill it in the refrigerator for at least 30 minutes. This makes the rolling process much cleaner and helps the cookies hold their shape better in the oven.
Step 6: Roll and Coat
Scoop about one tablespoon of dough at a time and roll it into a ball between your palms. Roll each ball generously in the bowl of powdered sugar until it is completely coated. Place the balls on the prepared baking sheets, leaving about two inches of space between each one.
Step 7: Bake and Cool
Bake for 10 to 12 minutes. The cookies should look set on the edges but still appear slightly soft and underdone in the center. Allow them to cool on the baking sheet for five minutes before moving them to a wire rack to cool completely. They will firm up as they cool down.
Tips for Success
To get the best results, always ensure your cream cheese and butter are at room temperature before you start. This prevents lumps in your dough. When coating the cookies in powdered sugar, do not be afraid to use a heavy layer, as some of the sugar will melt into the cookie as it bakes, creating that beautiful crackle effect. If your kitchen is very warm, keep the dough in the fridge between batches to keep it easy to handle.
Variations of Gluten-Free Gooey Butter Cookies
For a festive Christmas twist, you can add half a teaspoon of peppermint extract to the dough and top the finished cookies with crushed candy canes. Another popular variation is the Red Velvet version, made by using a gluten-free red velvet cake mix, which looks stunning for holiday parties. You can also press a single chocolate kiss or a pecan half into the center of each cookie immediately after they come out of the oven for a decorative touch.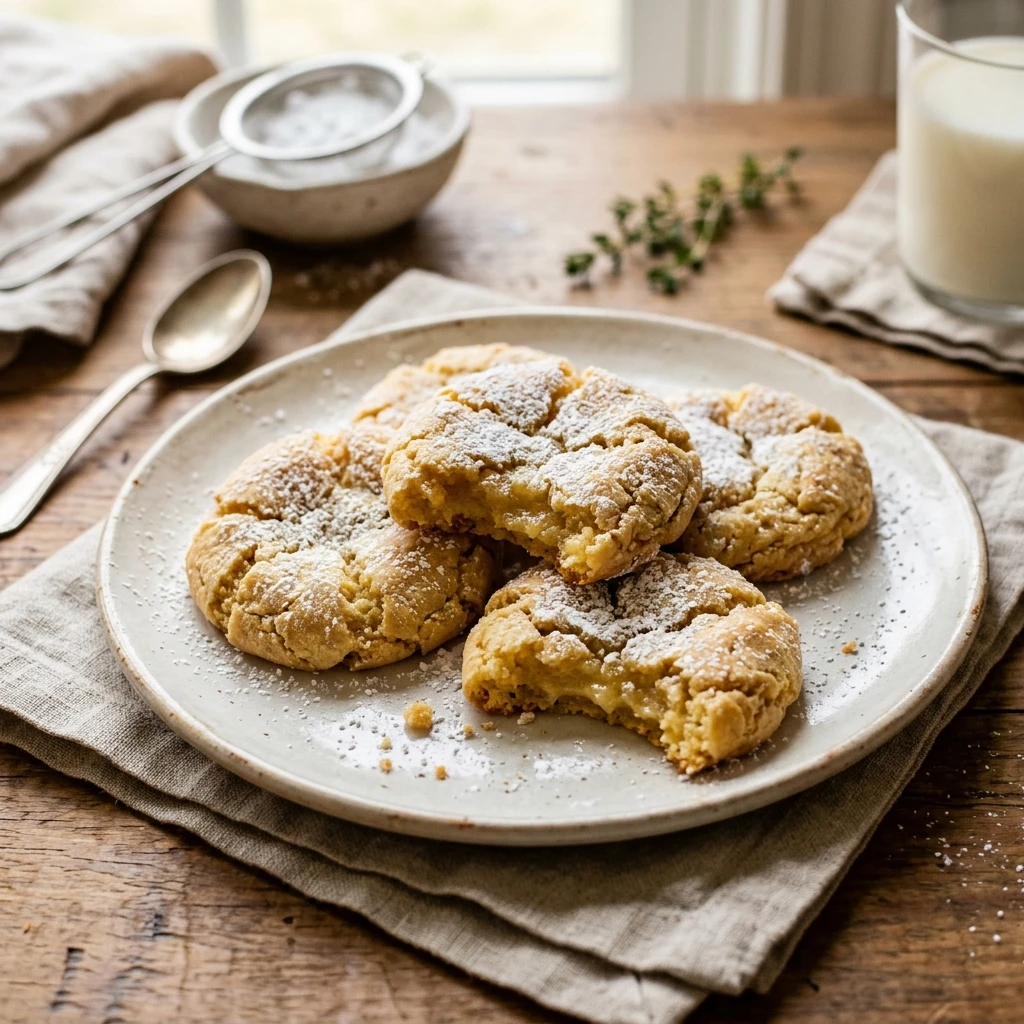
Serving Suggestions: What to Pair with Gluten-Free Gooey Butter Cookies
These cookies are delightful when served alongside a steaming mug of hot cocoa topped with marshmallows. They also pair wonderfully with a cold glass of milk or a spicy ginger tea. For a holiday dessert board, arrange them with dried cranberries, roasted almonds, and some fresh orange slices to balance the sweetness of the cookies.
Storage & Reheating Instructions
Store any leftover cookies in an airtight container at room temperature for up to three days. For longer storage, you can keep them in the refrigerator for up to one week. These cookies also freeze beautifully. Place them in a freezer-safe bag with parchment paper between layers and store for up to three months. When you are ready to eat them, simply let them thaw at room temperature for an hour. If you like them warm, a quick five seconds in the microwave will make them extra gooey again.
Memories Made Around the Table
I remember the first time I made these for our family Christmas Eve gathering. The kitchen was filled with the scent of sweet butter and vanilla, and my kids were so excited to help roll the dough into the “snow” sugar. We sat by the fireplace, tasting the first warm batch, and it quickly became the recipe everyone asked for every December. There is something so special about a simple cookie that brings everyone together during the holidays.
FAQs
Can I make the dough a day in advance?
Yes, you can prepare the dough and keep it covered in the refrigerator for up to 24 hours. This is actually a great way to save time on a busy baking day. Just roll them in the powdered sugar right before you are ready to bake.
Why did my cookies spread too much?
If your cookies are too flat, it usually means the butter or cream cheese was too melted or the dough was not chilled long enough. Make sure the dough feels firm and cold when you roll it into balls to help maintain that puffy, gooey shape.
Can I use a homemade gluten-free flour blend instead of cake mix?
While you can, the measurements for sugar and leavening agents would need to be adjusted. Using a pre-packaged cake mix is recommended for this specific recipe because it provides the exact texture and sweetness level required for a traditional gooey butter cookie.
Is it normal for the centers to look raw when I take them out?
Yes, they should look slightly underbaked in the middle. This is the secret to the “gooey” part of the name. They will continue to set as they cool on the baking sheet, resulting in a fudge-like interior.
How do I keep the powdered sugar from disappearing?
If your dough is very moist, the sugar can sometimes soak in. You can roll the dough balls in granulated sugar first, then roll them in powdered sugar. The granulated sugar acts as a barrier and helps the white powdered sugar stay bright and visible after baking.
Final Thoughts
Baking during the Christmas season should be joyful and stress-free, and these Gluten-Free Gooey Butter Cookies fit that perfectly. They offer a sophisticated taste with minimal effort, ensuring that everyone at your table, regardless of their dietary needs, can enjoy a delicious homemade treat. I hope these become a favorite in your home just as they have in mine. Happy baking!

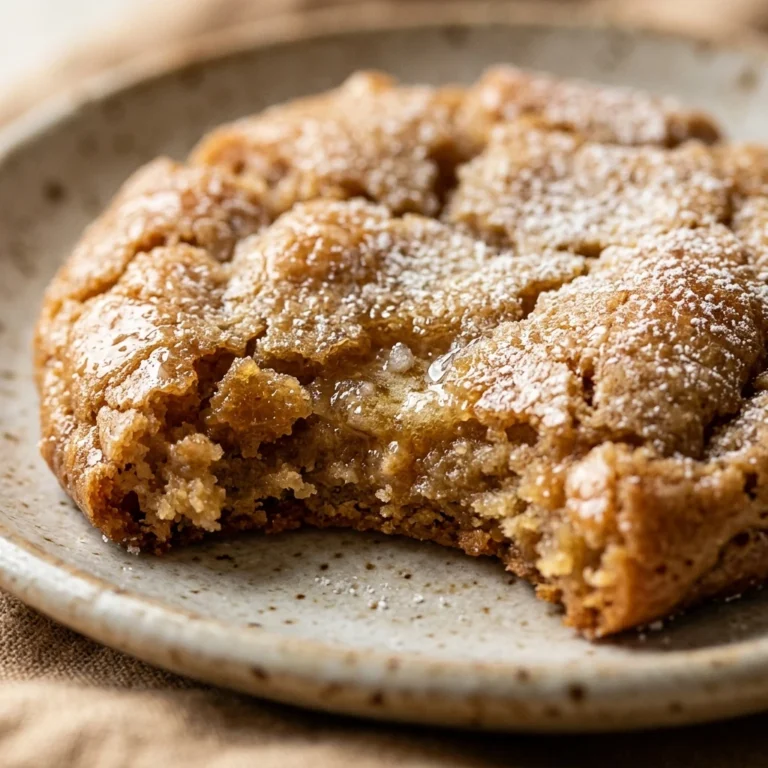
Gluten-Free Gooey Butter Cookies
- Total Time: 25 minutes
Ingredients
- 8 ounces cream cheese, softened
- 1/2 cup unsalted butter, softened
- 1 large egg, room temperature
- 1 teaspoon alcohol-free vanilla extract
- 1 package (approximately 15 ounces) gluten-free yellow cake mix
- 1/2 cup powdered sugar for rolling
Instructions
- Preheat your oven to 350 degrees Fahrenheit. Line two large baking sheets with parchment paper or silicone baking mats to prevent the cookies from sticking and to ensure an even bake.
- In a large mixing bowl, beat the softened cream cheese and softened butter together using a hand mixer or stand mixer. Continue mixing on medium speed until the mixture is completely smooth and fluffy, which usually takes about two to three minutes.
- Add the egg and the alcohol-free vanilla extract to the cream cheese mixture. Beat again until the egg is fully incorporated, scraping down the sides of the bowl with a spatula as needed to ensure everything is well combined.
- Turn the mixer to low speed and gradually pour in the gluten-free yellow cake mix. Mix just until the flour disappears and a thick, sticky dough forms. Be careful not to overmix, as this can affect the final texture of the cookies.
- Because the dough is quite sticky, it is helpful to chill it in the refrigerator for at least 30 minutes. This makes the rolling process much cleaner and helps the cookies hold their shape better in the oven.
- Scoop about one tablespoon of dough at a time and roll it into a ball between your palms. Roll each ball generously in the bowl of powdered sugar until it is completely coated. Place the balls on the prepared baking sheets, leaving about two inches of space between each one.
- Bake for 10 to 12 minutes. The cookies should look set on the edges but still appear slightly soft and underdone in the center. Allow them to cool on the baking sheet for five minutes before moving them to a wire rack to cool completely. They will firm up as they cool down.
- Cook Time: 25 minutes
- Diet: Gluten-Free